How to Shoot for Ghost Mannequin (Photographer’s Guide)
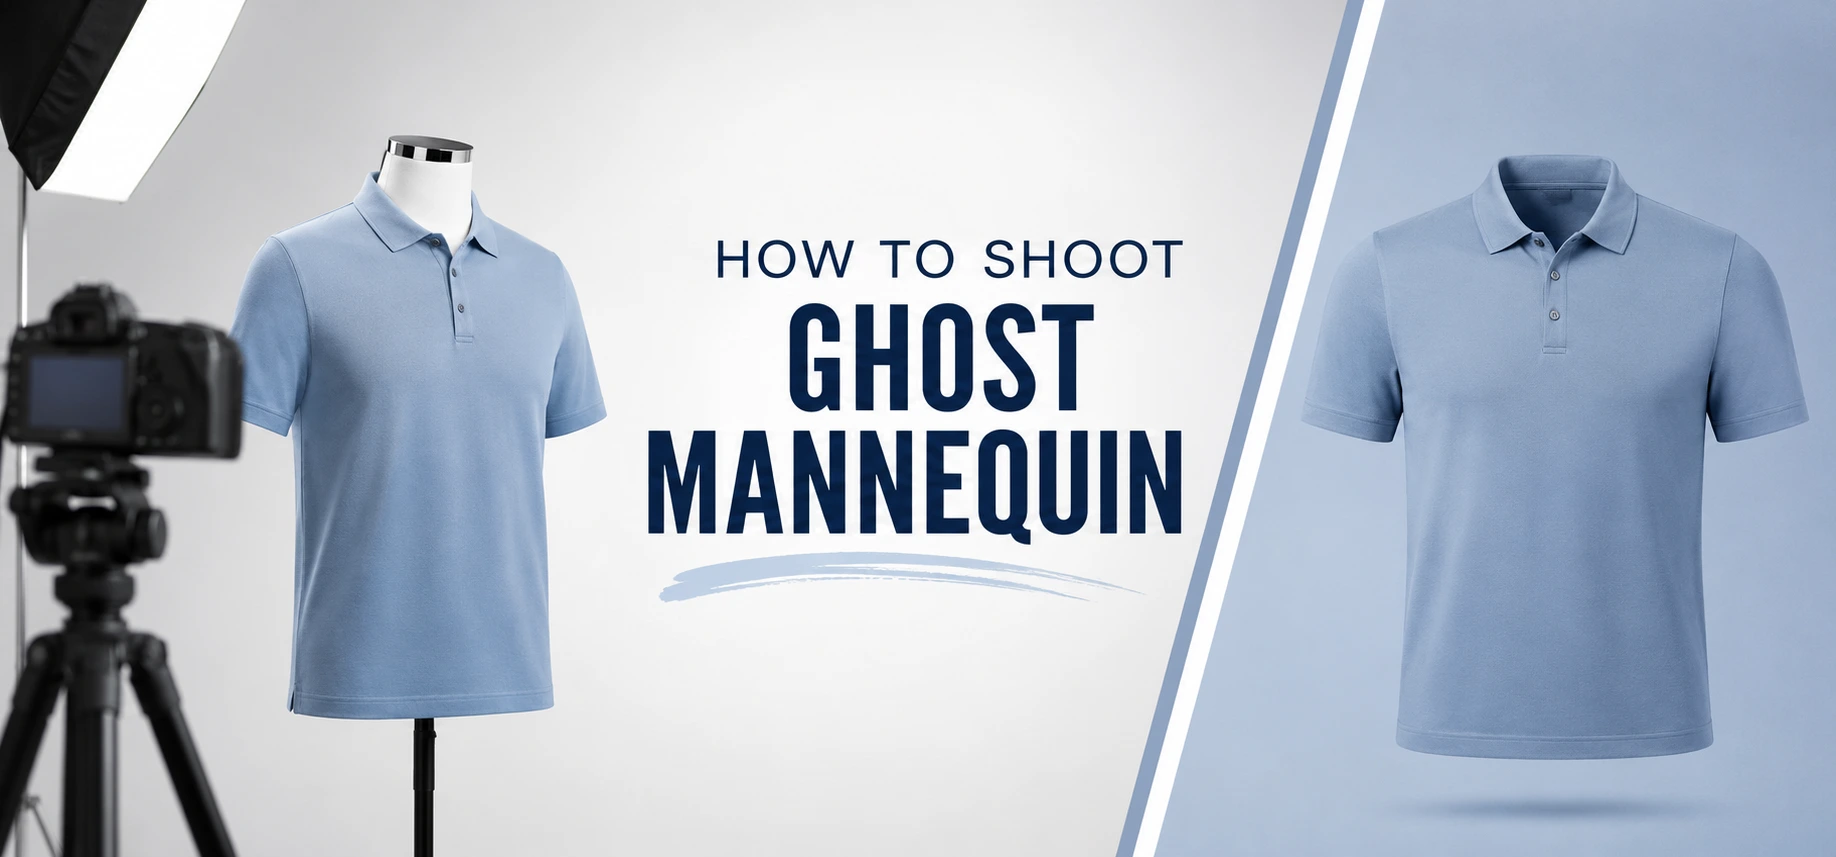
“To shoot for ghost mannequin, dress a mannequin with the garment, shoot the front, then remove the mannequin and shoot the inside neck and hem separately. Later, combine both shots in editing to create a hollow, 3D clothing effect.”
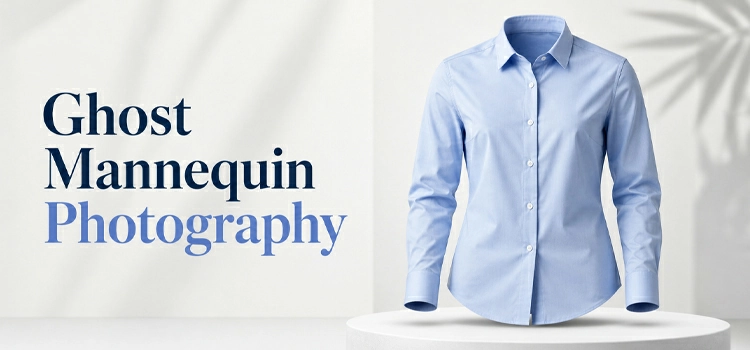
Ghost mannequin photography helps clothing brands show their products in a professional, 3D way. You shoot the garment on a mannequin, then remove the mannequin in post-production. The result looks like an invisible body is wearing the clothes.
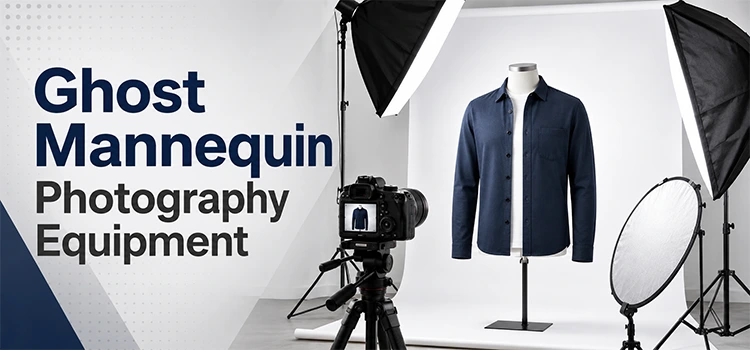
What Equipment Do You Need Before You Start?
“You need a DSLR or mirrorless camera, a 50mm or 85mm lens, a white or grey backdrop, continuous lighting or a strobe kit, a mannequin, and a tripod. Good lighting and a stable camera setup are the two most important things.”
You do not need an expensive studio to start. A basic setup works well if you use it consistently.
Here is what you need:
- Camera: A DSLR or mirrorless camera with manual settings
- Lens: A 50mm or 85mm lens to avoid distortion
- Backdrop: White or light grey seamless paper
- Lighting: Two softboxes or continuous lights, one on each side
- Mannequin: A black or grey mannequin works best (easier to remove in editing)
- Tripod: Keeps your camera locked in one position for every shot
- Steamer: Removes wrinkles from the garment before shooting
Keep your ISO low (100 to 200) to avoid grain. Shoot in RAW format so you have full control in post-production.
How Do You Set Up Your Studio for Ghost Mannequin Shots?
“Place your backdrop at least 3 to 4 feet behind the mannequin. Position two softboxes at 45-degree angles on each side. Set your camera on a tripod at the same height as the chest of the mannequin. Keep your aperture between f/8 and f/11.”
A consistent studio setup saves you hours in editing. Every shot should look the same: same angle, same light, same distance.
Follow these steps:
- Set up your backdrop. Use white seamless paper. Keep it wrinkle-free.
- Position the lights. Place one softbox on the left and one on the right at 45-degree angles. Add a fill light or reflector from below to reduce shadows under collars and sleeves.
- Set your camera. Mount it on a tripod. The lens should point straight at the chest area of the mannequin, not angled up or down.
- Check your exposure. Use a grey card or histogram to get a neutral, balanced exposure.
- Shoot a test frame. Review it before you dress the mannequin.
Always shoot at the same distance for every garment. This keeps your product images consistent across your entire catalog.
How Do You Dress the Mannequin Correctly?
“Put the garment on the mannequin smoothly. Fasten all buttons, zippers, and snaps. Tuck the back of the garment into the mannequin if needed. Remove all tags. Steam out every wrinkle. The garment must look exactly as it would on a real person.”
Dressing the mannequin correctly is just as important as your camera settings. A sloppy garment creates more editing work.
Here is what to do:
- Iron or steam the garment before putting it on
- Secure all closures: buttons, zippers, snaps, ties
- Pull the fabric gently to remove any pulls or bunches
- Pin the back if the garment is too large for the mannequin; use clear pins or clips
- Check the collar and cuffs. They must sit flat and natural.
- Remove all labels that show outside the garment
Check the garment from the camera angle, not from where you are standing. Walk to the camera and look through the viewfinder before you shoot.
What Shots Do You Need to Capture?
“You need at least three shots: the front of the garment on the mannequin, the back of the garment on the mannequin, and the inside view of the neck and hem area without the mannequin. These three images combine in editing to create the ghost mannequin effect.”
Most photographers forget the inside shot. Without it, the ghost mannequin service cannot create a clean, hollow interior effect.
Here are the shots you must take:
Shot 1: Front view. Shoot the full garment from the front. The mannequin is fully dressed. This is your main image.
Shot 2: Back view. Rotate the mannequin and shoot the back. Keep your camera in the exact same position.
Shot 3: Inside/Neck shot. Remove the garment from the mannequin. Lay it flat or hold it open so the inner lining, neck label, and hem are visible. Shoot this separately.
Shot 4: Detail shots (optional but valuable). Shoot close-ups of buttons, zippers, fabric texture, or pockets. These images support the product listing.
Some photographers also take a sleeve detail shot. This helps when the garment has unique cuffs or rolled sleeves.
How Do You Light the Garment to Avoid Shadows?
“Use two softboxes at 45-degree angles and a reflector below to fill in shadows under the collar and armpits. Avoid direct flash; it flattens the garment. You want soft, even light that shows the texture and shape of the fabric.”
Lighting is where most beginner photographers make mistakes. Hard light creates deep shadows. Soft light shows the garment clearly.
Tips for better lighting:
- Use large softboxes. A larger light source produces softer shadows.
- Feather the light. Angle the softbox slightly so the edge of the light hits the subject, not the center beam.
- Add a reflector below. Place it on the floor angled up. This fills shadows under chins, collars, and armpits.
- Use a hair light or rim light. This separates the garment from the background.
- Avoid mixed lighting. Do not mix daylight and artificial light. It creates color casts.
Always check the shadows on the backdrop. You want the backdrop to be pure white in the final image, not grey or shadowed.
How Do You Shoot the Inside Neck and Hem for Editing?
“Take the garment off the mannequin. Open the neckline so you can see the inner collar and label. Lay it on a flat white surface or hold it open. Shoot it straight from above or at the same angle as your main shot. This image fills the hollow inside in editing.”
The inside shot is the most overlooked part of this process. Without it, the editor has nothing to place inside the hollow area.
Here is exactly how to do it:
- Remove the garment from the mannequin carefully.
- Turn the top of the garment inside out slightly so the inner collar shows.
- Lay it flat or prop it open on a white surface.
- Use the same lighting as your main shots.
- Shoot from the same angle as your camera: straight on, not tilted.
- Shoot the hem the same way if your garment has a visible inner hem.
Keep the fabric shape as close to the mannequin shape as possible. This makes editing much easier.
What Camera Settings Work Best for Ghost Mannequin Photography?
“Use aperture priority or manual mode. Set your aperture to f/8 to f/11 for sharp focus across the whole garment. Keep ISO at 100 to 200 to reduce noise. Use a shutter speed of 1/125s or faster to avoid motion blur. Shoot in RAW format always.”
Consistent camera settings give you consistent results. Here are the ideal settings:
| Setting | Recommended Value |
| Aperture | f/8 to f/11 |
| ISO | 100 to 200 |
| Shutter Speed | 1/125s or 1/160s |
| White Balance | Custom or 5500K |
| Format | RAW |
| Focus Mode | Single point AF or manual |
Set your white balance manually using a grey card. This ensures your whites look white, not yellow or blue, across every image in the catalog.
How Do You Edit Ghost Mannequin Photos After the Shoot?
“Open your front shot and inside shot in Photoshop. Remove the mannequin using the Pen Tool or Select Subject. Place the inside neck image behind the front layer. Align them carefully. Mask the edges smoothly. Flatten and export as JPEG or PNG on a white background.”
Editing is where the ghost mannequin effect comes to life. You combine your shots into one seamless image.
Here is a basic workflow:
- Open the front shot in Photoshop.
- Remove the mannequin using the Pen Tool; trace around the garment carefully.
- Open the inside shot and place it as a layer below the front layer.
- Align both layers so the collar and hem match perfectly.
- Use a layer mask to blend the edges naturally.
- Clean up any fringing or rough edges with the Refine Edge tool.
- Adjust color and brightness using Levels or Curves.
- Export as JPEG (for web) or PNG (for transparent background).
Many brands choose a professional ghost mannequin service to handle this step. Editing takes skill and time, especially for large product catalogs.
What Are the Most Common Mistakes to Avoid?
“The most common mistakes are shooting without a tripod, forgetting the inside neck shot, using hard lighting, and not steaming the garment first. These mistakes create more editing work and inconsistent results across your product catalog.”
Avoid these mistakes from the start:
- No tripod. Camera movement between shots makes alignment impossible in editing.
- Wrong angle. Shooting from above or below distorts the garment shape.
- Skipping the inside shot. Editors cannot create the hollow effect without it.
- Unsteamed garment. Wrinkles look unprofessional and take long to retouch.
- Inconsistent zoom. Every garment must fill the frame the same way.
- Mixed light sources. Mixing daylight and studio light creates color problems.
- Low resolution. Always shoot at your camera’s highest resolution.
Check every image on your camera’s LCD before moving to the next garment. It is much easier to reshoot on location than to fix a bad image later.
Frequently Asked Questions (FAQs)
-
What is ghost mannequin photography?
Ghost mannequin photography is a technique where you photograph a garment on a mannequin and then remove the mannequin in post-production editing. The final image shows the clothing in a 3D, hollow shape as if an invisible person is wearing it. It is widely used in e-commerce fashion product photography.
-
Do I need an expensive camera for ghost mannequin photography?
You do not need the most expensive camera. Any modern DSLR or mirrorless camera with manual settings works well. A Canon EOS 90D, Nikon Z50, or Sony A6400 are solid mid-range options. The quality of your lighting setup matters more than the camera body itself.
-
What type of mannequin is best for this technique?
A black or dark grey mannequin works best because dark surfaces are easier to select and remove in Photoshop. Full-body and half-body mannequins both work. Choose a size that matches your garment’s target fit. Avoid white mannequins; they blend into the backdrop and make selection harder.
-
Can I use a dress form instead of a hard mannequin?
Yes, you can use a dress form (soft mannequin). It works well for draped or flowy garments like dresses and skirts. However, hard mannequins give more consistent shape and structure. For tailored or fitted clothing, a hard mannequin gives better results.
-
How many photos do I need for each garment?
You need at least three core shots: the front, the back, and the inside neck and hem. For some garments, you may also need close-up detail shots of the pocket, zipper, or cuff. For a full product listing, plan for 5 to 8 images per garment including lifestyle shots.
-
How long does it take to edit one ghost mannequin image?
An experienced editor takes about 10 to 20 minutes per image. A beginner may take 30 to 60 minutes. The editing time depends on the complexity of the garment, the quality of the original photos, and how cleanly the inside shot was taken. Better photos always mean faster editing.
-
What file format should I export the final ghost mannequin image in?
Export as JPEG for web use; it keeps file sizes small without losing much quality. Use PNG if you need a transparent background. Most e-commerce platforms like Shopify, Amazon, and WooCommerce accept both formats. Always export at 72 DPI for web and 300 DPI for print.
-
Can I shoot ghost mannequin photos at home without a studio?
Yes. You can set up a simple home studio with a white wall or seamless paper backdrop, two budget softbox lights, and a tripod. Control the natural light by closing curtains and relying only on your artificial lights. Consistency is the key: keep the same setup for every garment you shoot.
-
How do I remove wrinkles from the garment before shooting?
Use a garment steamer for best results. A steam iron also works but can leave shiny marks on delicate fabrics. Hang the garment for 30 minutes before shooting so it relaxes. For stubborn wrinkles on synthetic fabrics, use a light mist of water and gentle pulling. Never iron directly on a print or embroidery.
-
What is the difference between ghost mannequin and flat lay photography?
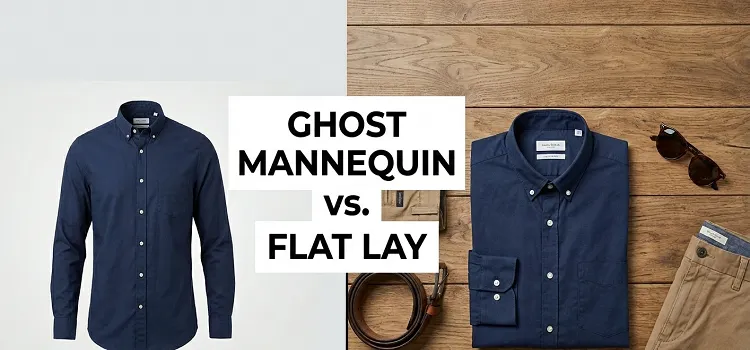
Ghost mannequin photography creates a 3D hollow effect that shows the shape and structure of the garment. Flat lay photography places the garment flat on a surface and shoots from directly above. Ghost mannequin looks more professional and realistic for fitted clothing. Flat lay works better for accessories, folded items, or lifestyle product groupings.
Conclusion
Ghost mannequin photography is a skill you build over time. Start with a simple two-light setup, shoot every required angle, and steam your garments before every session. Your front shot, back shot, and inside neck shot are the three images that make this technique work.
Good photography reduces editing time. If you shoot carefully, the editing becomes simple and fast. Whether you edit the images yourself or use a professional service, clean and consistent shots always produce better results.