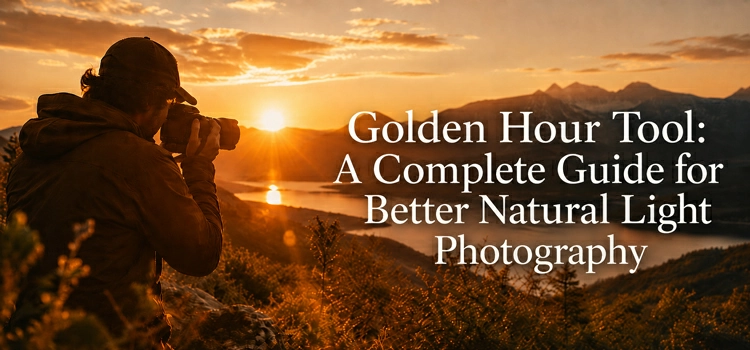
Golden Hour Tool: A Complete Guide for Better Natural Light Photography
A Golden Hour Tool helps photographers plan ideal natural light sessions by predicting optimal shooting times. It reduces guesswork, adapts to location, season, and weather, enabling portraits, products, travel, weddings, and outdoor photography with consistently beautiful golden-hour results every time.
A Golden Hour Tool helps photographers find the best time to shoot using natural light. Golden hour gives images a warm glow, soft shadows, natural contrast, and a mood that is difficult to recreate with artificial lighting. The problem is that it does not last long. Some days it stays for less than an hour, and the timing shifts depending on your location, the season, and the weather.
That short, unpredictable window is exactly why a planning tool is so useful. Whether you shoot portraits, product photos, travel images, weddings, or outdoor brand content, a Golden Hour Tool helps you capture better photos with less guesswork.
In this guide, we will explain what a Golden Hour Tool is, how it works, why it matters, and how photographers can use it to improve natural light photography.
What Is a Golden Hour Tool?
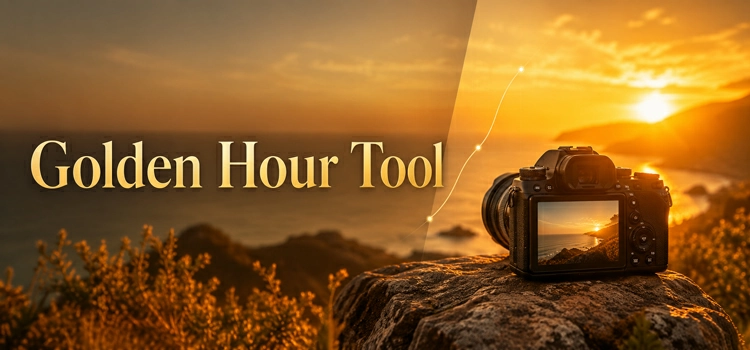
A Golden Hour Tool helps photographers identify the best times for soft, warm natural light by calculating golden hour, sunrise, sunset, blue hour, twilight, sun direction, and sometimes weather for accurate shoot planning at any chosen location with confidence consistently.
A Golden Hour Tool is a photography planning tool that helps you find the best time for golden hour in a specific location. It usually calculates the time around sunrise and sunset when the sun is low in the sky and the light becomes soft, warm, and flattering.
Instead of guessing when the best light will appear, photographers can use the tool to check the exact golden hour start and end time. Many tools also show sunrise time, sunset time, blue hour, twilight, sun direction, and sometimes even weather or map-based planning features.
In simple words, a Golden Hour Tool tells you when to shoot so you can get the most beautiful natural light.
What Is Golden Hour in Photography?
Golden hour provides warm, soft sunlight shortly after sunrise and before sunset, reducing harsh shadows and bright highlights. Its directional glow creates flattering lighting ideal for portraits, landscapes, products, fashion, weddings, and cinematic, natural-looking photography with beautiful golden tones throughout.
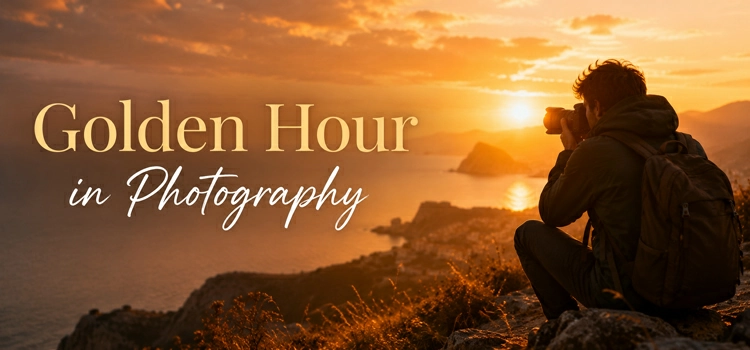
Golden hour is the short period after sunrise and before sunset when sunlight appears warmer and softer. During this time, the sun sits low near the horizon. Because of this low angle, the light travels through more atmosphere, creating warm yellow, orange, and golden tones.
This light is different from harsh midday sunlight. At noon, the sun is high and strong. It can create hard shadows, bright highlights, and flat-looking images. Golden hour light is softer, more directional, and easier to work with.
That is why photographers use golden hour for dreamy portraits, cinematic landscapes, lifestyle product photos, fashion shoots, and romantic wedding images.
Why Golden Hour Matters for Natural Light Photography?
Golden hour provides naturally beautiful light that creates soft shadows, warm colors, flattering skin tones, enhanced depth, and a cinematic atmosphere. Shooting during this time improves image quality from the start, helping photographers capture more appealing, emotional, and professional-looking photographs.
Natural light photography depends heavily on timing. Even a good camera cannot fix bad light completely. Golden hour gives photographers a better starting point because the light already looks beautiful.
Here are some reasons why golden hour is so important:
- Creates Soft Shadows
Golden hour light is less harsh than midday light. This creates softer shadows on faces, products, buildings, and landscapes. Soft shadows make photos look more natural and pleasing.
- Adds Warm Color
The warm tones of golden hour can make an image feel emotional, calm, romantic, or premium. This is especially useful for portraits, fashion photography, travel content, and lifestyle product photography.
- Improves Skin Tones
Portrait photographers love golden hour because it makes skin look smooth and glowing. The soft light reduces harsh lines and creates a flattering effect on the face.
- Adds Depth and Dimension
When the sun is low, the light comes from the side instead of directly above. This creates depth, texture, and shape in the image. It can make a simple scene look more dramatic.
- Gives Photos a Cinematic Mood
Golden hour light often feels like a movie scene. It can turn an ordinary outdoor location into something emotional and visually rich.
Why Use a Golden Hour Tool?
Golden Hour timing varies by location, date, season, and sunlight position. A Golden Hour Tool provides accurate schedules to help photographers plan shoots, avoid harsh light, save time, prepare equipment, and capture better natural lighting with confidence every single time.
Many beginners think golden hour happens at the same time every day. But that is not true. The timing changes based on your location, the date, the season, and the position of the sun.
For example, golden hour in summer may happen much later in the evening than in winter. A photographer in New York, London, Dubai, or Dhaka will also see different golden hour times.
A Golden Hour Tool helps solve this problem. It gives accurate timing so you can plan your shoot properly.
You should use a Golden Hour Tool because it helps you:
- Know the best time to shoot
- Plan your location before arrival
- Avoid harsh light
- Save time during outdoor shoots
- Prepare your model, product, or equipment early
- Capture better natural light
- Reduce editing problems later
Instead of arriving too late or too early, you can plan the shoot with confidence.
What are the major Features of a Golden Hour Tool?
Most Golden Hour tools provide golden hour and sunrise/sunset times, blue hour schedules, location-based calculations, date selection, sun direction, reminders, and weather information to help photographers plan shoots with ideal lighting conditions efficiently and capture better images every time confidently.
Different Golden Hour Tools may have different features, but most of them include some common options.
Golden Hour Time
This is the main feature. The tool shows when golden hour starts and ends for your selected location and date.
Sunrise and Sunset Time
Most tools show the exact sunrise and sunset time. This helps photographers plan morning or evening shoots.
Blue Hour Time
Blue hour happens before sunrise or after sunset. The light is cooler, softer, and more blue-toned. It is useful for cityscapes, architecture, travel photography, and moody portraits.
Location-Based Calculation
Golden hour depends on location. A good tool lets you search for a city, address, or GPS location.
Date Selection
You can choose the date of your photoshoot. This is helpful when planning a project in advance.
Sun Direction
Some tools show where the sun will rise and set on a map. This helps photographers decide where to place the subject and camera.
Notifications or Reminders
Some apps can remind you before golden hour begins. This is useful when you are traveling or working on a busy shoot.
Weather Information
Some tools may include weather forecasts. Clear skies, clouds, and rain can change the final look of golden hour photos.
How to Use a Golden Hour Tool Step by Step?
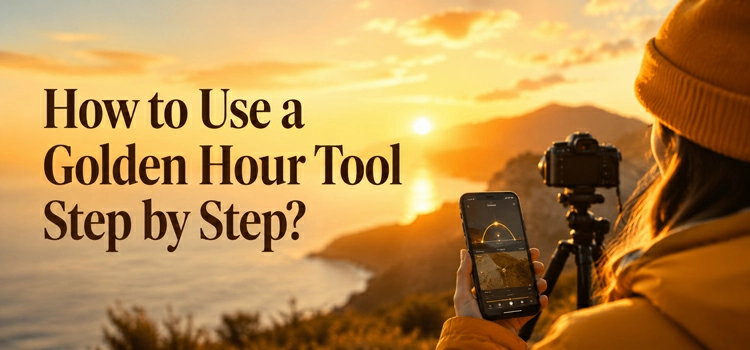
Use a Golden Hour Tool by selecting your location, date, reviewing golden hour timing and sun direction, arriving early, shooting efficiently as light changes, then enhancing images with professional editing for improved exposure, warmth, contrast, color balance, and overall quality.
Using a Golden Hour Tool is simple. Here is a basic process:
Step 1: Choose Your Location
Enter the place where you plan to shoot. This can be a city, beach, park, rooftop, street, or outdoor product photography location.
Step 2: Select the Date
Choose the date of your photoshoot. Golden hour changes throughout the year, so always check the exact date.
Step 3: Check the Golden Hour Time
Look at the start and end time. Decide whether you want to shoot during morning golden hour or evening golden hour.
Step 4: Check the Sun Direction
If the tool has a map feature, check where the light will come from. This helps you plan your subject position.
Step 5: Arrive Early
Do not arrive exactly when golden hour starts. Arrive at least 30 to 60 minutes earlier. This gives you enough time to prepare your camera, model, props, product, and background.
Step 6: Shoot Quickly and Carefully
Golden hour changes fast. The light can look different every few minutes. Take multiple shots, try different angles, and adjust your composition quickly.
Step 7: Edit the Photos
After the shoot, use photo editing to improve exposure, warmth, contrast, and color balance. Even great natural light can look better with professional retouching.
What are the Best Photography Types for Golden Hour?
Golden hour enhances portraits, weddings, products, landscapes, travel, real estate, and fashion photography with soft, warm natural light, creating flattering skin tones, romantic moods, premium product appeal, dramatic scenery, memorable destinations, inviting properties, stylish visuals through enhanced depth, texture, atmosphere.
Golden hour can be used for many types of photography. Here are some of the best examples.
Portrait Photography
Golden hour is perfect for portraits because it creates soft light and warm skin tones. It can make the subject look natural, glowing, and emotional.
Wedding Photography
Wedding photographers often use golden hour for couple portraits. The warm light adds romance and elegance to the images.
Product Photography
Golden hour is useful for lifestyle product photography. Products like skincare, jewelry, fashion accessories, handmade items, bags, and outdoor products can look more premium in warm natural light.
Landscape Photography
Golden hour adds drama to mountains, beaches, fields, roads, and city views. The light creates depth and strong visual interest.
Travel Photography
Travel bloggers and content creators use golden hour to make destinations look more beautiful and memorable.
Real Estate Photography
For exterior property photos, golden hour can make buildings look warm and inviting. It can improve curb appeal and make the property stand out.
Fashion Photography
Fashion images often look more stylish during golden hour. The light can highlight fabric texture, movement, and mood.
How to use Golden Hour Tool for Product Photography?
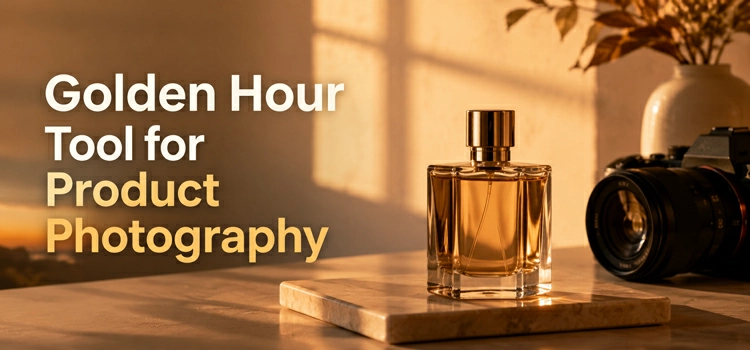
Golden hour lighting enhances lifestyle product photography with natural, premium visuals. A Golden Hour Tool helps photographers plan timing, while careful positioning and reflectors or diffusers ensure balanced, flattering light and controlled shadows for professional, high-quality results every single time.
Product photography is not always done in a studio. Many brands now use lifestyle product images to show how their products look in real life. Golden hour is perfect for this style.
For example, a skincare product can look fresh and natural when placed near warm sunlight. Jewelry can sparkle beautifully with soft golden reflections. A bag or fashion accessory can look more premium when photographed outdoors during sunset.
A Golden Hour Tool helps product photographers plan these shots better. They can choose the right time, prepare the setup early, and capture images that feel natural and high-end.
However, product photographers should be careful with shadows and reflections. Golden hour light is beautiful, but it still needs proper positioning. A reflector, diffuser, or simple white board can help balance the light.
What are the Differences between Golden Hour and Blue Hour?
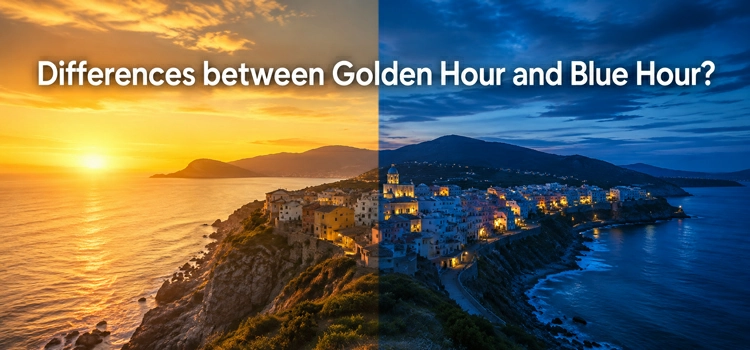
Golden hour offers warm, soft light for portraits, weddings, fashion, travel, and products. Blue hour creates cool, moody tones for cityscapes, architecture, and creative portraits. Golden Hour Tools display both periods to help photographers choose ideal lighting for every project.
Golden hour and blue hour are both popular in photography, but they create different moods.
Golden hour gives warm, soft, golden tones. It is best for portraits, weddings, lifestyle products, fashion, and travel photos.
Blue hour gives cool, calm, blue tones. It happens just before sunrise or after sunset. It is best for cityscapes, architecture, moody portraits, and creative outdoor photography.
A Golden Hour Tool often shows both golden hour and blue hour timing. This helps photographers choose the right mood for their project.
How to Shoot Better Golden Hour Photography?
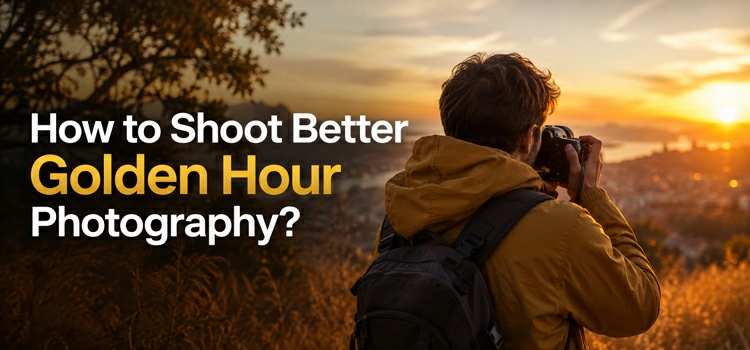
Plan shoots ahead, arrive early, use backlighting or side lighting, avoid overexposure, carry a reflector, shoot in RAW, and keep moving to capture changing golden hour light with better composition, flexibility, balanced exposure, natural depth, and stronger overall results consistently.
Here are some simple tips to get better results:
Plan Before the Shoot
Use the tool before the shoot day. Check the location, timing, weather, and sun direction.
Arrive Early
Golden hour does not last long. Arriving early gives you time to prepare and test your shots.
Use Backlighting
Place the sun behind your subject for a dreamy glow. This works well for portraits and lifestyle product photos.
Try Side Lighting
Side lighting adds depth and texture. It is great for fashion, products, and landscape photography.
Avoid Overexposure
Golden hour light can still be bright. Check your highlights so the image does not lose detail.
Use a Reflector
A reflector can bounce light back onto the subject. This helps reduce dark shadows.
Shoot in RAW
RAW files give more editing flexibility. You can adjust exposure, color, and highlights better in post-production.
Keep Moving
Try different angles quickly. The light changes fast, so do not stay in one position for too long.
What are the Common Mistakes to Avoid?
Beginners often miss great golden hour photos by arriving late, ignoring weather, misjudging light direction, failing to prepare setups beforehand, and overediting warm tones. Plan ahead, check conditions, position subjects correctly, organize equipment early for natural, balanced, stunning golden images.
Golden hour photography is beautiful, but beginners often make some mistakes.
Arriving Too Late
If you arrive when the sun is already setting, you may miss the best light. Always arrive early.
Ignoring the Weather
Clouds, rain, or haze can change the result. Check the weather before planning the shoot.
Facing the Subject the Wrong Way
Light direction matters. Use the tool or map to understand where the sun will be.
Not Preparing the Setup
For product photography, props and backgrounds should be ready before golden hour starts.
Overediting the Image
Golden hour already has warm tones. Too much editing can make the photo look orange or unnatural.
Why Editing Still Matters After Golden Hour Photography?
Golden hour provides an excellent start, but post-production remains essential. Editing improves color, exposure, retouching, backgrounds, shadows, highlights, object removal, warmth, contrast, and product color accuracy, ensuring polished, professional images that remain visually appealing and true to life for customers.
Golden hour gives you a strong starting point, but editing is still important. Post-production can make the final image cleaner, sharper, and more professional.
Editing can help with:
- Color correction
- Exposure adjustment
- Skin retouching
- Background cleanup
- Shadow and highlight balance
- Product color accuracy
- Removing unwanted objects
- Enhancing warmth and contrast
For product photos, editing is especially important because colors must look accurate. A beautiful golden tone is good, but the product should still look true to life.
Frequently Asked Questions
Golden hour timing varies by location and season. Accurate calculators guide planning, while weather and obstacles affect results. Success depends on suitable camera settings, location preparation, understanding light conditions, and timing- not expensive gear. Morning and evening each offer unique advantages for photographers.
Q: How long does golden hour actually last?
It depends on your latitude and the season. Near the equator, golden hour can be as short as 20 to 30 minutes because the sun rises and sets almost vertically. Closer to the poles, or during spring and autumn at higher latitudes, it can stretch well past an hour. In summer at far-northern or far-southern locations, the soft low-angle light can last even longer. This is why checking the exact duration for your location and date matters, not just the start time.
Q: Are golden hour calculators accurate, and what affects their accuracy?
The sun’s position is calculated from astronomical formulas, so the timing is highly accurate for a flat horizon at sea level. Real-world conditions can shift the practical golden hour, though. Mountains, tall buildings, hills, or a tree-line can block the sun earlier than predicted, effectively shortening your usable light. Elevation and a clear versus obstructed horizon both matter, so treat the calculated times as a precise guide and scout the actual horizon at your location when possible.
Q: What camera settings work best during golden hour?
A common starting point is a low ISO (100 to 400) for clean files, an aperture suited to your subject (wide like f/1.8 to f/2.8 for portraits, narrower like f/8 to f/11 for landscapes), and a shutter speed adjusted to keep exposure balanced as the light fades. Because the light drops quickly near the end of golden hour, you’ll often need to raise ISO or slow your shutter as you go. Spot metering on your subject and shooting with slight underexposure helps protect highlights in bright backlit shots.
Q: Can I get golden hour light indoors or on cloudy days?
On overcast days the warm golden tones are muted because clouds scatter and cool the light, though you still get soft, even illumination that works well for portraits and products. Indoors, you can capture golden hour light through a window during the actual golden hour window, and the effect is lovely for still life and product shots. Outside of those conditions, warm artificial lighting, gels, or careful editing can approximate the look, but it rarely matches the real thing perfectly.
Q: How do I find golden hour times when traveling across time zones?
Use a location-based tool and search by the exact city or GPS coordinates of your destination rather than your home location, since the tool calculates times for the place you enter, in that place’s local time. Set the date to your travel dates ahead of time so you can plan shoots before you arrive. If you rely on reminders, double-check that the alert is tied to the destination’s time zone and not your phone’s home setting.
Q: Is morning golden hour or evening golden hour better?
Both produce the same quality of warm, soft light, so the better choice depends on your goals. Morning golden hour usually offers calmer air, fewer crowds, clearer skies, and cooler temperatures, which suits landscapes and locations you want empty. Evening golden hour is easier to plan around and schedule with clients or models, and it often has warmer, hazier tones from the day’s accumulated atmospheric particles. Many photographers prefer mornings for solitude and evenings for convenience.
Q: What is the difference between golden hour and “magic hour”?
“Magic hour” is a broader, informal term that photographers and filmmakers often use to describe both golden hour and blue hour together, the full window of soft, flattering light around sunrise and sunset. Golden hour specifically refers to the warm-toned portion when the sun is just above or just below the horizon, while blue hour is the cooler-toned period further from sunrise or sunset. So golden hour is one part of what people loosely call magic hour.
Q: Do I need expensive gear to shoot good golden hour photos?
No. Because the light itself does much of the work, even a smartphone or entry-level camera can produce striking golden hour images. A reflector or diffuser, often a low-cost accessory, gives you more control over shadows than upgrading your camera body would. Planning your timing and position well matters far more than gear during this part of the day.
Final Thoughts
A Golden Hour Tool is a simple but powerful tool for photo graphers. It helps you plan the best time for natural light photography and avoid guessing. By knowing when golden hour starts and ends, you can prepare better, shoot with confidence, and capture more beautiful images.
Whether you are shooting portraits, products, weddings, landscapes, or travel content, golden hour can improve the mood and quality of your photos. And with the right planning tool, you can make the most of that short window of perfect light.
Good photography is not only about the camera. It is also about timing, light, planning, and creative vision. A Golden Hour Tool helps bring all of these together.