Ghost Mannequin Photography Equipment: What You Need
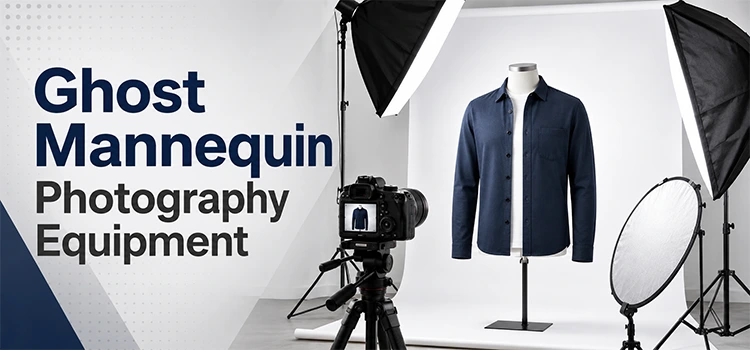
“You need a DSLR or mirrorless camera, a sturdy tripod, a mannequin or dress form, a lightbox or studio lights, and a plain backdrop. These tools help you shoot clean product photos ready for ghost mannequin service.”
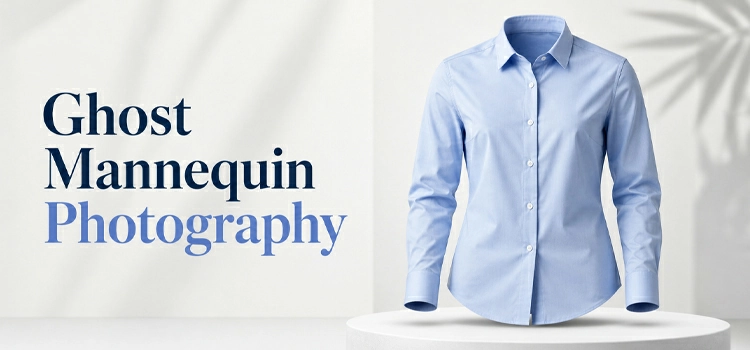
Ghost mannequin photography makes clothes look like an invisible person is wearing them. It gives your product images a professional and consistent look. The right equipment makes the process simple and the results sharp.
What Camera Should You Use for Ghost Mannequin Photography?
“Use a DSLR or mirrorless camera with a 50mm or 85mm lens. These lenses reduce distortion and capture fabric detail accurately. A camera with manual controls gives you full power over exposure, depth of field, and white balance.”
You do not need the most expensive camera. A mid-range DSLR works well for most clothing brands. Set your camera to manual mode. Use a low ISO to avoid grain. A remote shutter release also helps avoid camera shake.
Key camera tips:
- Use ISO 100–200 for clean images
- Set aperture to f/8–f/11 for sharp detail
- Use a remote shutter or self-timer
Do You Need a Real Mannequin or a Dress Form?
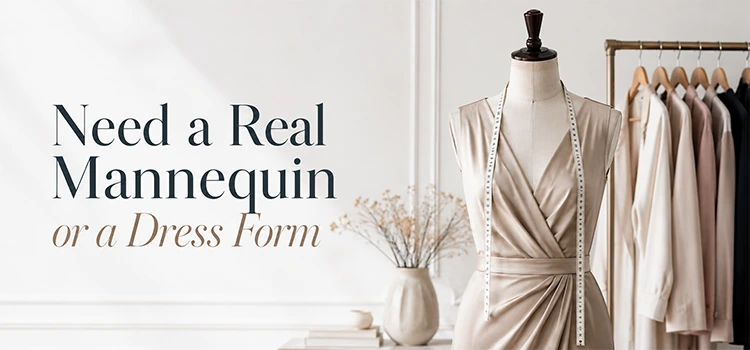
“You need a ghost mannequin or an invisible mannequin, a specially designed form with detachable parts. These parts let you remove the neck, arms, or torso later in editing. A standard dress form also works if you plan to use clipping path techniques.”
A ghost mannequin has removable sections. You photograph each section separately. Then a photo editor combines the shots. This creates the hollow effect. You can also use a basic dress form and rely on background removal during post-production.
Choose a mannequin that matches your target body size. Adjustable forms work best if you shoot many clothing sizes.
What Lighting Equipment Do You Need?
“Use two or three continuous LED studio lights or strobe lights. Place them at 45-degree angles on each side of the garment. Add a backlight to separate the clothing from the backdrop. Even lighting removes harsh shadows and keeps fabric color true.”
Lighting is the most important part of your studio setup. Poor lighting creates uneven shadows. These shadows make editing harder and slow down your workflow.
Lighting setup tips:
- Use a softbox or umbrella diffuser to soften light
- Place one light slightly higher than the other for dimension
- Use a reflector on the opposite side to fill shadows
- Keep your lighting consistent across all shots in a session
What Backdrop Works Best for Product Photography?
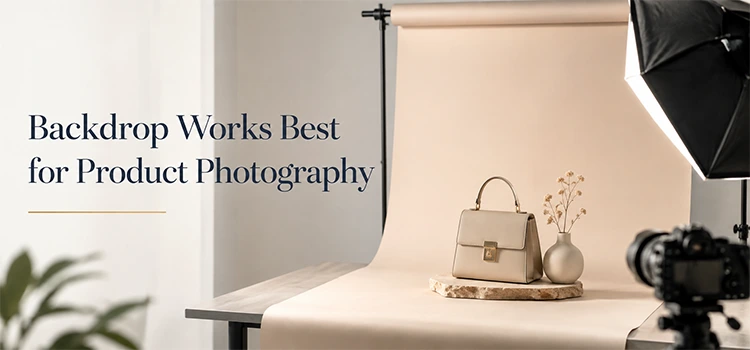
“Use a pure white or light gray seamless paper backdrop. White backdrops make background removal fast and accurate. They also keep the focus entirely on the clothing. Gray backdrops work well if you want softer contrast.”
A clean backdrop saves time in post-production. White backgrounds are the industry standard. Many e-commerce platforms require white backgrounds. Keep your backdrop wrinkle-free and well-lit from the sides.
A vinyl backdrop is easy to wipe clean. Paper backdrops are affordable and replaceable. Both work well for clothing photography.
What Accessories Make the Shoot Easier?
“Use a sturdy tripod, garment steamer, clamps, pins, and tissue paper. These tools keep clothing in shape during the shoot. A steamer removes wrinkles fast. Clamps and pins tighten loose fabric from behind without showing in the photo.”
Small accessories have a big impact on your final image. Wrinkled fabric looks unprofessional. Loose-fitting clothes do not show the garment’s shape clearly.
Useful accessories to keep in your studio:
- Tripod with a ball head for quick adjustments
- Garment steamer for wrinkle-free fabric
- Safety pins and binder clips to shape clothing from the back
- Tissue paper or foam to fill hollow areas inside garments
- Lint roller to remove dust and fibers before shooting
Do You Need Editing Software After the Shoot?
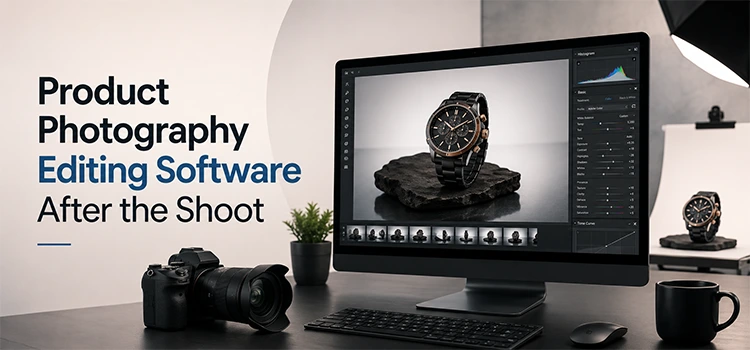
“Yes. You need photo editing software like Adobe Photoshop. After shooting, you combine multiple images and remove the mannequin using clipping path and masking techniques. Many brands outsource this step to a professional ghost mannequin service to save time.”
Editing is where the magic happens. You take the front shot, the inside shot, and sometimes the back shot. You layer them together in Photoshop. Then you erase the mannequin parts that show.
If you do not have Photoshop skills, outsource the editing. Many professional services handle clipping path, background removal, and image compositing at low cost per image.
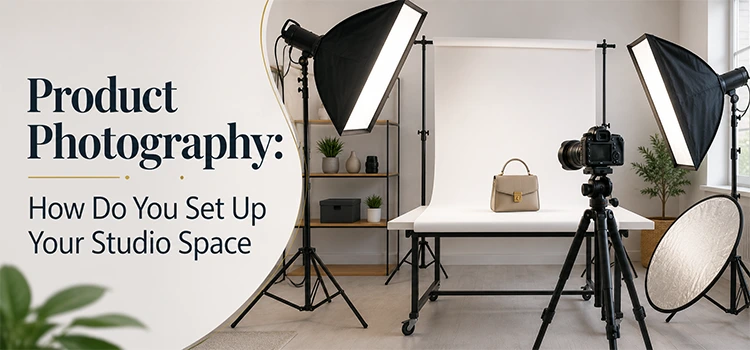
How Do You Set Up Your Studio Space?
“Set up your shooting area with enough room for the mannequin, backdrop, and three light stands. A space of at least 10 x 10 feet works well. Keep walls and surfaces neutral in color. Control natural light by blocking windows with blackout curtains.”
Studio space does not have to be large. A small dedicated area with controlled lighting is better than a large space with inconsistent light. Keep your setup consistent between sessions. This speeds up editing and keeps your product images uniform.
Frequently Asked Questions (FAQs)
-
What is a ghost mannequin in photography?
A ghost mannequin is an invisible mannequin effect used in clothing photography. You photograph a garment on a mannequin, then remove the mannequin in post-editing. The result looks like an invisible person is wearing the clothing. It gives products a clean, professional, and consistent appearance across your catalog.
-
Do I need a professional camera to start ghost mannequin photography?
No, you do not need a top-end camera. A mid-range DSLR or mirrorless camera works well. What matters more is good lighting and a steady tripod. A 50mm or 85mm lens with manual settings gives you enough control to shoot high-quality product photos for any e-commerce platform.
-
Can I use a regular dress form instead of a ghost mannequin?
Yes, you can use a standard dress form. After the shoot, use clipping path or masking in Photoshop to remove visible parts of the form. The result is similar to using a purpose-built ghost mannequin. Many studios use dress forms because they are affordable and easy to adjust for different garment sizes.
-
How many lights do I need for ghost mannequin photography?
You need at least two lights for a basic setup. Place one on each side at 45-degree angles. A third backlight helps separate the garment from the backdrop. More lights give you more control. Softboxes or umbrella diffusers help spread the light evenly and reduce harsh shadows on the fabric.
-
What background color is best for product photography?
White is the best and most widely accepted background color for product photography. It makes background removal fast and clean. Most e-commerce platforms like Amazon require white backgrounds. A light gray background is a good alternative if you want softer contrast or a slightly different aesthetic for your brand.
-
How do I remove wrinkles from clothing before a shoot?
Use a garment steamer. It is the fastest and safest tool for removing wrinkles from most fabrics. Avoid using a hot iron directly on delicate materials. Steam the garment just before shooting. Let it cool for one minute before placing it on the mannequin to avoid shape distortion from residual heat.
-
What is the clipping path technique in product editing?
A clipping path is a precise outline drawn around a subject in Photoshop. Editors use it to isolate the product from its background. It gives a clean and sharp edge. After creating the path, editors remove the background and replace it with white or transparent. It is a core technique in professional product image editing.
-
Should I outsource my ghost mannequin editing or do it myself?
Outsourcing saves time, especially if you shoot large volumes. A professional ghost mannequin service handles image combining, background removal, and color correction at low cost. If you shoot a small number of products and have Photoshop skills, doing it yourself is fine. For growing brands, outsourcing editing lets you focus on photography and business growth.
-
How long does ghost mannequin editing take per image?
It depends on the complexity of the garment. A simple t-shirt can take five to ten minutes per image. A jacket with multiple components and inside shots can take fifteen to thirty minutes. Professional editing services often deliver edited images within twenty-four to forty-eight hours, even for large batches, at consistent quality.
-
What file format should I save my ghost mannequin photos in?
Save your final edited images as JPEG for web use. Use PNG if you need a transparent background. Shoot in RAW format to capture maximum detail during the session. RAW files give you more flexibility in editing. Convert to JPEG or PNG after post-production, depending on where you plan to publish the images.
Conclusion
Ghost mannequin photography does not require a massive budget. You need a good camera, the right mannequin, proper lighting, a clean background, and a few useful accessories. With these tools, you can produce sharp and professional clothing images.
Post-production editing brings it all together. Whether you do it yourself or use a professional ghost mannequin service, the editing step is necessary. Combine your photography skills with clean editing workflows and your product images will stand out in any online store.