Fashion Product Photography Post-Production Workflow

“A fashion product photography post-production workflow begins with file organization, moves through retouching and color correction, and ends with export. Each step builds on the last. A clear workflow saves time and keeps images consistent across all products.”
Post-production separates average fashion images from standout ones. Brands that follow a structured workflow deliver consistent, polished images faster.
What Is the First Step in a Fashion Photography Post-Production Workflow?
“The first step is file organization. You sort, rename, and back up your raw files before you touch any image. This protects your work and makes every next step easier and faster.”
Good file management sets the tone for everything that follows. Create a clear folder structure- one for raw files, another for working files, and the third one for final exports. Use consistent naming like brand_product_colorway_001.raw. This lets your team find files without confusion.
Back up raw files to at least two locations before you start. A lost raw file means a lost shoot. Once files are safe and sorted, move to photo culling.
Culling means selecting the best images from the shoot. Remove blurry frames, duplicates, and off-angle shots. Work fast. Your goal is to keep the strongest 10-20% of frames for photo retouching.
How Do You Set Up a Consistent Color Grading Process?

“You set up a consistent color grading process by building and applying a base preset to all images in a batch. This aligns exposure, white balance, and tone across every product image before detailed adjustments begin.”
Open your selected files in Lightroom or Capture One. Start with white balance. Fashion product images need neutral whites, especially on white backgrounds and light-colored garments.
Set your exposure so fabric detail stays visible in highlights and shadows. Avoid clipping. Fashion buyers need to see textures like linen weave, satin sheen, knit structure. Clipped highlights hide that detail.
Build a base preset from your adjustments on one hero image. Apply it to the full batch. Then go through each image and make small tweaks where the light varied. This keeps your batch cohesive without starting from scratch on every frame.
What Does Background Removal Involve in Fashion Retouching?
“Background removal means isolating the product or garment from its original background using selection tools. You then place the subject on a white, gray, or branded background. Clean edges define professional fashion images.”
Background removal is one of the most important parts of photo editing in fashion e-commerce. Retailers and brands need clean, isolated product images for websites, marketplaces, and ads.
Use the Pen Tool in Photoshop for complex edges like loose threads, sheer fabric, or fine lace. The Pen Tool gives you manual control and sharp, accurate paths. For simpler shapes, Subject Select works well as a starting point, refine it after.
Zoom in to 100% or higher when refining edges. Missed threads or rough edges look unprofessional at product page scale. After background removal, drop the subject onto your target background and check edge consistency across all images in the batch.
How Do You Retouch Garments Without Losing Fabric Texture?
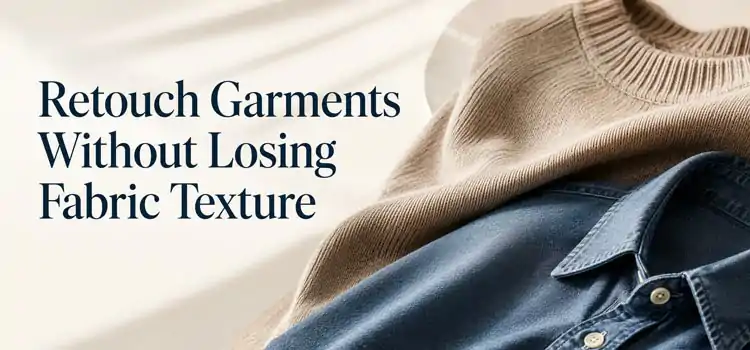
“You retouch garments by removing distractions, loose threads, dust, minor wrinkles, while keeping the texture of the fabric fully intact. Work on a separate layer and use low-opacity tools to avoid erasing fabric detail.”
Start with the Healing Brush and Clone Stamp tool in Photoshop for dust and small marks. Work at low opacity, 20 to 40%, and build up corrections gradually. High opacity in one stroke removes texture.
Use Liquify carefully for garment shaping. Straighten hem lines, smooth minor fabric bunching, and correct silhouette inconsistencies. Do not over-smooth. Fashion buyers expect fabric to look like fabric, not plastic.
For wrinkle removal, use Frequency Separation. This technique splits the image into texture and color layers. You smooth color and tone on the low-frequency layer without touching the fabric texture on the high-frequency layer.
What Is Color Correction for Fabric, and Why Does It Matter?
“Color correction for fabric means adjusting image color so it matches the real product. Accurate color builds customer trust. When the product matches the image, return rates drop and customer satisfaction rises.”
Fashion e-commerce has high return rates. A common reason- the color looked different online. Color accuracy in post-production directly affects business results.
Use the Hue/Saturation tool to target specific fabric colors. If a navy looks too purple on screen, pull the hue toward blue. Check your corrections on a calibrated monitor. Uncalibrated monitors show colors differently than the final output.
Match images against physical swatches when possible. Hold the garment next to your screen in consistent daylight. Adjust until screen and physical swatch match. Do this for every color in your product line.
How Do You Handle Ghost Mannequin and Flat Lay Editing?
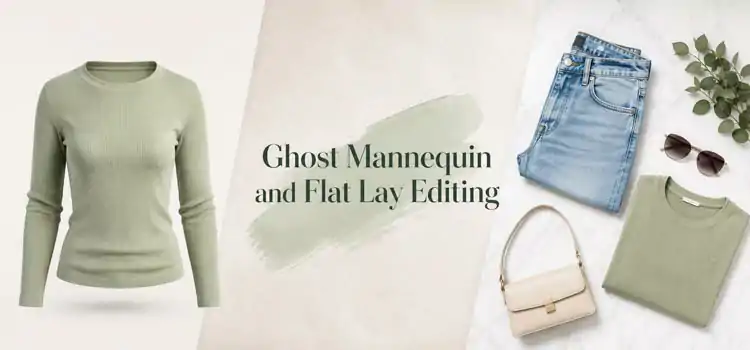
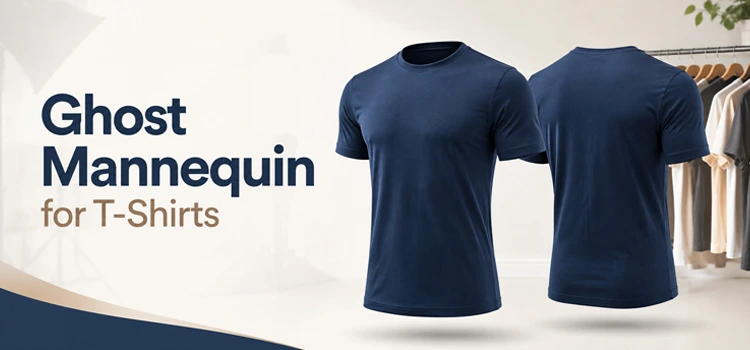
“Ghost mannequin service removes the mannequin from clothing images so the garment looks like it has a body inside. Flat lay editing cleans backgrounds and aligns products. Both methods need careful masking and compositing.”
Ghost mannequin also called the invisible mannequin effect needs multiple shots of a garment. Shoot the front, then remove the mannequin and shoot the inside of the neckline and hem. Composite these in Photoshop to create a full, hollow garment shape.
Align layers carefully. Misaligned composites look obvious and damage brand credibility. Use Guides and Grids to keep garment proportions consistent.
For flat lay images, correct lens distortion first. Then use the Transform tool to straighten edges and align the product to a consistent position across the batch. Clean the background with the Patch Tool or Content-Aware Fill.
What Is the Right Export Setting for Fashion Product Images?
“Export fashion product images as high-resolution JPEGs for web use and TIFFs for print. Use sRGB color profile for digital platforms. Match resolution and file size to each platform’s specifications.”
Different platforms need different specs. Amazon requires specific pixel dimensions and white backgrounds. Your brand website may need WebP format for faster loading. Social media platforms compress images, export slightly higher quality to compensate.
For web, export at 72-96 PPI with sRGB. Keep file sizes under 500KB for fast page loading. For print catalogs, export at 300 PPI in TIFF format with Adobe RGB or CMYK color profile.
Build an export preset for each platform. One click replaces a long manual process. Label presets clearly-Amazon_Main, Web_Product, Print_Catalog. Your team can then export without guessing settings.
How Do You Maintain Consistency Across a Large Product Catalog?

“You maintain consistency by using presets, templates, color profiles, and style guides. Apply the same settings to every image in a batch. Spot-check every 20 images to catch drift before it affects the full catalog.”
Consistency matters more than perfection in catalog photography. A buyer scrolling through 200 products notices when brightness shifts from page to page. Inconsistency makes the catalog look unfinished.
Use Lightroom’s sync feature or Capture One’s copy adjustments tool to paste your base settings across a full batch. Then do a final review by placing all images on a grid. Visual inconsistencies jump out immediately in a grid view.
Create a style guide document. Include target white balance values, shadow depth, background brightness, and crop ratios. New team members or freelancers follow the same guide and produce consistent results.
How Does Photo Editing Software Affect Your Workflow?
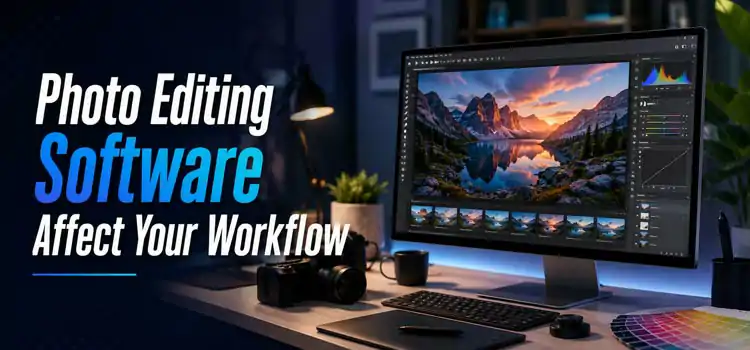
“Your photo editing software shapes your speed and output quality. Lightroom works well for batch processing and color grading. Photoshop handles detailed photo retouching. Capture One offers strong color tools for fashion specifically.”
Most professional fashion retouchers use Lightroom or Capture One for culling and grading, then move to Photoshop for detailed image editing. This two-software workflow uses each tool for what it does best.
Capture One has tighter control over color ranges, which helps when correcting fabric tones. Its layer system also supports non-destructive retouching inside the same application. Photoshop remains essential for compositing, background removal, and frequency separation.
Avoid using consumer apps for professional fashion work. They limit your control and rarely support the batch processing speed that large catalogs demand.
What Quality Control Steps Should End Every Workflow?
“Quality control means reviewing every exported image against your brand style guide before delivery. Check color accuracy, background cleanliness, edge quality, and crop consistency. A second-person review catches errors the retoucher misses.”
Never deliver images without a QC pass. Fatigue causes retouchers to miss errors. A second reviewer brings fresh eyes. Build QC time into your project timeline, it is not optional.
Check images at 100% zoom for dust, rough edges, and color banding. Then zoom out to check overall tone and composition. Toggle between images quickly in a grid to spot brightness inconsistencies.
Create a QC checklist. Mark each item pass or fail. If an image fails, send it back for correction before delivery. A documented QC process protects your team and builds client trust.
Frequently Asked Questions (FAQs)
-
How long does post-production take for fashion product photography?
Post-production time depends on image complexity. A simple flat lay on a white background may take 5-10 minutes per image. A ghost mannequin composite with detailed retouching can take 20-40 minutes. Batch presets and efficient file organization reduce time significantly across large catalogs.
-
What software do professional fashion retouchers use?
Most professional retouchers use Adobe Lightroom for batch culling and color grading and Adobe Photoshop for detailed retouching and compositing. Capture One is also popular in fashion for its precise color tools. Many studios use all three depending on the project type and client requirements.
-
What is frequency separation in fashion retouching?
Frequency separation splits an image into two layers, one holds texture, one holds color and tone. Retouchers smooth out uneven lighting or color on the tone layer without damaging fabric texture on the texture layer. It is a standard technique for professional garment retouching.
-
How do you remove wrinkles from clothing in post-production?
Use frequency separation to smooth tonal differences caused by deep wrinkles. Use the Liquify tool gently to push fabric back into shape. For minor surface wrinkles, the Healing Brush at low opacity works well. Always work on a separate layer to keep your edits reversible.
-
What color profile should fashion product images use?
Use sRGB for all digital outputs like websites, e-commerce platforms, and social media. Use Adobe RGB for print-ready files. CMYK is needed for offset print production. Always embed the color profile in your exported file so the receiving platform interprets color correctly.
-
What is ghost mannequin editing in fashion photography?
Ghost mannequin editing is a compositing technique. It combines two shots, one with the mannequin inside the garment and one of the garment interior without the mannequin, to create a hollow body effect. The result makes the garment look like a person is wearing it without showing a model.
-
How many images should you deliver per product?
Most e-commerce platforms recommend 4-8 images per product. This includes a hero shot on white background, multiple angles, a detail close-up, and a lifestyle image. Marketplace platforms like Amazon have specific image requirements. Always check platform guidelines before your shoot so post-production prep matches delivery needs.
-
How do you keep background color consistent across a full catalog?
Use a target value for background brightness for white backgrounds, aim for RGB 250-255. Use the Levels or Curves tool to bring each background to that target value. Apply a batch preset in Lightroom to align the full catalog. Spot-check every 20 images to catch drift.
-
Should you outsource fashion photo editing or keep it in-house?
Both options work depending on volume and budget. In-house retouching gives you faster turnaround and tighter quality control. Outsourcing reduces overhead for large-volume projects. If you outsource, create a detailed style guide and share sample approved images. This keeps external retouchers aligned with your brand standards.
-
What are the most common mistakes in fashion product post-production?
The most common mistakes include over-smoothing fabric texture, inconsistent background brightness, and clipped highlights in white garments, inaccurate fabric color, and poor edge quality after background removal. Skipping quality control is the biggest mistake of all. A structured workflow and a QC checklist prevent most of these errors before delivery.