New Features of Photoshop and Camera Raw (September 2026 Update)
“Photoshop and Camera Raw added 20 new features in the September 2026 update. These include AI assisted editing, dynamic text fit, glow effects, vector scope tools, better skin tone control, generative expand for raw files, and smart mask edges. Each feature saves time and improves your final image.”
Photoshop keeps growing every month. Some people say the software feels old. That is not true. This update proves it. Adobe added tools for AI editing, raw photo processing, color grading, and masking. Many photographers and designers use these features every day but do not know they exist. This guide explains all top new features of Photoshop and Camera Raw in simple words. You can also use these tools if you offer photo editing services to clients, since they save time on every project.
What Is the AI Assisted Mode in Photoshop?
“AI assisted mode is a new workspace in Photoshop 27.1. It hides layers, tools, and panels. It gives you a simple screen where you type prompts to edit photos. You can change colors, objects, or backgrounds with text commands. This mode works just like the Firefly web editor.”
This mode helps beginners who find Photoshop tools confusing. You open it from the home screen or from a button inside Photoshop. You type a prompt like change the wall color to blue. The tool then generates the edit. You can check your credit balance before you generate an image. Once you like the result, you send it to the pro editor for detailed changes.
How Do Markup Tools Work in the AI Workspace?

“Markup tools let you guide AI edits with text or brush marks. You write instructions on the photo itself. You can also draw circles or select regions. This gives the AI a clear target area. It removes guesswork from AI editing and gives better results.”
You pick the markup tool and add text near the object you want to change. You can also use a brush to mark areas for removal. Region selection lets you circle a full area and type an instruction for that part only. This method works well when you want to edit one detail without touching the rest of the photo.
What Does the Tune Beta Feature Do?
“Tune beta changes lighting in a photo based on a text prompt. You can type evening scene and watch the light shift in a smooth sequence. The image size gets limited to 1024 pixels during this process. Faces may change slightly during the transition.”
This tool works like a lighting simulator. It moves your photo through different times of day. You can pause the sequence at any point. The biggest limit is image quality, since the output size drops. Still, it gives fast ideas for lighting direction before you commit to full edits in Photoshop.
What Is the New Light Adjustment Layer?
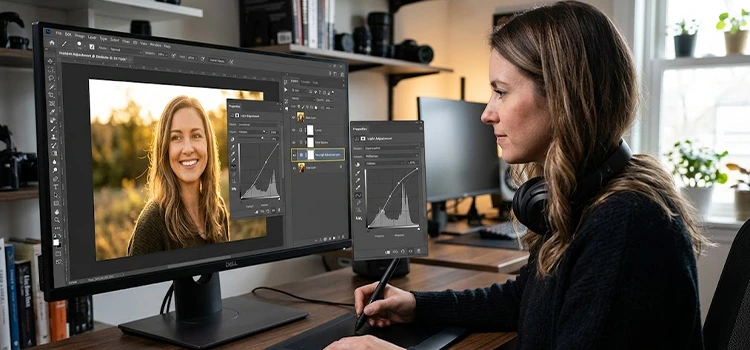
“The light adjustment layer combines exposure, contrast, highlights, and shadows into one non-destructive layer. You add it from the adjustment layer icon. You can stack many light layers on top of each other. This keeps your edits flexible and easy to undo.”
Before this update, these controls sat in separate places. Now they live in one panel. You can turn each setting up or down without touching your original pixels. This makes it simple to test different looks and remove them later if they do not work.
How Does Prompt to Edit Work Without Selections?
“Prompt to edit removes the need to select the whole image first. You just type your instruction in the contextual taskbar. Photoshop shows only models built for edits, not full image generation. This saves steps and keeps your workflow faster.”
In older versions, you had to select the full canvas before using generative fill. Now you skip that step. You type a prompt like place it in a luxury castle and Photoshop picks the right model for that task. This small change removes a common point of confusion for new users.
Which AI Model Handles Object Removal Better?
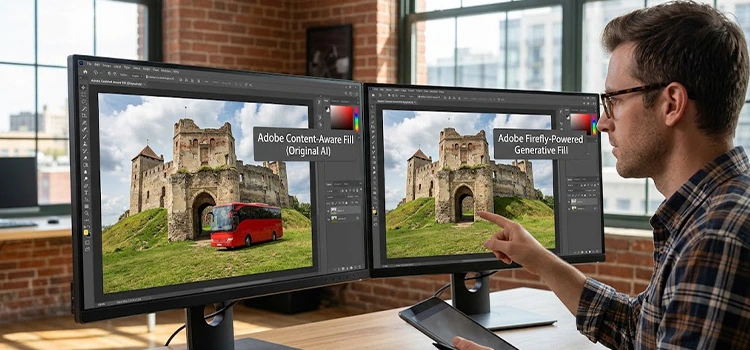
“Firefly Image 5 handles object removal with better context than Nano Banana. Nano Banana edits an area without understanding the full scene. Firefly Image 5 reads the whole image and removes objects cleanly. This matters most when removing items from complex scenes like cars.”
In a test with paper stuck behind a car windshield, Nano Banana rebuilt a full windshield in the wrong spot. Firefly Image 5 removed the paper correctly and kept the glass intact. This shows why model choice matters for accurate results.
How Do You Clean Up the Save Dialog Box?
“You can remove unused file formats from the save dialog box. Go to Edit, then Customize, then Save Dialog File Format. Move formats you never use to the unused list. This makes the save menu shorter and easier to read.”
Most users never touch formats like PCX or IFF. Removing them from view saves time every time you save a file. You can also restore the default list at any point if needed.
What Is Dynamic Fit for Text?
“Dynamic fit adjusts font size automatically as you type more text. It works on any shape, not just circles or straight lines. You turn it on from the text properties panel. This keeps your text inside a shape without manual resizing.”
Before this feature, you had to manually shrink text to fit inside a custom shape. Now Photoshop resizes the font in real time as you add words. This works well for logos, badges, and curved text designs.
What New Glow Effects Exist in Camera Raw?
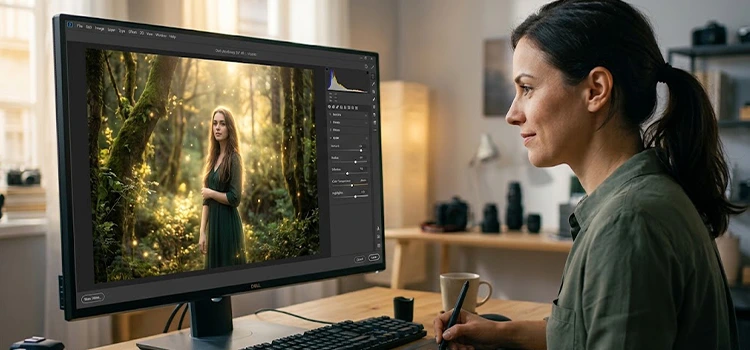
“Camera Raw 18.6 adds three glow styles: diffusion, bloom, and halation. Diffusion softens highlights. Bloom adds light around bright areas. Halation creates a colored glow around highlights. You control warmth, spread, and which highlights get affected.”
You apply glow inside the Camera Raw filter after converting your layer to a smart object. Each style changes the mood of your photo. Bloom works well for warm portraits, while halation suits dramatic or cinematic looks. You can layer glow twice by applying the filter more than once.
How Do You Remove Extra Pixels After Cropping?
“The trim option in Camera Raw deletes cropped pixels permanently. After you crop a raw photo, click trim to remove the hidden areas. This reduces file size and prevents accidental reveal of cropped content later.”
Normally, Camera Raw keeps all pixels even after a crop, so you can adjust the crop later. The trim button changes this. Once you trim, the removed areas are gone for good. Use this only when you are fully sure of your final crop.
What Does the Metadata Info Panel Show?
“The metadata info panel shows camera settings, content credentials, and photo location. It works with both raw files and JPEGs. Clicking the location link opens the exact spot in Google Maps. This helps confirm where and how a photo was taken.”
This feature helps photographers track shoot details without opening a separate app. It also helps prove authenticity for client work, since it shows any AI edits made to the file.
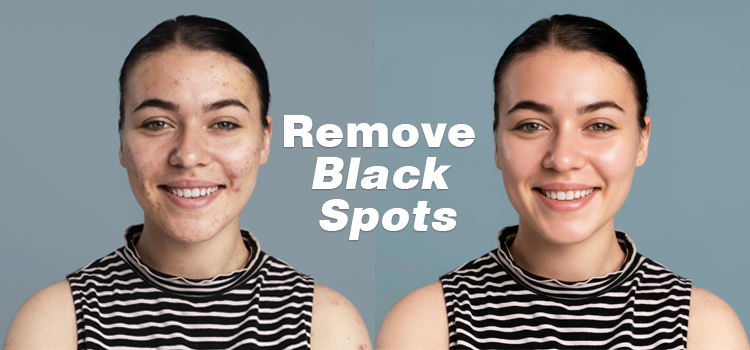
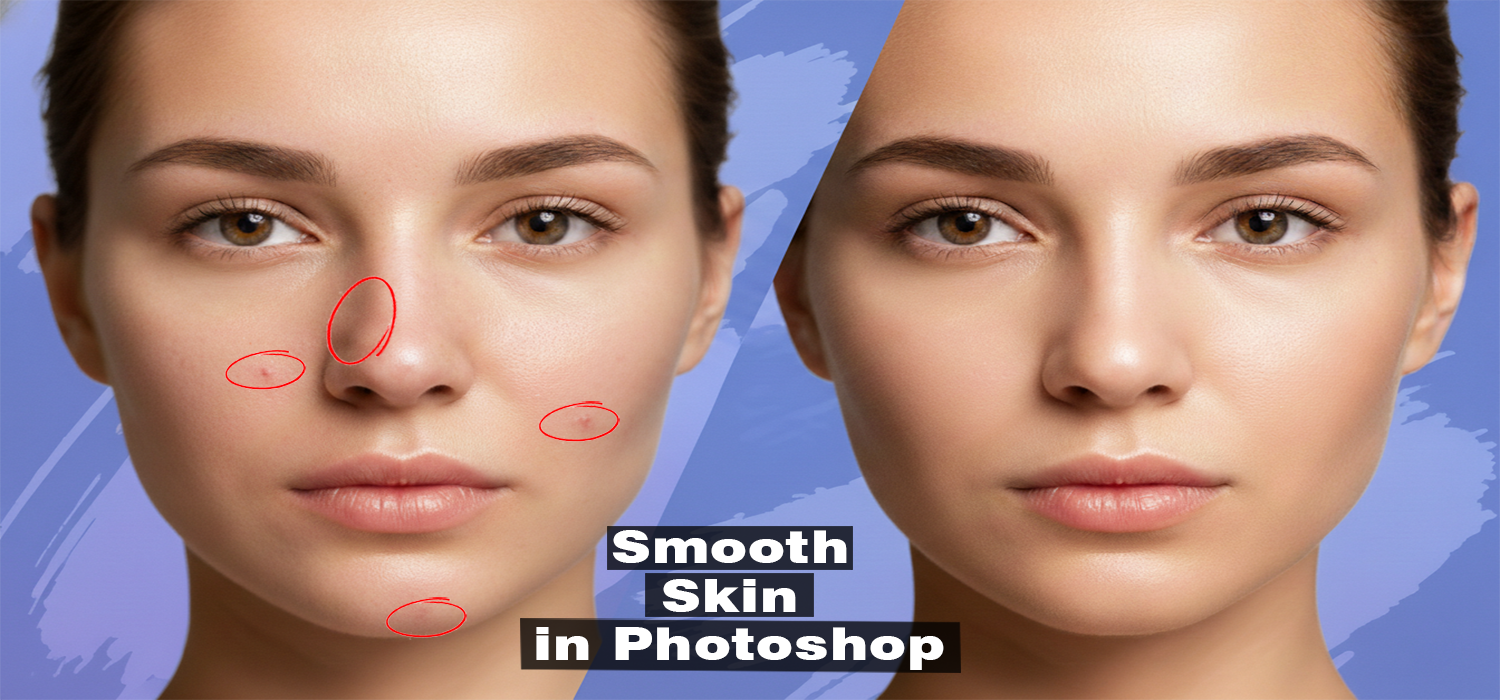
How Does Blemish Removal Keep Skin Texture?
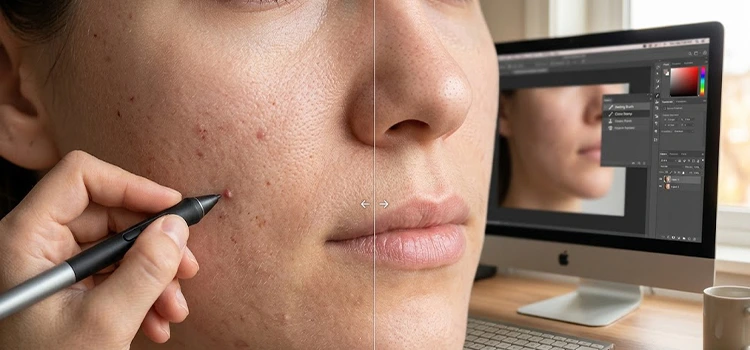
“Blemish removal in Camera Raw removes spots while keeping natural skin texture. You control how many blemishes disappear with a slider. A second slider handles moles and birthmarks separately. This avoids the fake plastic look common in older retouching tools.”
The tool targets the most visible blemishes first as you increase the slider. It leaves finer texture details in place. This makes portraits look natural instead of overly smooth.
How Do You Turn Off AI Features in Camera Raw?
“You can disable all generative AI tools in Camera Raw settings. Open the cog icon, then Generative AI, then uncheck Enable Generative AI Features. This removes generative remove, generative expand, and other AI based tools completely.”
Some photo competitions and client contracts do not allow AI edits. This setting helps you follow those rules. It keeps your workflow fully manual when needed.
What Is the Vector Scope Tool?
“The vector scope maps colors in your photo instead of brightness levels. You activate it by right clicking the histogram. Colors farther from the center show higher saturation. This tool helps you check and correct skin tones accurately.”
Video editors have used vector scopes for years in color grading. Camera Raw now brings this tool to photo editing. You hover over any part of your image to see where that color sits on the map.
How Do You Fix Skin Tones with the Skin Tone Indicator?
“The skin tone indicator line inside the vector scope shows correct skin color placement. You create a mask for skin areas, then adjust hue, saturation, and variance. This keeps skin tones natural across the whole photo.”
You use the eyedropper tool to sample skin color first. Then you fine tune the sliders until the color lands on the guide line. Too much variance makes skin look patchy. Too little makes it look flat and fake.
What Does Render to DNG Do?
“Render to DNG creates a fresh raw file with all edits removed. You right click the file and choose Render to DNG. This gives you a clean starting point while still keeping raw file benefits like generative expand.”
This feature helps when you want to start over without losing raw quality. Adobe creates a new file so your original edited version stays untouched.
How Does Generative Expand Work on Raw Files?
“Generative expand now works directly on raw photos, not just JPEGs. You enable it in the crop tool, then generate new content around your image. It keeps white balance and exposure settings intact across the new areas.”
This is a big step forward, since raw files hold more detail than processed images. The expanded areas blend without visible lines or tone shifts.
How Do You Open JPEGs Directly in Camera Raw?
“You can set JPEGs to open in Camera Raw automatically. Go to Photoshop settings, then File Handling, then Camera Raw preferences. Choose the option to open all supported JPEGs. This saves a step for photographers who edit JPEGs often.”
Keep in mind this setting can slow down simple tasks if you often work with JPEGs outside Camera Raw. Many users turn it on only for specific projects.
What Is the New Presentation Mode in Camera Raw?
“Presentation mode turns your photo review into a slideshow inside Camera Raw. You change the background color, toggle fit or fill view, and show info overlays. Arrow keys move between photos during the presentation.”
This feature helps when reviewing a shoot with a client. It gives a clean, distraction free view of each image without opening a separate app.
How Does Color Grading Work Inside Masks Now?
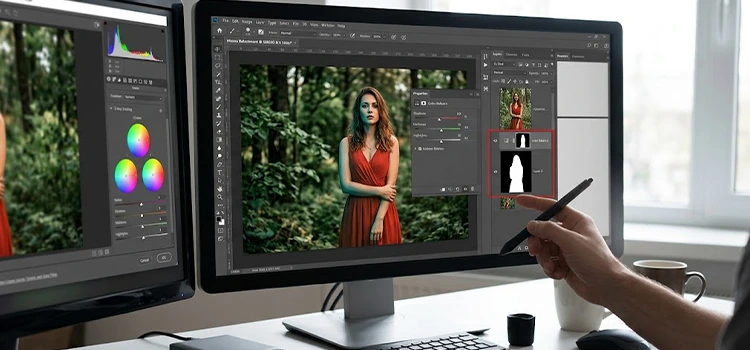
“Color grading wheels now work inside individual masks, not just globally. You select a mask, like the background, then apply separate color wheels for shadows, midtones, and highlights. This creates different color moods for different parts of one photo.”
Before this update, color grading applied to the whole image only. Now you can make a subject warm while keeping the background cool, all within one edit session.
What Do the Feather and Edge Sliders Do in Masking?
“Feather and edge sliders refine mask edges in Camera Raw. Edge expands or contracts the mask boundary. Feather softens the transition between masked and unmasked areas. Both sliders help fix rough or uneven masks.”
These sliders matter most with shallow depth of field shots. A soft feather setting blends the mask naturally into blurred backgrounds, avoiding a cut out look.
Which Feature Should You Try First?
“Start with the light adjustment layer and glow effects, since both are simple and give instant visual improvement. Then move to vector scope for skin tones and generative expand for raw files. These four features offer the biggest impact with the least learning time.”
This update brings real value to both beginners and advanced editors. Some features focus on speed, like prompt to edit and AI assisted mode. Others focus on precision, like vector scope and blemish removal. Together, they show that Photoshop and Camera Raw keep improving in ways that matter for daily work. If you run photo editing services for clients, testing these tools now will save hours on future projects. Learning the concepts behind masks, light, and color will always matter more than memorizing button clicks, since tools change but core skills stay useful for years.
Frequently Asked Questions
-
What is the biggest change in the September 2026 Photoshop update?
The biggest change is the AI assisted mode. It gives users a simple text based workspace for editing photos without touching layers or tools. This mode helps beginners edit fast while still allowing export to the full Photoshop editor for detailed work later.
-
Does Camera Raw 18.6 work with JPEG files?
Yes, Camera Raw 18.6 works with both raw files and JPEG files. Most features like blemish removal, metadata info, and vector scope apply to JPEGs too. However, some features, like generative expand with full white balance data, work best on raw files due to more image information.
-
Can I turn off AI features in Camera Raw completely?
Yes, you can disable all AI features in Camera Raw. Open the settings cog, go to Generative AI, and uncheck the enable option. This removes generative remove, generative expand, and other AI tools, which helps when working under a strict no AI client policy or competition rule.
-
What is the difference between diffusion, bloom, and halation glow?
Diffusion softens highlights without adding new light. Bloom adds a soft light halo around bright areas. Halation creates a colored ring around highlights, often seen in film photography. Each style changes the mood of a photo differently, so testing all three helps you find the right look.
-
Why does Nano Banana sometimes fail at object removal?
Nano Banana edits only the selected area without full scene context. This can cause strange results, like rebuilding a removed object in the wrong place. Firefly Image 5 reads the whole photo before editing, which gives more accurate and context aware results for object removal tasks.
-
How does the vector scope help with skin tones?
The vector scope shows a color map with a guide line for correct skin tone. You sample skin color with an eyedropper, then adjust hue, saturation, and variance until the color lands on the guide line. This method gives more accurate and natural skin tones than guessing with basic sliders alone.
-
What happens when I click trim after cropping in Camera Raw?
Clicking trim permanently deletes the pixels outside your crop area. This differs from a normal crop, which keeps hidden pixels for later adjustment. Use trim only when you are certain about your final crop, since you cannot recover the removed areas after applying this action.
-
Can generative expand work on raw photos now?
Yes, generative expand now works directly on raw photos inside Camera Raw. It expands the image while keeping white balance, exposure, and other raw settings consistent across the new areas. This was not possible before, since expand tools mainly worked with processed image files like JPEG or PNG.
-
How do feather and edge sliders improve masking?
Feather and edge sliders help refine rough mask edges. Edge expands or shrinks the mask boundary, while feather softens the transition between the masked and unmasked areas. These sliders matter most in photos with shallow depth of field, where a hard mask edge can look unnatural against a blurred background.
-
Are these features useful for professional photo editing services?
Yes, these features save time and improve accuracy for professional work. Tools like blemish removal, vector scope, and light adjustment layers speed up common editing tasks. Anyone running photo editing services for clients can use these updates to deliver faster results while keeping images natural and high quality.