How to make a clipping path in illustrator

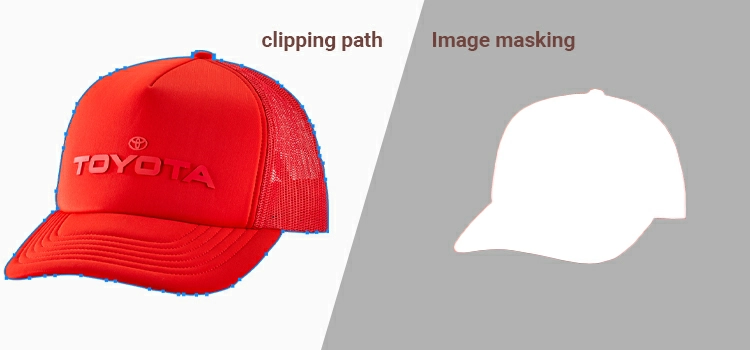
Clipping path is one of the most important skills of photo editors or graphic designers working with vector graphics, ecommerce product photos, print-ready designs, etc. If you have ever needed to isolate an object from messy backdrop, remove a background or replace white background cleanly, or prepare artwork for professional use, knowing how to make a clipping path in Adobe Illustrator or in Photoshop is a must.
Unlike automatic AI tools, Illustrator’s and Photoshop’s clipping path method will give you precise control, smooth edges, and scalable results that stay sharp at any size.
Though Photoshop is widely used to do clipping path for photo editing, in this guide, we will describe a clear, step-by-step approach to creating accurate clipping path in Illustrator, irrespective you are working on simple shapes or more detailed objects for ecommerce product images and print projects.
Step-by-Step: Creating a Clipping Mask
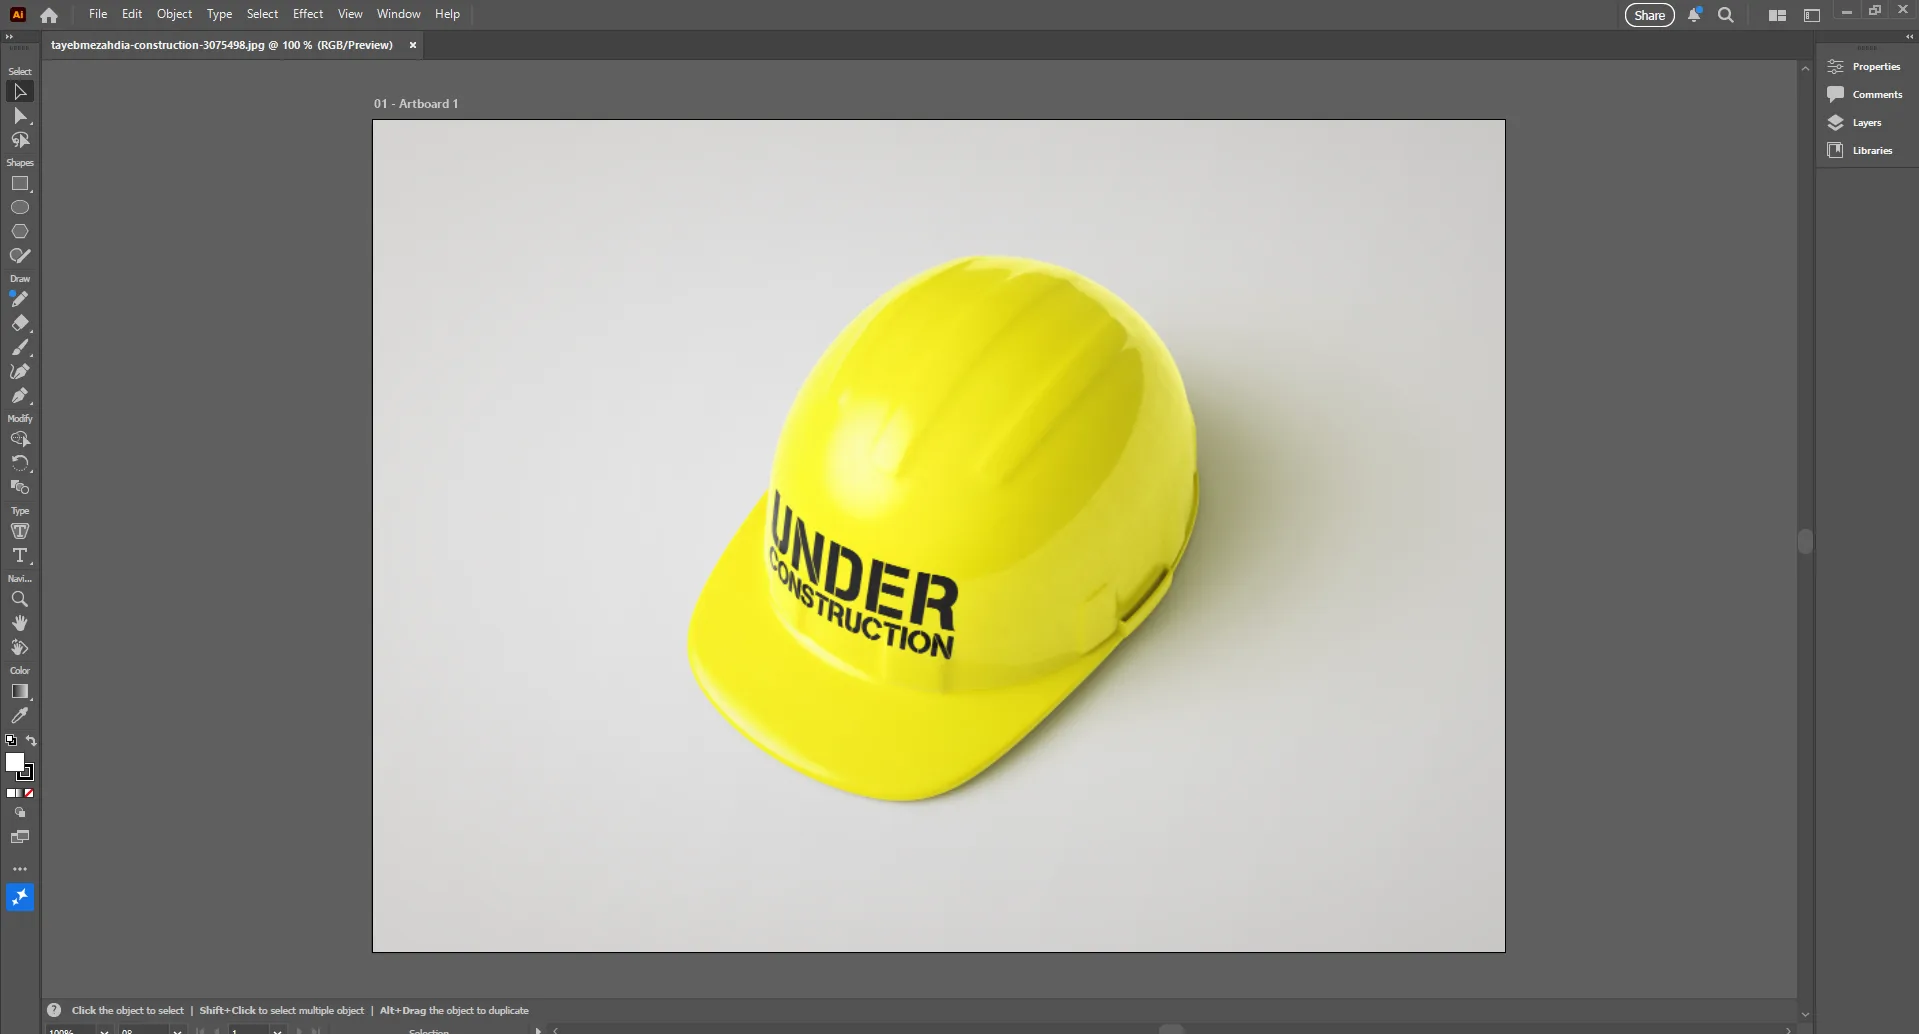
First, bring the asset you want to mask onto your artboard.
- Go to File > Place to import an image, or simply draw a vector object.
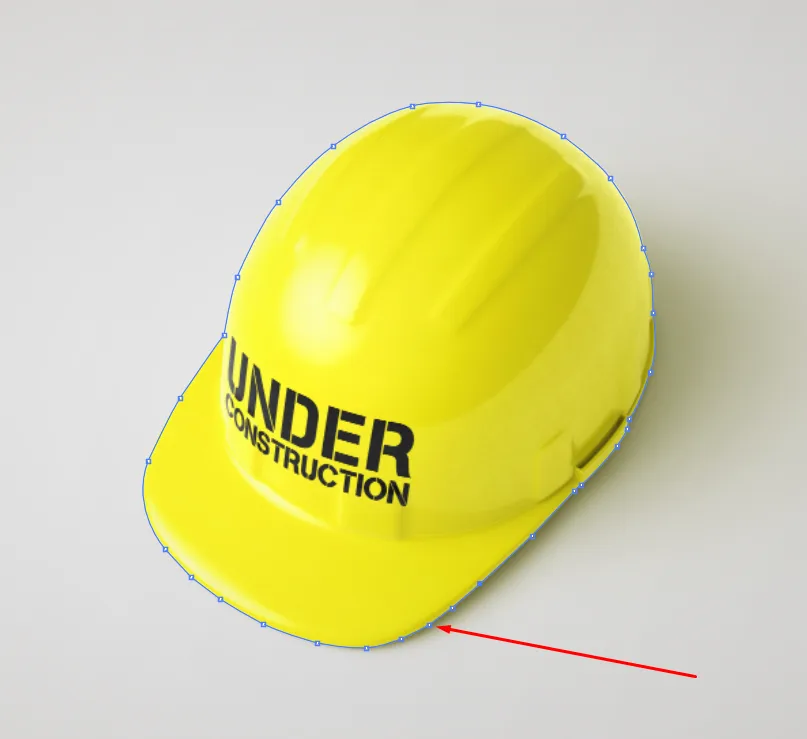
Draw Your Clipping Path (The “Mask”)
You need to create the shape that will act as the “window” for your image.
- Use the Pen Tool (P) for precise, custom shapes or a Shape Tool (M, L) for basic geometry.
- Crucial Rule: The path you draw must be positioned on top of the object you want to mask in the Layers panel.
Position the Path
Move your path directly over the area of the image you want to keep visible.
- Tip: It is often easier to turn off the “Fill” of your path and just keep a thin “Stroke” while positioning so you can see exactly what’s underneath.
Select Both Objects
You must tell Illustrator which two items are interacting.
- Use the Selection Tool (V) to click and drag over both the path and the image, or hold Shift and click them individually.
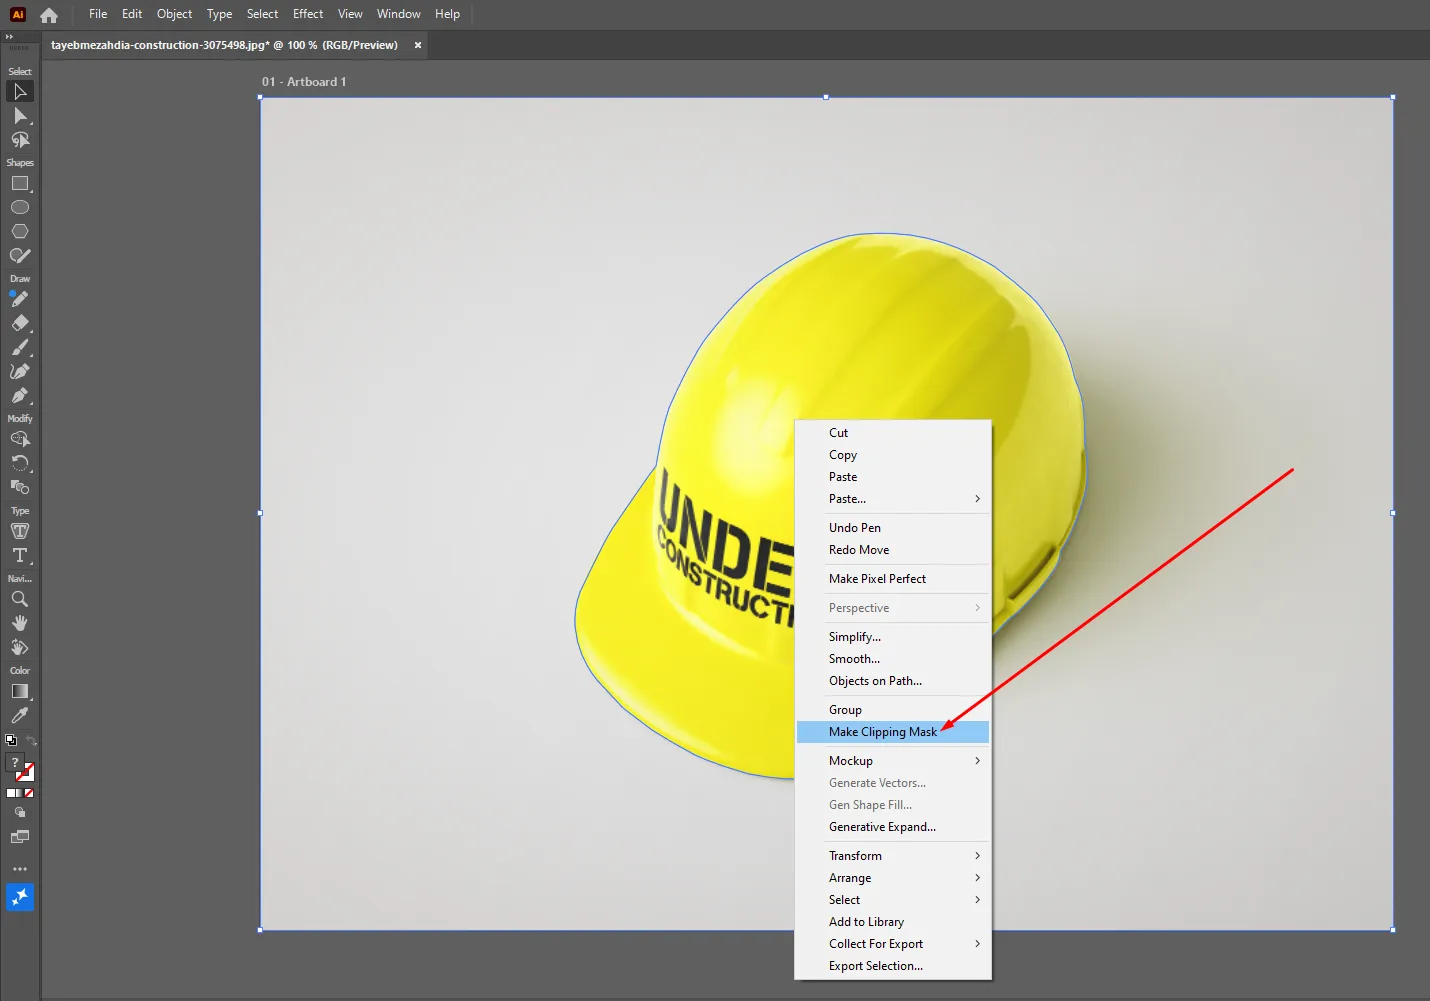
Create the Clipping Mask
Now, apply the mask using one of these three methods:
- Keyboard Shortcut: Press Ctrl + 7 (Windows) or Cmd + 7 (Mac).
- Top Menu: Go to Object > Clipping Mask > Make.
- Right-Click: Right-click on the selection and choose Make Clipping Mask.
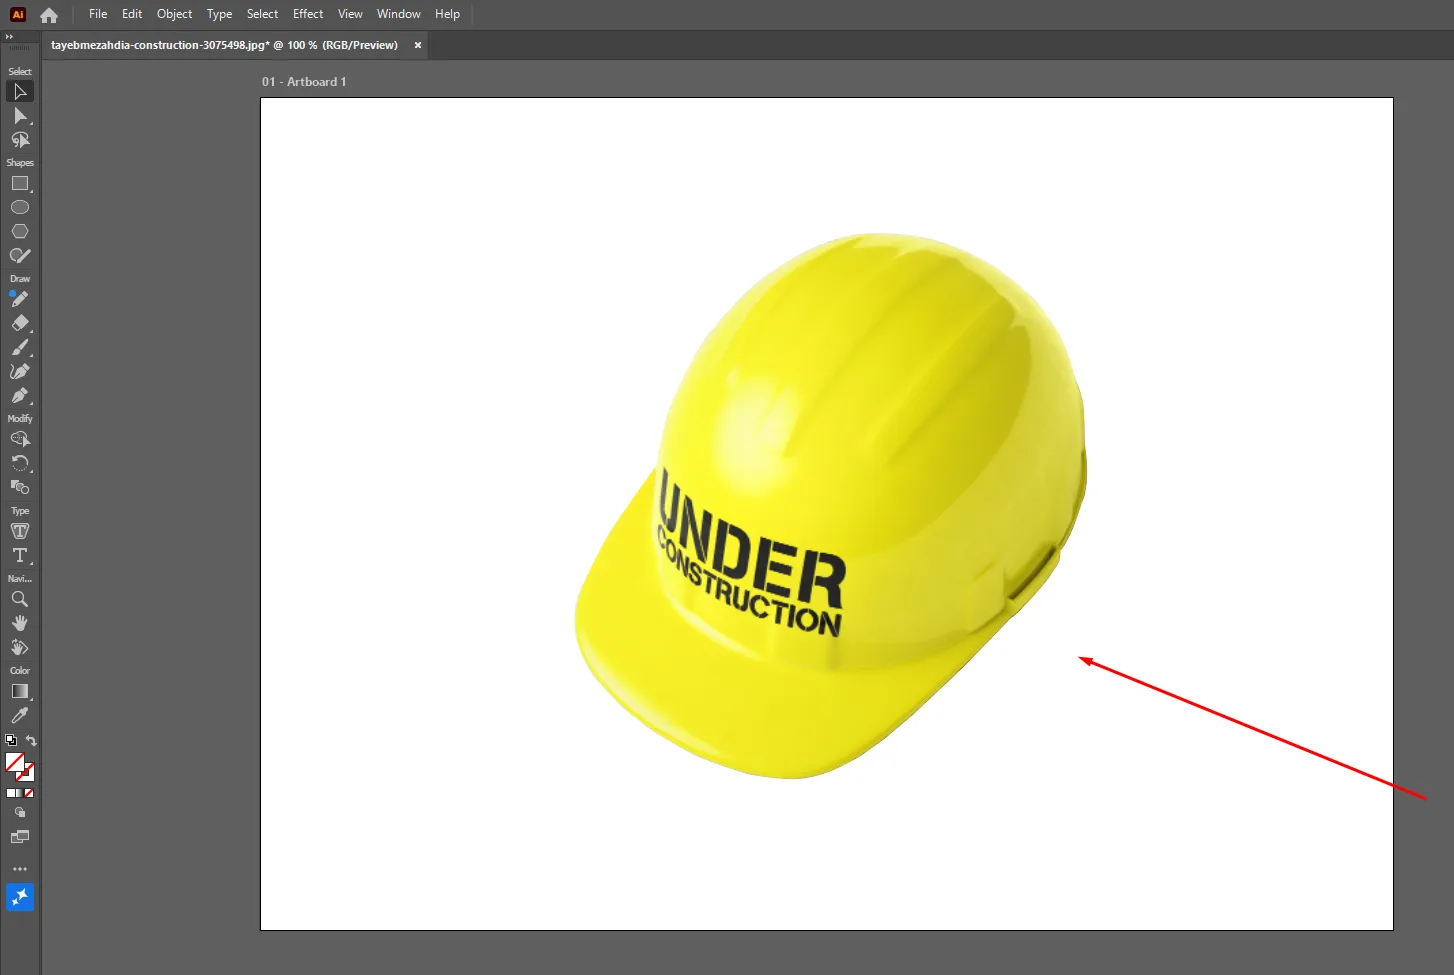

How to Edit Your Clipping Path
Once the mask is created, you are not stuck with it! You can still fine-tune the results:
- Adjusting the Path: Use the Direct Selection Tool (A) to click on the edges of your mask. You can move individual anchor points or handles to reshape the “window.”
- Moving the Image Inside: Double-click the masked object to enter Isolation Mode. This allows you to move or resize the image behind the mask without moving the mask itself.
- Releasing the Mask: If you change your mind, go to Object > Clipping Mask > Release (Alt + Ctrl + 7 / Option + Cmd + 7).
Pro Note: If you want to mask an image using multiple separate shapes at once, you must first turn those shapes into a Compound Path (Ctrl + 8) before creating the clipping mask.
Final Thought
Knowing how to create a clipping path in Illustrator will give you much more control than depending on the automatic background removal tools only. Through careful path drawing and perfect placement, with a clipping mask application, you can isolate objects with sharp edges and scalable across all sizes. Equally, Illustrator will give you the options to reedit your work even after the mask is made. You can change anchor points, move the image within the mask, or let go of and create the path again if necessary.
If you are preparing product images for eCommerce, getting your artwork print-ready, making highly accurate vector designs, etc. then clipping path in Illustrator is a fundamental skill. It will take the quality and professionalism of your photo editing or designs to a whole new level.
Related posts


Clipping Path Synonyms Antonyms and Multilingual Words

