How to Invert Colors in Photoshop – 3 Easy Steps

Photoshop makes the color inversion process quite easy. You can invert the colors of an entire image or the parts of an image. It is also possible to invert the colors of multiple photos at once using the Action feature in Photoshop.
What Is Color Inversion?
Color inversion is the process of applying the opposite colors in the spectrum to the selected colors in an image. There are many tools available for inverting the colors of an image including Photoshop.
Photoshop offers multiple ways to invert the colors of an image. Here we are going to describe a few ways you can apply color inversion in Photoshop.
Learn: How to Invert Colors in Photoshop
You can follow these 3 steps to invert colors in Photoshop easily. You may also use the keyboard shortcut to do the same thing in just a second. And if you’re willing to invert a black-and-white image, you can do that as well. So, here’s how you do it:
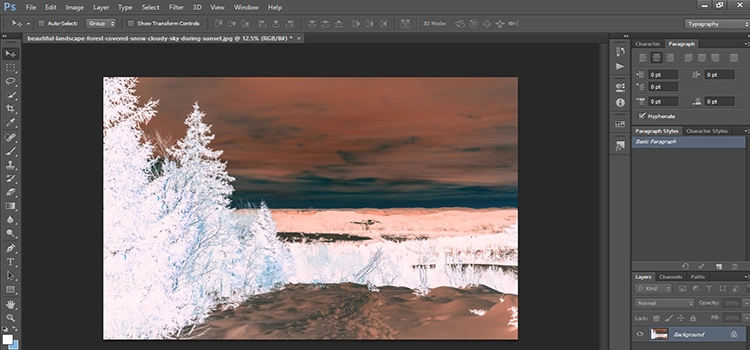
1. Invert the Colors of an Entire Photo
- Open Photoshop on your computer. Click File>Open, and then select the image that you want to work on.
- From the top menu bar, select Image > Adjustments > Invert.

- Doing so will invert the colors in your photo.
2. Invert the Colors of a Selected Area of a Photo
It is also possible to invert the colors of a selected portion of an image. For this, you need to select a specific part of an image using the selection tool and invert the colors of only that portion. To do this, follow the steps below.
- Open the image in Photoshop.
- Select the portion of the image you want to invert using Marquee, Lasso, or other selection tools.
- Then go to Image > Adjustments > Invert from the top menu bar.

- Photoshop will invert the colors of the selected area.
You may also read: How to Change Background Color in Photoshop [Multiple Methods Explained]
3. Color Inversion of Multiple Images at Once
Photoshop lets you invert the colors of multiple images at once using its Action feature. This process requires only a few clicks, and you do not have to do this for each photo individually. Below we are describing the process to create an action to invert colors of multiple images in Photoshop.
- Create two folders on your desktop and name them “Original Photos” and “Inverted Photos”.
- Save all the photos you want to invert in the “Original Photos” folder, and once the colors are inverted in the photos, save them in the “Inverted Photos” folder.
- Open an image in photoshop. Go to Window > Actions to activate the action panel.
- Select “Create New Action” from the Action panel to create a new Action.

- You can name the new Action “Invert Photo Colors”. Then click “Record”.
- Once the Action record started, click Image > Adjustments > Invert.

- This will invert the color of the photo. Save the file in the Inverted Photos folder by clicking File > Save As.
- Click the Stop Recording button from the Actions Panel to stop recording of your action.
- Click File > Automate > Batch to batch invert colors of your photos.
- Select “Invert Photo Colors” from the Action drop-down menu. Keep Folder in the Source menu.
- From beneath the Source menu, click Choose to select the Orginal Photos folder.

6. Hit Ok. Photoshop will automatically invert the colors of all photos in the Original Photos folder. And, the inverted photos will be saved in the Inverted Photos folder.
You may also read: How to Change Hair Color in Photoshop- Tutorial
Wrapping Up
We have discussed several ways to invert the colors of an image in Photoshop. You can create beautiful effects in your designs using these techniques. Try and explore yourself!
Frequently Asked Questions (FAQ)
1. What is the shortcut for inverting colors in Photoshop?
The keyboard shortcut for inverting color on a PC is Ctrl+i and Command + i on a Mac. Also, you can get the same result by going to Image > Adjustments > Invert.
2. How can I invert the colors in a black-and-white picture?
You can follow the same technique we showed in this article to perform this task. And if it is a negative image, you can create an adjustment layer with invert, and later on you may work on color correction for a more accurate result.
3. Why can’t I invert in Photoshop?
Make sure you are in 8-bit or 16-bit mode. If 16-bit is not working for you, you may switch to 8-bit. And if you want to know more about this particular solution, you can check out this well-explained Adobe Community Answer from @davescm.
4. How can I invert a selected area in Photoshop?
To invert a selected area in Photoshop, you can press Ctrl+Shift+i on PC or Command+Shift+i on Mac. Alternatively, you can do the same thing by navigating to Select > Inverse.
5. What is the difference between Invert and Inverse in Photoshop?
In Photoshop, invert refers to inverting the color of an image, whereas inverse refers to inverting the selection of an area of an image.


