How to Change Background Color in Photoshop [Multiple Methods Explained]

Many times, you might have felt like deleting some of your photographs only because of poor background color. There might have been occasions that an aptly taken shot turned out to be an ordinary one due to incompatible background color.
But that doesn’t mean those images will come of no value. Thanks to Photoshop for its unparalleled ability to transform an ordinary image into an extraordinary one only by changing its background color. By tweaking background color, you can bring life to a dull photograph.
You may also like to know– How to Remove Image Background in Photoshop.
How to Change Image Background Color in Photoshop
There are a number of techniques available through which you can modify an image background color. In this tutorial, we will enlighten you about 2 stunning Photoshop techniques that you can utilize to change background color.
So, let’s get started with the 1st method…..
Open your Image
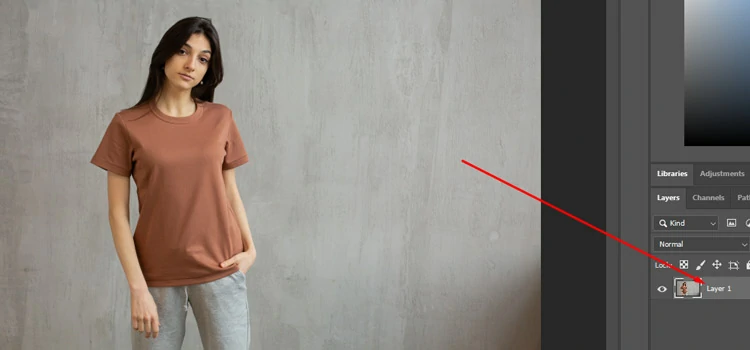
At first, open an image with a white or grey background in your Photoshop window. Rename the background layer. We renamed the background layer with Layer 1.
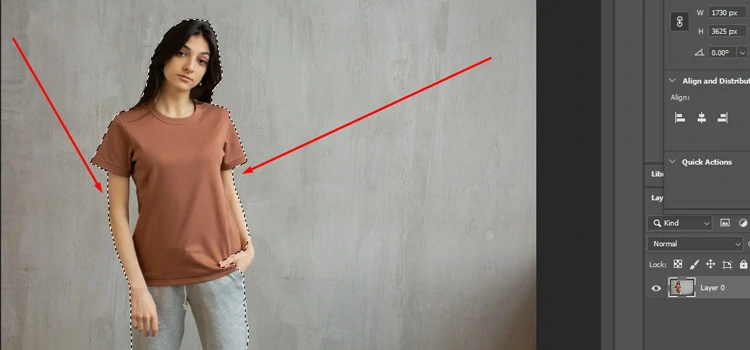
Make a Selection around your Main Subject

Now, go to the Select tab on the menu bar and click Subject from the drop-down menu. Photoshop’s AI-based Adobe sensei technology will analyze your image and select the main subject.

As you can see from the image below the selection is super perfect. Sometimes, there can be imperfections in selection. That part, you have to fix manually which we will show in the other method.
Select a Solid Color

Next, click the “Create new fill or adjustment layer” icon from the bottom of the Layers panel and choose a solid color from the pop-up window. Then, hit Ok button to apply the color.
Invert the Selection and Color

As we selected the subject, the color will be applied to the subject. But we need to apply the color to the background. So, just select the Layer mask icon and click invert from the properties panel. You can also invert the selection and color from the menu bar.
Image > Adjustment > Invert
Blend the Background Color

As you can see from the image below that the background color has changed but it looks flat. To make it more realistic, you have to blend the background color with the original color and its shadows.
To do that, select Multiply from the blending mode drop-down menu.
Final Output

Finally, the background color has changed realistically as you can see from the image below.
This is how you can modify the background color of an image simply and easily. This is a very easy method we have demonstrated to you. Even if you are a newbie, it should be a piece of cake for you to change the background color of an image if you follow this method.
But you must be using any of the latest versions of Photoshop to take advantage of the AI technology for making selections. If you are using one of the old versions of Photoshop, you won’t get the AI feature for selection. In that case, you have to apply a different method which we will show you now.
2nd Method
Open your Image in Photoshop
Open the image in Photoshop as was shown in the earlier method and rename the background layer to Layer 1.
Make Selection around the Subject with Quick Selection Tool

Select the Quick Selection tool and drag the cursor over the subject and its edges to create the path. Once you complete the dragging, the selection will be complete.
Refine the Selection

The selection looks pretty good but there are areas that need to be fixed manually. Press the Q key on the keyboard to activate the Quick Mask mode. This mode applies a red overlay on the areas that aren’t selected. This will help you to select the necessary areas that the tool couldn’t select.
Now, select the Brush Tool from the menu bar and paint the areas that you want to be selected using the color white or black.
Press the Q key on your keyboard again to see the selection after the painting.
The next steps are like the first method starting from the step “Select the Solid Color” onwards. Just follow them and you will be done with the background color change.
That’s all we had in this tutorial for you. Hopefully, you enjoyed the tutorial. Until next time, stay positive and have a pleasant time.