How To Wrap an Image in Photoshop
If you want to wrap an image or text around an object without making the image distorted, you will need to warp the image in Photoshop. There are two ways you can do so. First, you can use a predefined shape from the warp style menu at the top bar.
Second, you can also use a custom shape and change the perspective by using individual control points or handles. Designers normally use a shape first and then drag the control points and handle to achieve the desired results.
We’ve also included a video tutorial on this topic at the end to help you comprehend it and apply it to your project.
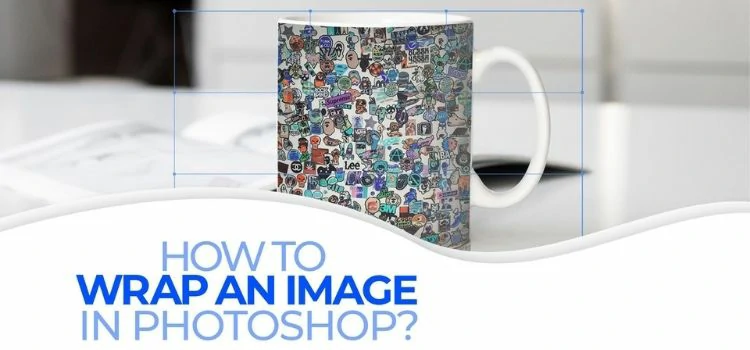
Let’s assume that we have two images- one of a coffee mug and a texture. We are going to wrap the texture around the cup.


Learn How to Wrap an Image in Photoshop
A custom-designed texture-added coffee mug can be an interesting and lovely addition to your desk during the cold season of winter. But before finalizing the design, you may want to make sure that the outcome will look good and natural. You would be happy to know that warping an image around an object is quite simple and can be accomplished in a few steps.
You may also read: How to invert colors in Photoshop?
Step 1: Upload Your Images to Photoshop
Open both the images in Photoshop. Drag the texture image to the coffee mug image in Photoshop.
Or press Ctrl+O to open an image. This will create a new layer. Now resize this texture layer to fit the coffee mug. You can do so by selecting Edit>Free Transform from the top menu bar.

Step 2: Apply the Warp Transformation
First, select the layer you want to apply the warp. Go to the top menu bar and select Edit>Transform>Warp or right-click on the mouse to apply the warp transformation.

Step 3: Use a Custom Shape to Adjust Your Design
If you think that your design still needs additional warping, you should select a custom shape from the warp-style menu. Or you can adjust it manually as we did below.
You can adjust the photo as much as want by dragging the control points and pulling the handles. Finally, once you are fully satisfied, you should save your changes.
If the texture image looks separate from the coffee mug, you can apply a blending mode such as Overlay from the layers panel.

Step 4: Apply Blending Mode
Here’ to give a natural look to the wrapped image. However, just blending an image will not provide an expected outcome because it does not correspond to the setting depicted in the above image. But, before we proceed further, let’s create a better version of the modified image.
Select the texture picture and the blending mode that best fits the image from the blending options above. In our example, we’ve chosen the “Exclusion” mode from the filter above.
You may also read: Learn to Blend Colors in Photoshop

Final Step 5: Adding Reflection Shadow
This tutorial featured more than just showing you how to wrap a photo. Making a picture appear more appealing and natural is an important consideration when modifying a photograph in Photoshop. So, we’ve added a reflection shadow to the environment since it has a bright surface. Here’s how you can do it-
Duplicate the previous texture by selecting the layer and pressing Ctrl+J (A Shortcut to Duplicate a Layer) on the keyboard. Following that, move it to the below of the cup and follow the exact method we followed before to wrap the texture around the cup.
After wrapping the image, add a slight light gradient hue to the surface to obtain a natural look.

Learn to Warp Photos in Adobe Photoshop: Video Tutorial

Final Result

So, finally, after all the steps are followed correctly, we get our final image which looks like the above image. You may not get perfect on your first attempt, but with much practice, you can get the results you desired.
Now that you learned the easy way to warp an image in Photoshop, we hope that you will explore more of these tasks on your own. And last but not least, feel free to add this project to your portfolio if you want. Thanks.