How to Use Gaussian Blur in Photoshop (Easy Steps)

In Photoshop, there are hundreds of opportunities to play and create amazing things in less complexity and time. Today as a part of our regular tutorial series, we have come to let you know- how to use Gaussian blur in Photoshop in the most convenient method. To reduce noise or blur image background, this special effect is crucial.
Learn: How to Add Gaussian Blur in Photoshop
Blurring an image in Photoshop is very simple but it is necessary to understand the principle. There’re 11 types of blur available in Photoshop. But today we’re going to apply the Gaussian blurring effect in the below image.
We’ve picked a picture where we can add some extra work to make it kinda look creative.
So, let’s start our step-by-step guide to learning the use of this particular gaussian blur effect in Photoshop.
Step 1: Open the Image
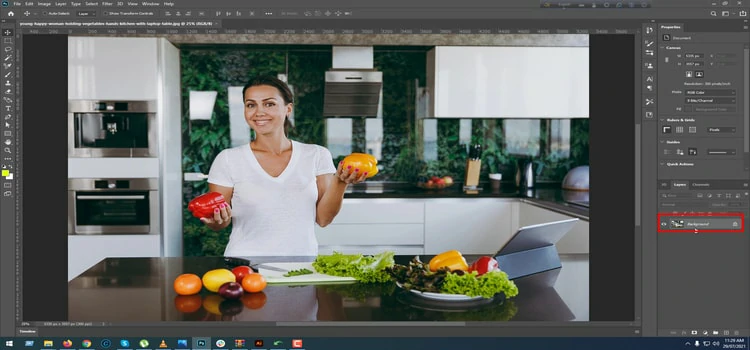
To open the image, go to File>Open or press CTRL+O. Choose your preferred picture and press the open button. You don’t need to worry about setting up the picture viewport if you’re using the latest version of Photoshop.
However, if you are using an earlier version, you may hold the image tab and drag it to the right after the menu bar. And you’re good to go.
Step 2: Duplicate the Image

Press CTRL+J to duplicate the original layer. Or you can select the layer > Right Click and select Duplicate Layer.
It was only to make a backup image of the original. You may switch back to the previous one simply deleting the duplicate layer.
Step 3: Apply Gaussian Blur Filter


Go to Filter> Blur> and select Gaussian Blur to apply the Gaussian Blur filter. It is as easy as that. It’ll pop up a new window. And enter the Radius value in pixels. Remember that we set the radius value to 40.1 pixels, but you can change it to whatever figure that works for your image context.
Step 4: Pick a Mockup Image

You may create your own product mockup in Photoshop or use your existing one. To place the image; go to File> Place Embedded. This will automatically embed your image and you can easily customize it now.
Step 5: Select the Background

Select the mockup background with the Magic Wand tool. However, if the background is complex you can also use the pen tool to draw a path and select the object.
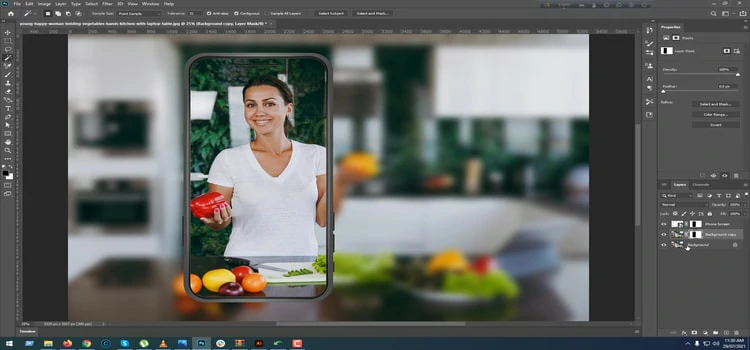
Step 6: Add Layer Mask

Now, select the mockup and press Alt+Right Click on the Layer Mask icon, and then press Ctrl+Right Click on the mask layer. This will get rid of the mockup background.
After that, select the “Background copy” layer and click on the layer mask icon again from the bottom of the layer panel. This will remove the blur from the mockup selection so that you can see the inside of the mockup.
Step 7: Duplicate the Fuzzy Part


First of all, choose the Rectangular Marquee tool. Select the section and press Ctrl+J to duplicate the selection.
Step 8: Layer and Position

Drag the layer on top of the layers. This will highlight the girl’s hand. The exciting part is that we’re doing this extra effort not only to demonstrate the use of the Gaussian blur filter but also to make it look creative.
Last Step
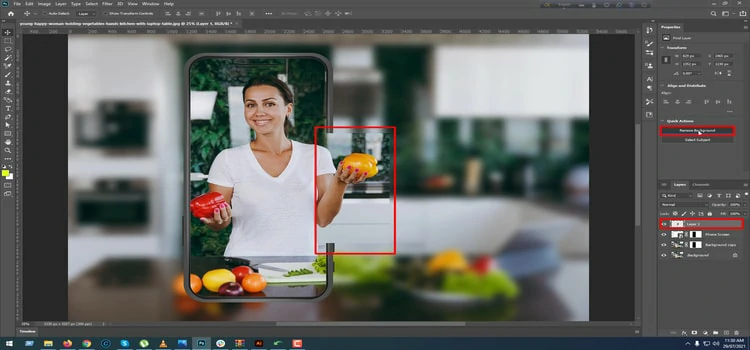
Now, click on Remove background. We’re done. And here’s the before and after result.
Final Result


Wrap-up
As we said earlier, there’re various types of blur filters in Photoshop. But you should know the difference between the filter types. We hope this tutorial showed you to learn the basic usage of the Gaussian blur and the way you can add Gaussian (“gow-see-an”) blur to your image background.
So, best of luck practicing the use of Gaussian blur and take the maximum advantage of making the images most appropriate and perfect.


