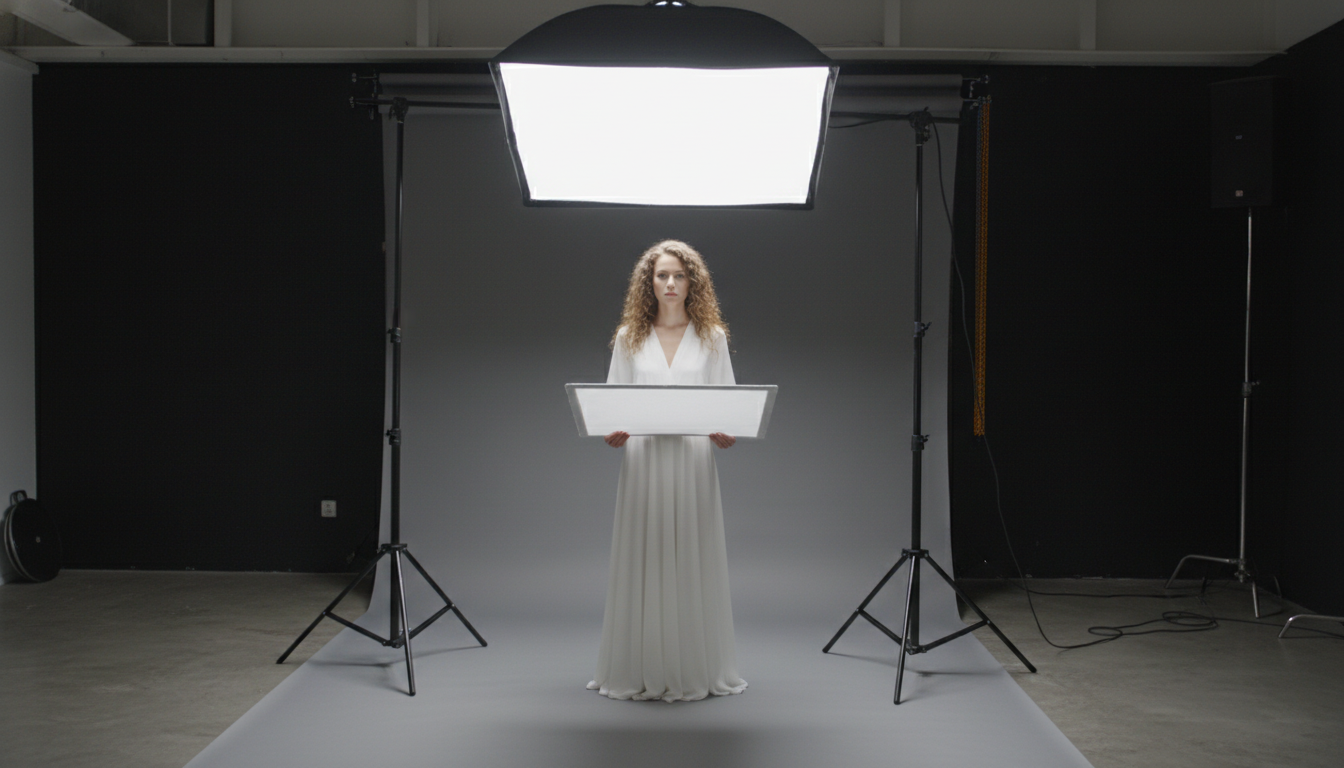
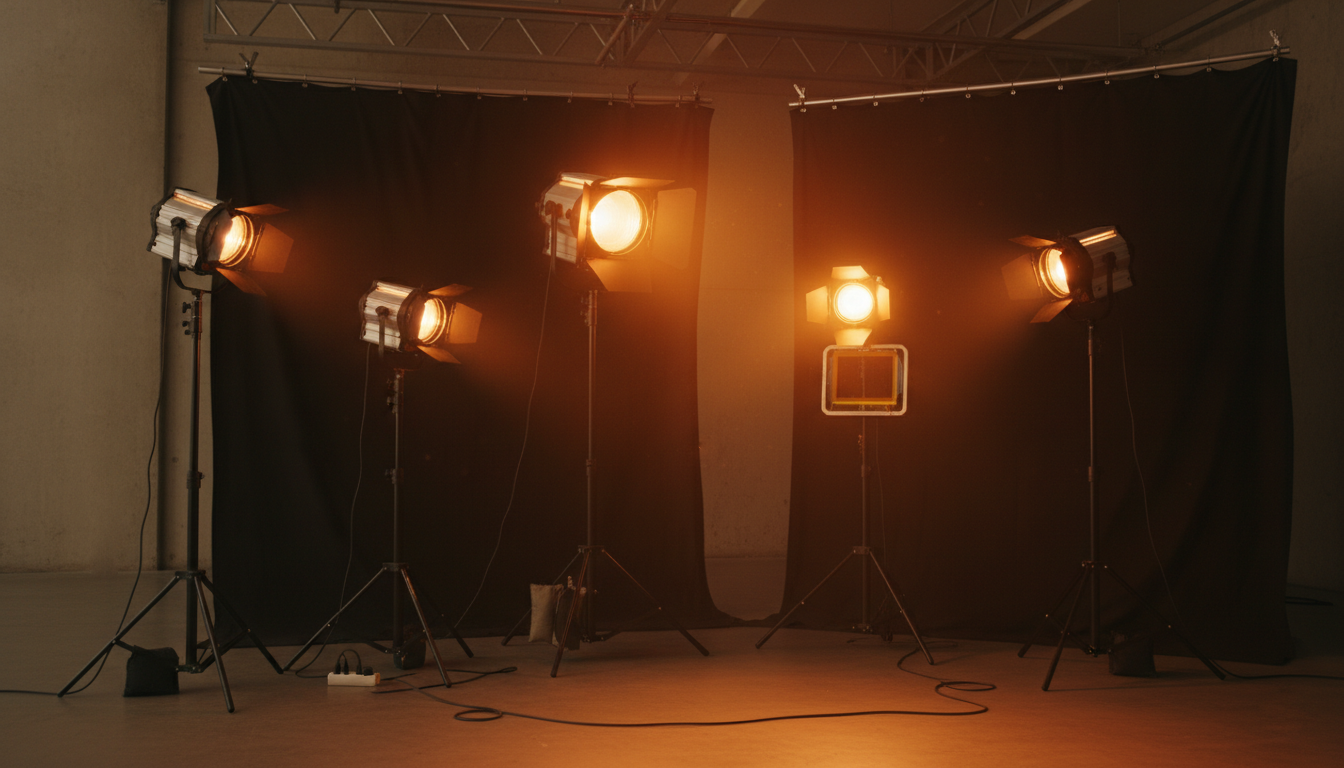
Types of lighting in photography Every Photographer Should Know
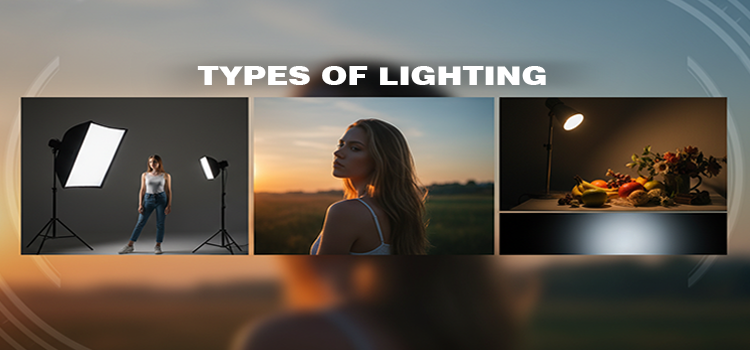
Lighting controls photo quality. It creates feels, shapes mood, adds depth, and detail. The right types of lighting in photography can make an ordinary photo look professional. In the same way, a poor light can ruin a great subject to be a memorable photograph.
In photography or even in video shooting, lighting is not one-size-fits-all. Different situations demands varied types of light. For example, natural light works well for lifestyle shots and studio light gives full control. Some lighting adds cinematic look or drama and some others keep things soft and clean.
We are going to cover the main kinds of lighting used in photography here. You will understand their functioning and the time you need to use them. If you try to take pictures of people, products and simple nature, the understanding of the right lighting will be the tool with which you will make your photos great every single time.
-
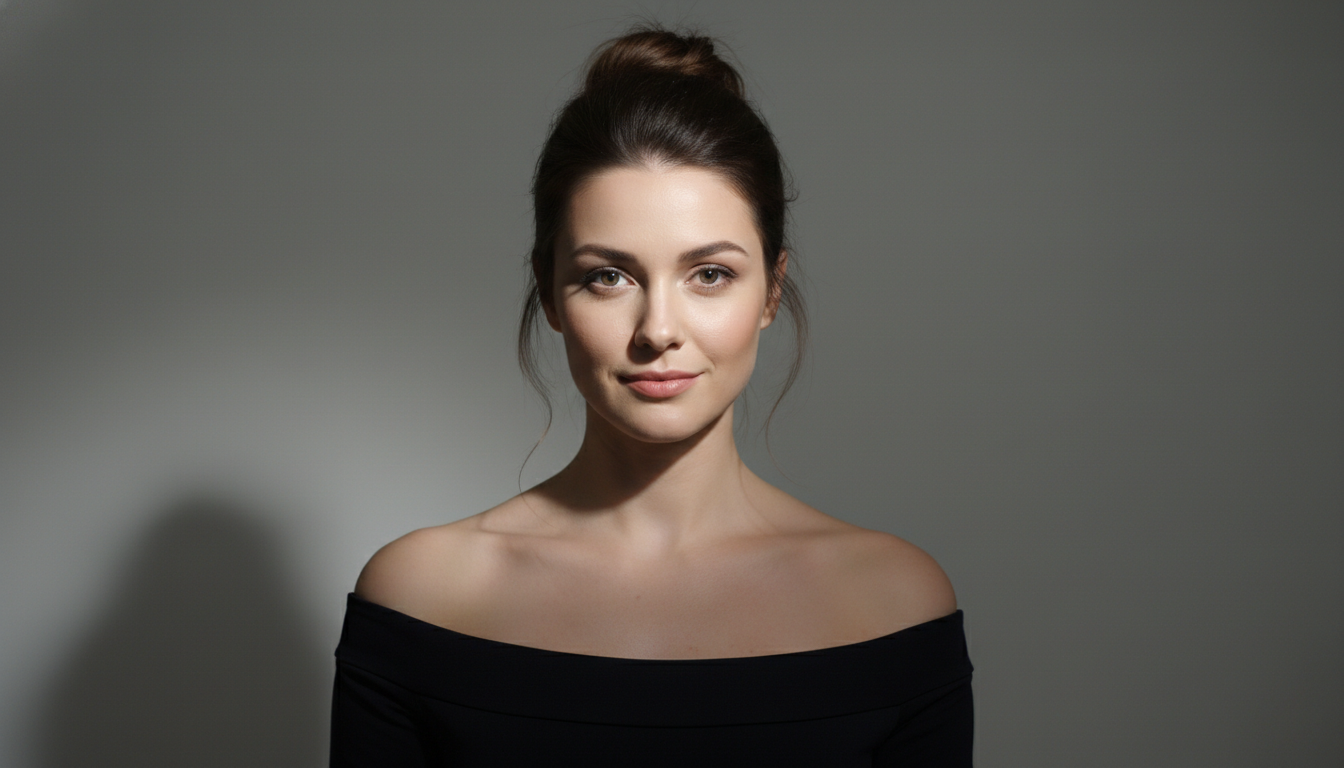
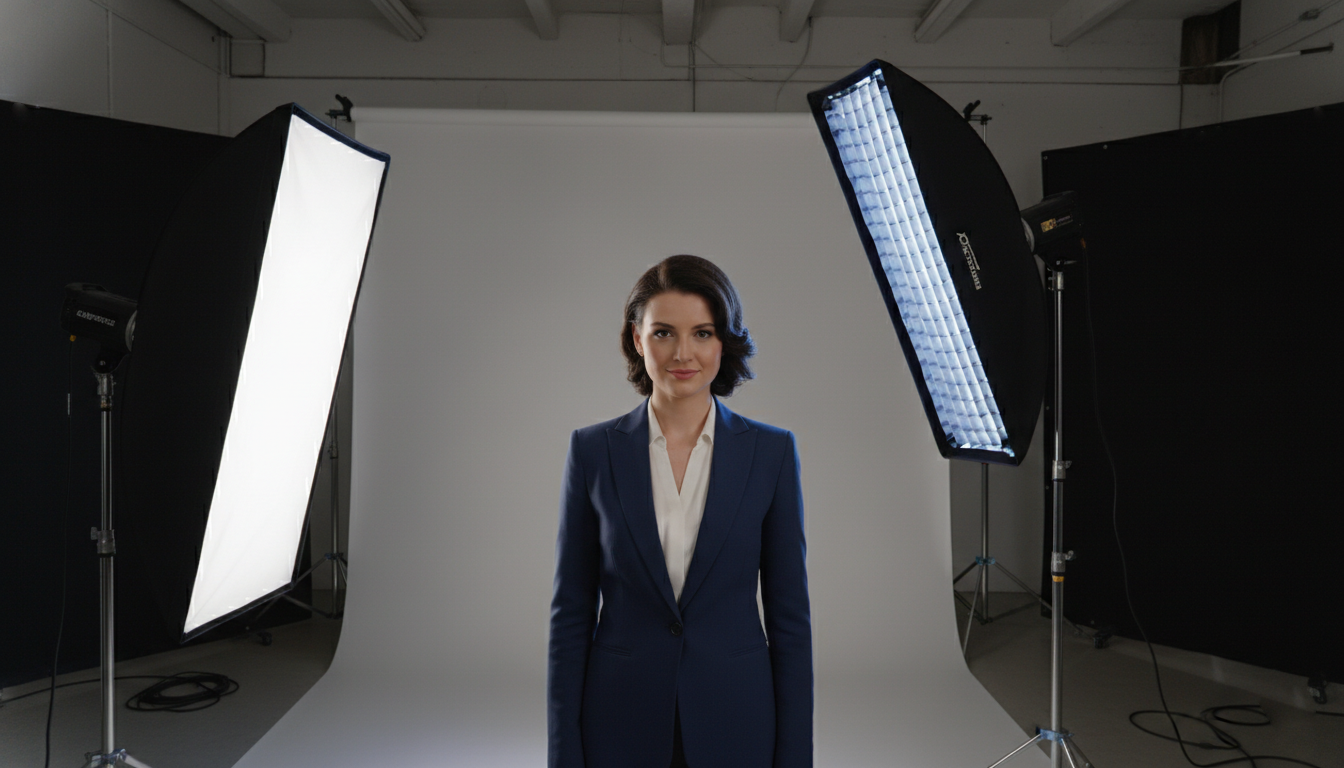
Broad lighting
In photography, broad lighting is a kind of portrait lighting where the least lit side of the subject’s face is turned toward the camera. The arrangement of this light makes the face look broader and more inviting, so it is often found in high-key portraits, fashion shoots, and the production of friendly headshots. The effect of broad lighting can be optimized. To do that the model has to slightly turn the face away from the light source and then the camera catches the brightly lit side. Photographers use this lighting to create less harsh shadows. It makes the facial features gentler. Broad light gives a radiant and attractive impression of the face.
-
Back Lighting
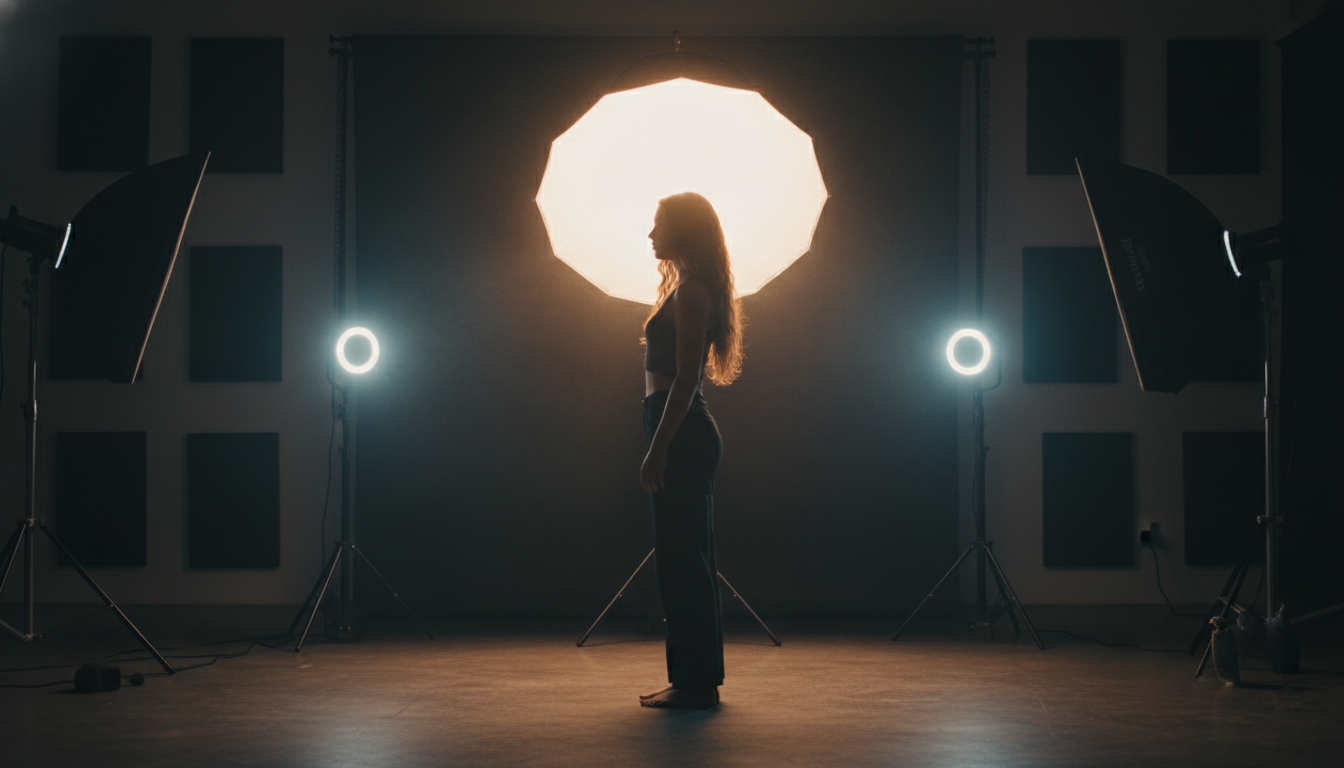
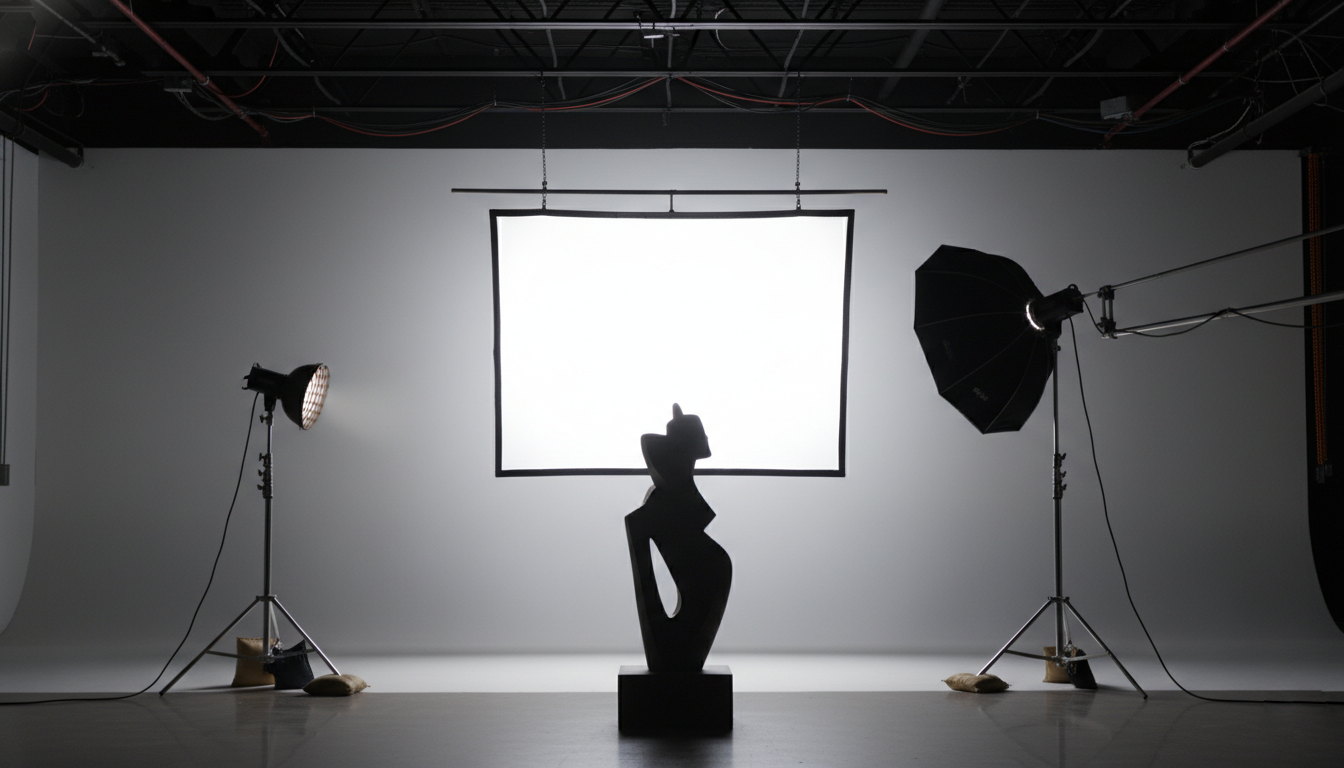
Back lighting in photography refers to the use of the main light source that is placed behind the subject instead of the front one. This lighting fashion brings a strong figure to the subject and makes it stand out from the back of the subject without image background removal services. Therefore, it is frequently employed to energize a flat image with scene, drama, or a gentle glow.
Photographers integrate back lighting into their setups to realize the effect of silhouette, to make hair and edges more visible, or to generate a natural rim light glow. The coming of the sun is the best time for this type of lighting. The results of the photoshoot will also be of top quality if the method is used in a studio portrait session or product photography. The addition of mood and visual interest is back lighting’s contribution when it is in harmony with other elements and without the details being lost.
-
Rim Light

Rim light in photography can be described as a technique that involves the use of light to make a bright outline of a subject. The light source is behind the subject or a little bit to the side and thus it separates the subject to the background. This light can add depth, shape, and some visual impact to the subject without the need to light the front of the subject directly.
As a rule, photographers employ rim light in photography for portraits, fashion, and product shots. It is the main idea that is used in hairs, shoulders, or the contours of objects to illuminate their edges. If it is rightly done, it allows the subject to be the focus of the viewer’s attention and also adds a professional, dramatic look. Rim lighting is at its best when it is in harmony with soft front light or ambient light so that there are no harsh edges.
-
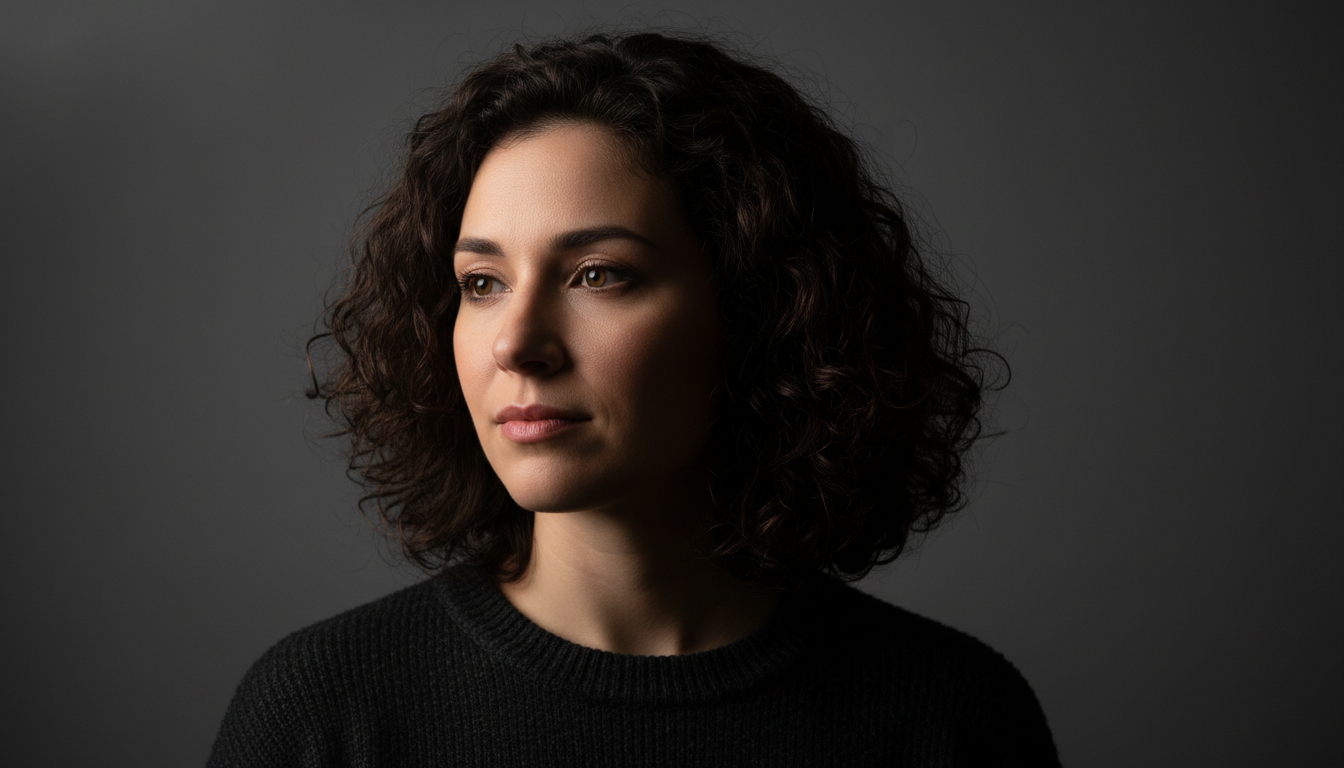
Loop lighting
In photography, loop lighting is one of the most traditional and commonly used portrait lighting techniques that help to produce soft shadows while the subject’s face remains well balanced. The light is generally improved slightly from the eye level and turned to one side at about 30 to 45 degrees from the camera. The resulting shadow of the nose is very small and has a shape that loops down the cheek but does not touch the lips.
Photographers prefer loop lighting as it gives the picture a three-dimensional effect without being too strong. Almost all face shapes can be enhanced by this light. Both men and women benefit from it. This lighting is ideal for studio portraits, corporate headshots, and lifestyle photography. In this type of photo shoot, natural yet professional look is essential.
Loop lighting offers you more contour than flat lighting. But at the same time, it does not have the strong contrast of dramatic lighting setups. In such a case when you want a clean and timeless portrait with a subtle dimension, loop lighting in photography is a safe option.
-
Rembrandt lighting
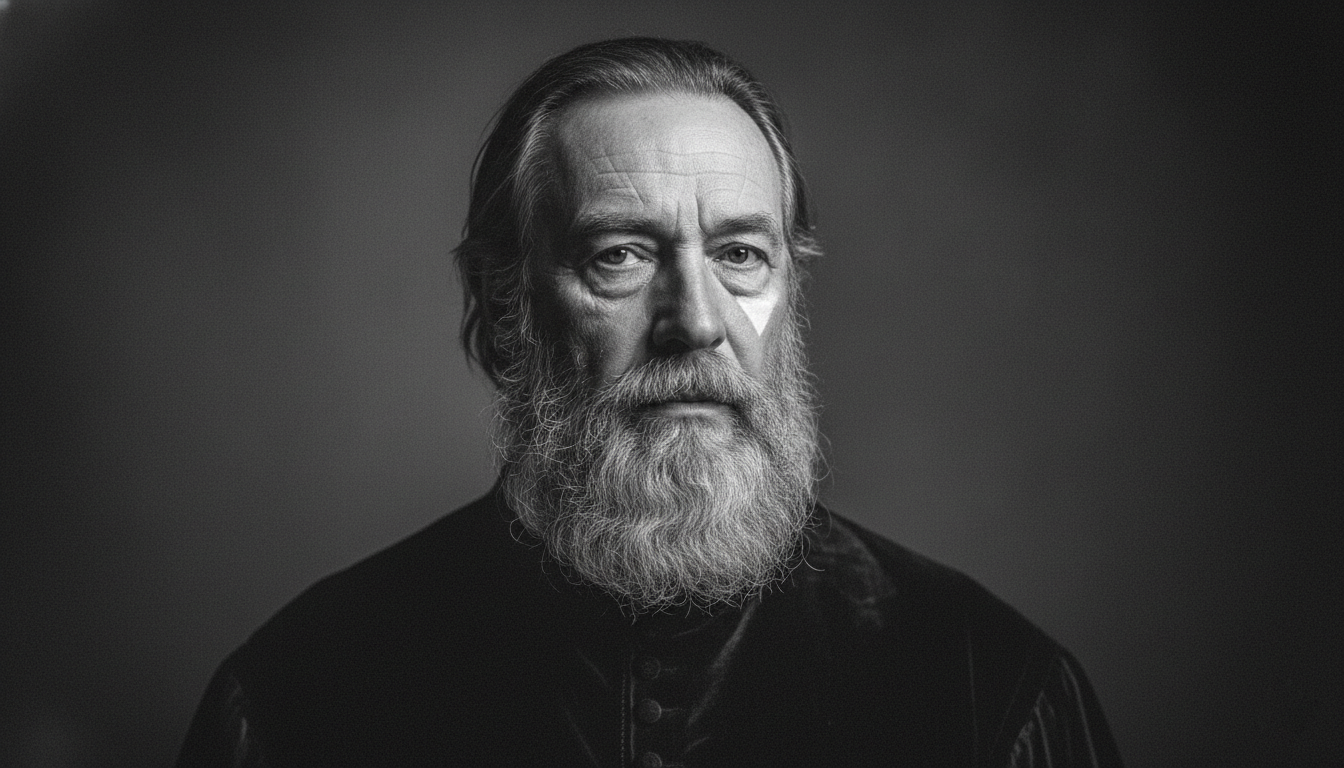
Rembrandt lighting in photography is one of the oldest and most essential lighting techniques in portrait photography that visually expresses the mood, dram and strongest facial features with the help of light. The name is derived from the master painter Rembrandt, who was known for his use of light and shadow in his paintings in order to model the faces. The most important aspect of Rembrandt lighting is the little triangle of light that can be seen on the shadowed side of the face, just under the eye.
In this lighting arrangement, a single main light is used to illuminate the subject from above and from the side, the light being at an angle of about 45 degrees. It is a great choice when you want to have a dramatic but still natural portrait. Photographers frequently use Rembrandt lighting for character portraits, headshots, and cinematic images.
Rembrandt lighting is still favorite. It harmonizes the light and shadow without losing the originality of the model face. It gives the artists the power to highlight cheekbones, jaws, and facial structures which results in the portrayal of the human face becoming not only more professional but also of a timeless quality.
-
Split lighting
In this lighting technique, the subject is literally split into two halves of equal size. One half is kept brightly lit. And the other half is left in darkness. This style brings out the strong dramatic contrast. It imparts the image more depth and elegant mood.
Photographers use split lighting most often for portraits, which are done largely in black and white, film stills, and the images that focus on the characters. The light source positioning at a 90-degree angle to the subject is where this method yields the best results. Such a configuration not only emphasizes the facial features but also gives the image a bold, striking appearance, which is very much ‘powerful and intentional’ in nature.
-
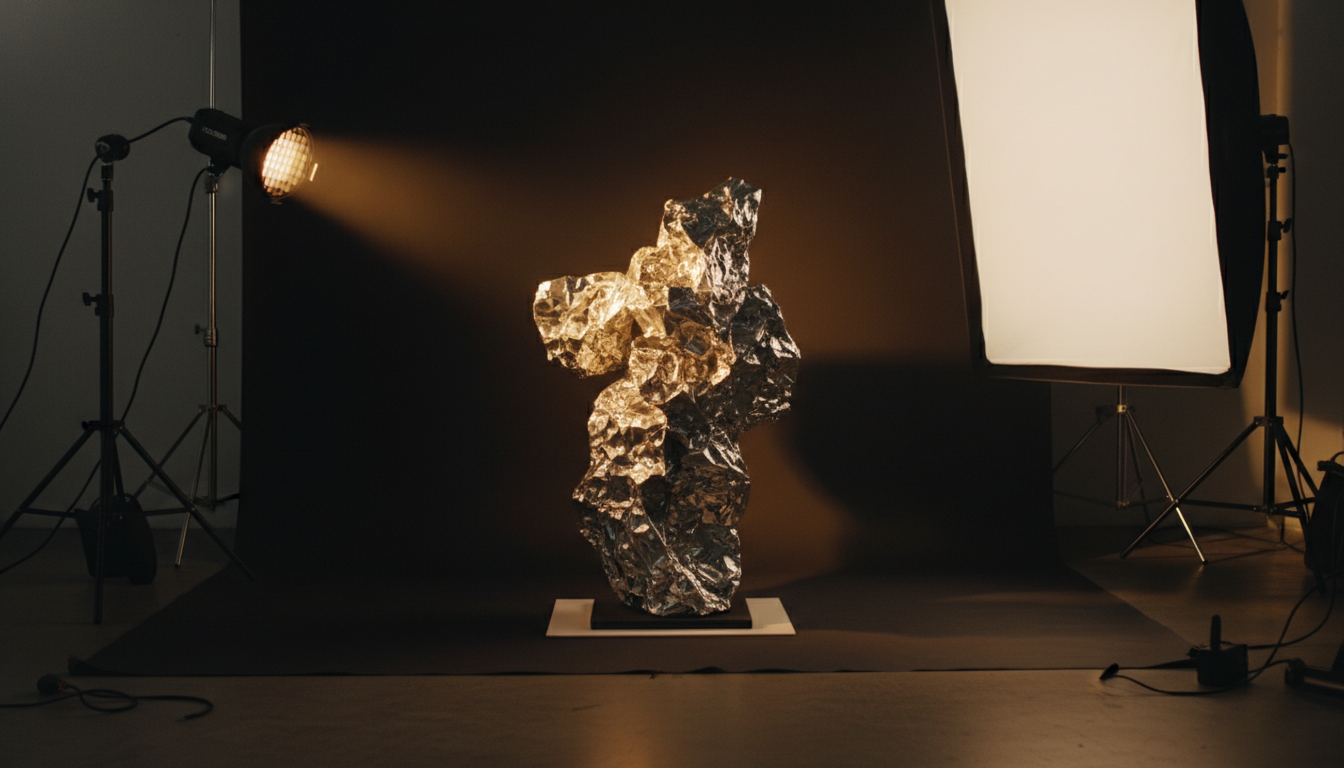
Hard light
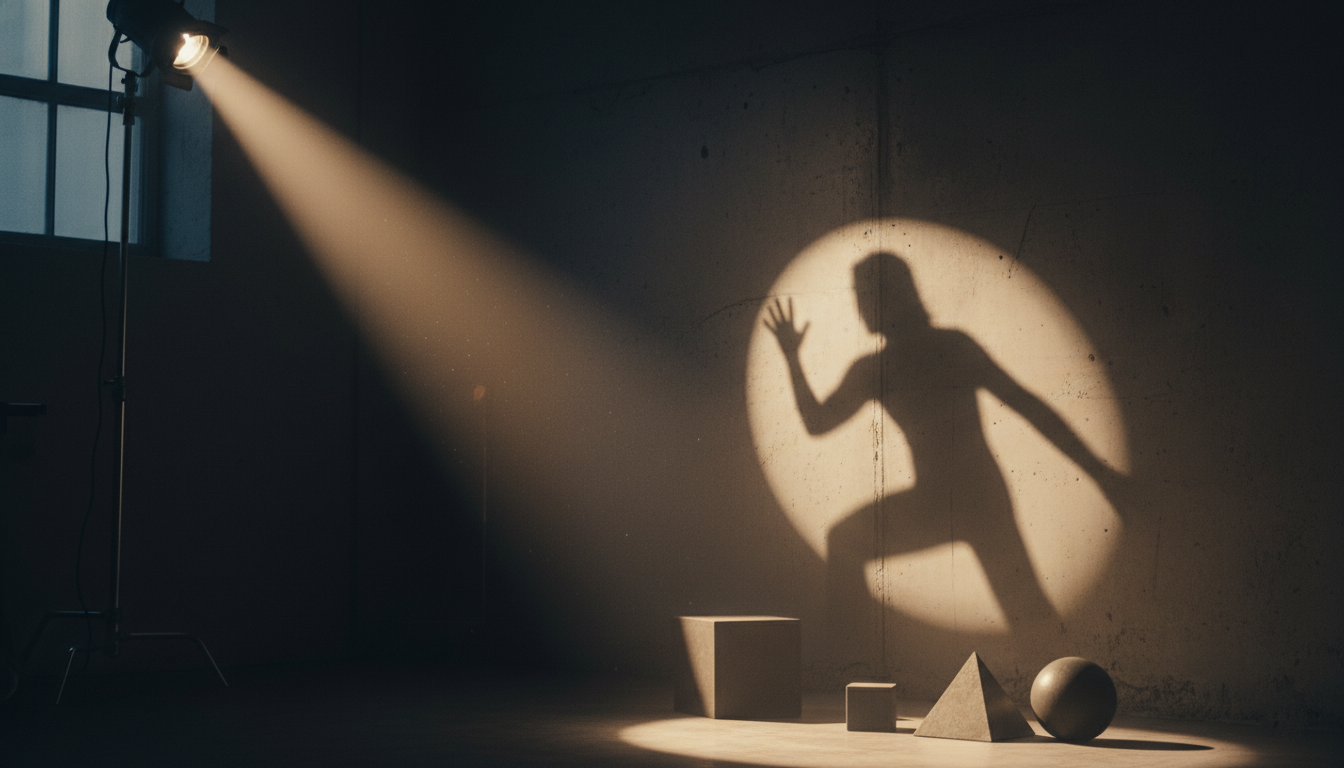
In a photo, hard light generates a high contrast, and the shadows are defined. The source of the light is usually a small, direct one, for example, the sun at midday, a flash without any diffuser, or a concentrated studio light. The light of this kind reveals the texture, the border, and the smallest details of the object, so it is quite common to see it used in the creation of dramatic portraits, fashion shoots, and eye, catching product photography.
The hard light is capable of bringing out the wrinkles, skin texture, and even the tiniest of the surface flaws, thus, the photographers handle it with care. If hard light is employed only in some parts or with some purpose it can contribute to the picture by giving it more layers, power, and a striking visual style that can’t be done by a soft light.
-
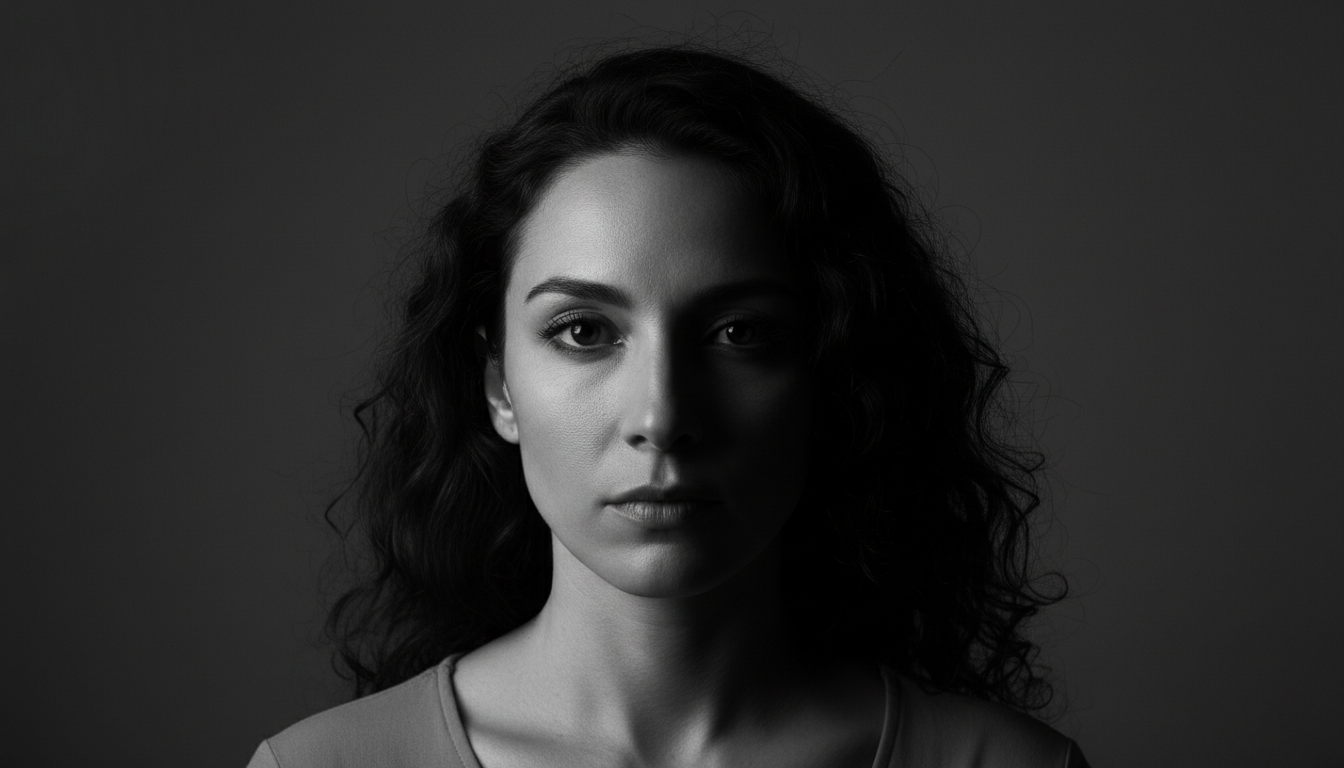
Short lighting
Short lighting in photography is a portrait lighting technique that results in depth and strong contrast on the face. The technique involves lighting the side of the averted to the camera. And the side nearest to the camera remains in shadow. Hence, this arrangement shapes and deepens the light making the face features being more pronounced.
Shutterbugs utilize short lighting to generate a dramatic and moody atmosphere. The purpose of short lighting can be making visually the face and structure thinner. This light pattern finds its application mostly in portrait, fashion, and editorial photography where the need of a strong and professional vibe arises.
-
Butterfly lighting
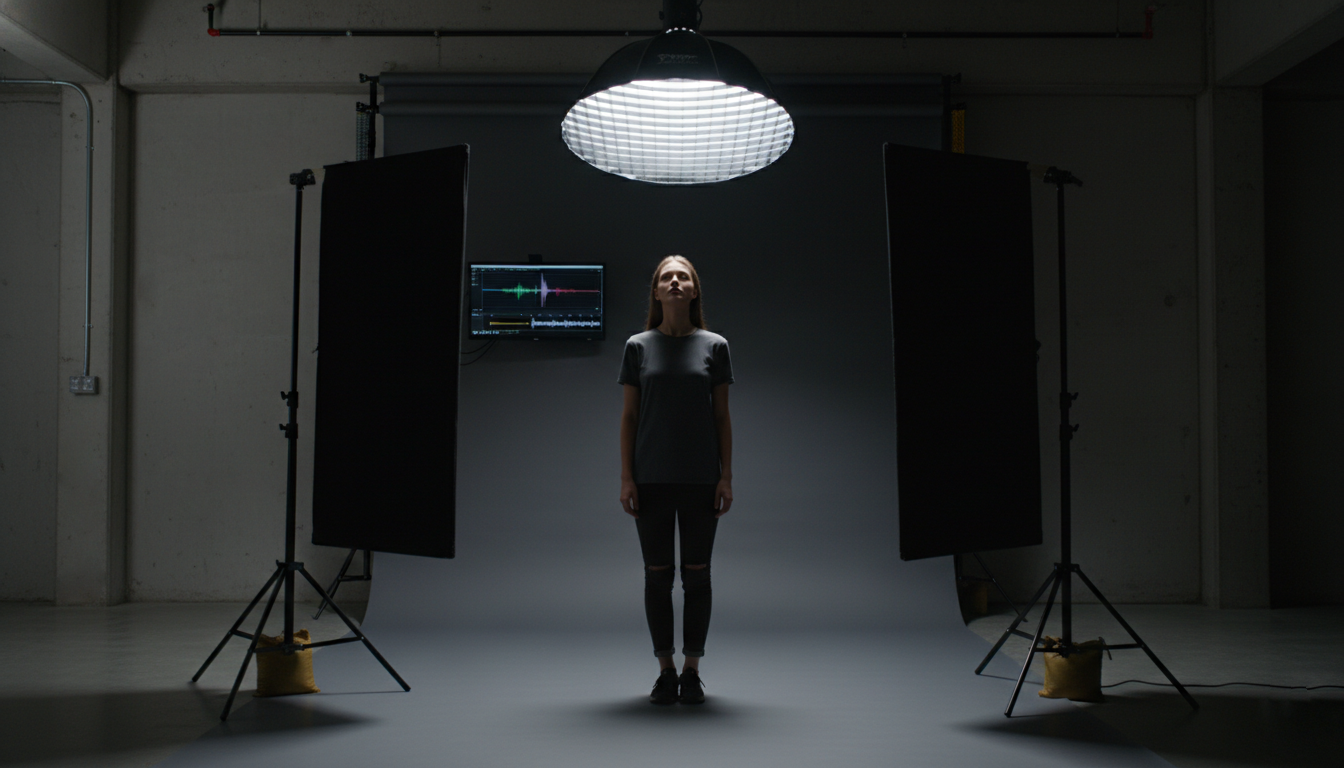
Butterfly lighting in photography is one of the most recognizable and timeless portrait lighting styles that aims at producing a neat and flattering image. The light source is positioned right in front of the subject and a little bit higher than eye level. There is a tiny shadow underneath the nose which resembles the shape of a butterfly, hence the term used for the lighting.
Among others, butterfly lighting is used by photographers to accentuate facial features and make the skin look smooth. The technique is great for beauty, fashion, and headshot photography. The lighting effect achieved is one of the highlights through the use of cheekbones and jaws while the shadows are still soft and light. If used with a reflector placed under the face, butterfly lighting can lessen the dark areas and give a final result of a shining and expertly done photo.
-
Fill light
Fill light in photography is a tool to manipulate the shadows and to have the right exposure in a picture. It does not take over the main light. What it does is to lessen those dark parts that the key light has created and to give back the detail without making the image too light or too dark.
Photographers employ fill light to soften the contrast that is very pronounced in the case of portraits. It is instrumental in keeping skin tones real and in stopping the occurrence of the shadow that goes deep under the eyes, nose, or chin. A fill light may be a flash, a softbox, or even a reflector, depending on the arrangement.
The power of fill light is what is important. An excessive amount of filling takes away the volume and makes pictures appear flat. Inadequate amount of filling leaves the spaces in the shadows. Filling, if right, will be a clarity enhancer while it will still be keeping the photo realistic and well balanced.
-
Ambient light
Ambient light in photography is the natural or the already existing light in a scene before adding any artificial light. That means the light coming from the sun, room light, street lamps light, or any other light are there in the location. Photographers use ambient light to produce natural and realistic images to reflect the moment.
Right using of ambient light in photography is a great tool to create mood, atmosphere, and depth. This type of light is perfect for portrait, street, lifestyle, and event photography to keep the scene looking real. Changing camera settings like ISO, aperture, and shutter speed, photographers use ambient light in their photographic work.
Photographers can use ambient light from their surroundings rather than going against them. It is also helpful in softening strong shadows, keeping the color fidelity, and producing well, lit photographs, specifically when there is a slight use of flash or studio lights for finishing touch.
-
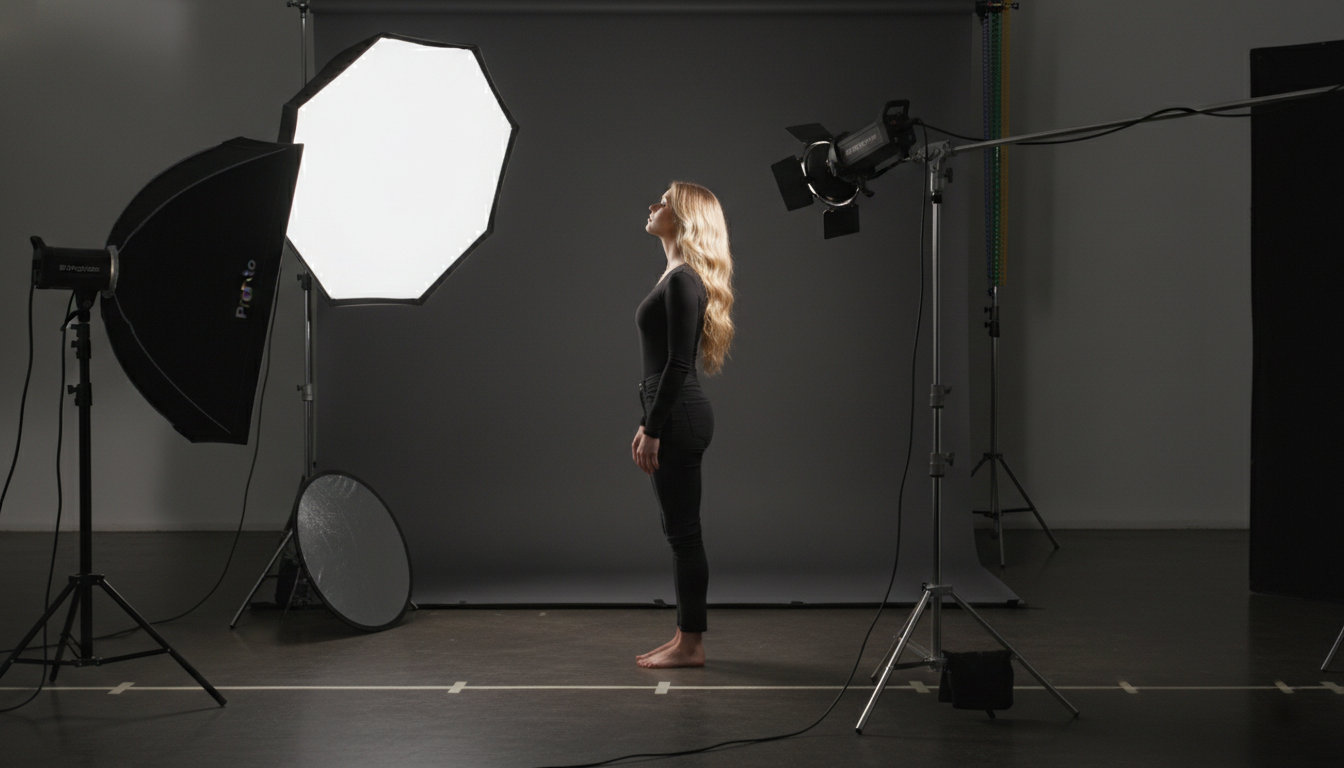
Side lighting
Side lighting in photography refers to the light used for the shot comes from the left or right side of the subject instead of the front one. Due to the angle, the light makes one side of the subject dark and the other side bright. As a result, the image becomes deeper. It makes the texture and shape more visible. In general, it is used to highlight facial features, surface details, and dramatic contrast.
Side lighting is a technique that photographers may use in shooting of portraits, product shots, and still life photography. The texture of skin, fabric, or rough surfaces can be revealed extremely well by this method. If side lighting is applied properly, the pictures will be more three, dimensional and attractive without the need for a heavy photo retouching services.
-
Key Light
Key light in photography is the primary light source that is aimed at a subject in order to illuminate it. In fact, it is the main factor of the image that can be either bright or dramatic depending on the light used. The light creates strongest highlights and shadows. It makes the subject 3D and gives it a sense of space.
Photographers put the key light in the front of the subject. They do it at a certain angle, not directly. This angle increases the effect of the light source. The mood, texture, and even facial features can change based on the positioning, distance, and intensity of the key light. It is particularly true in portrait photography.
The key light can be the source of light in a simple setup. It can be used alongside other lights as a fill light and a backlight. Result? You will have more control over the lighting. The knowledge of how to use the key light in photography is a way to make your photos professional with clear focus, strong dimension, and consistent lighting.
-
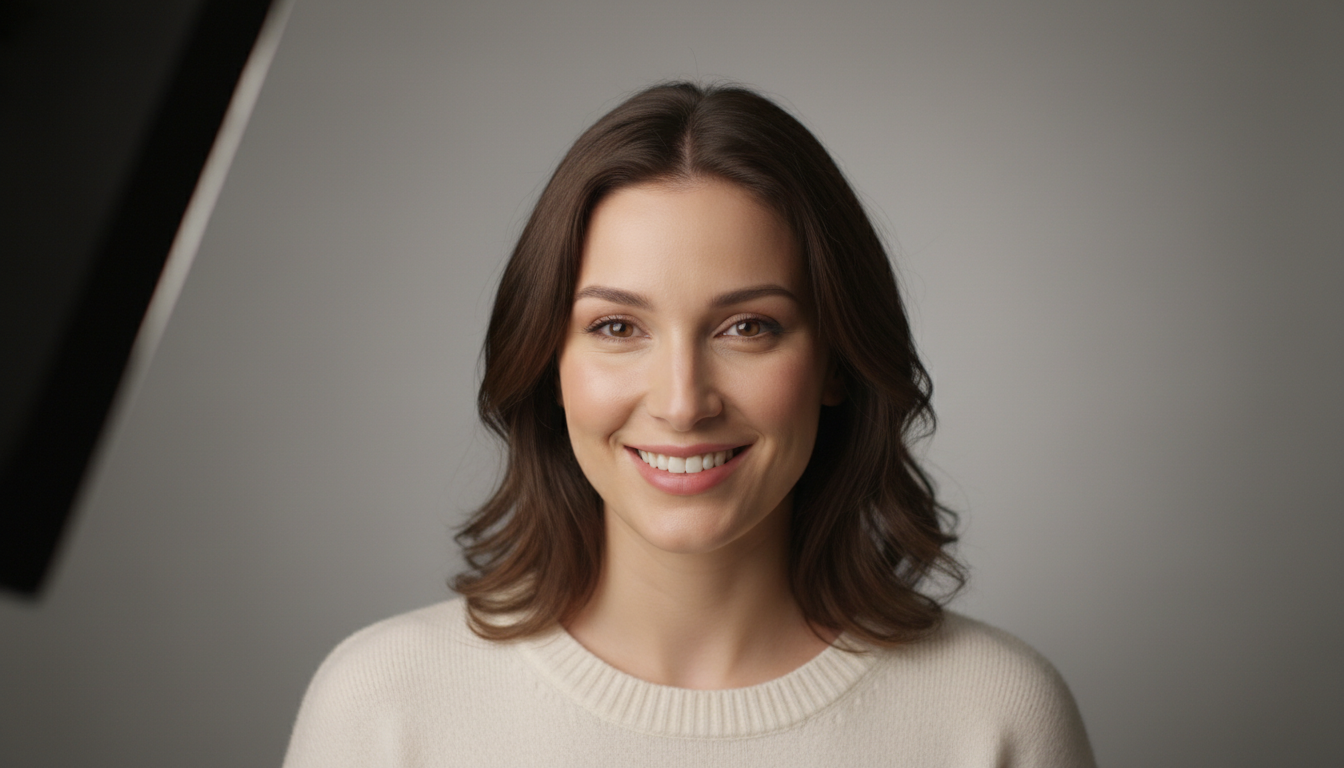
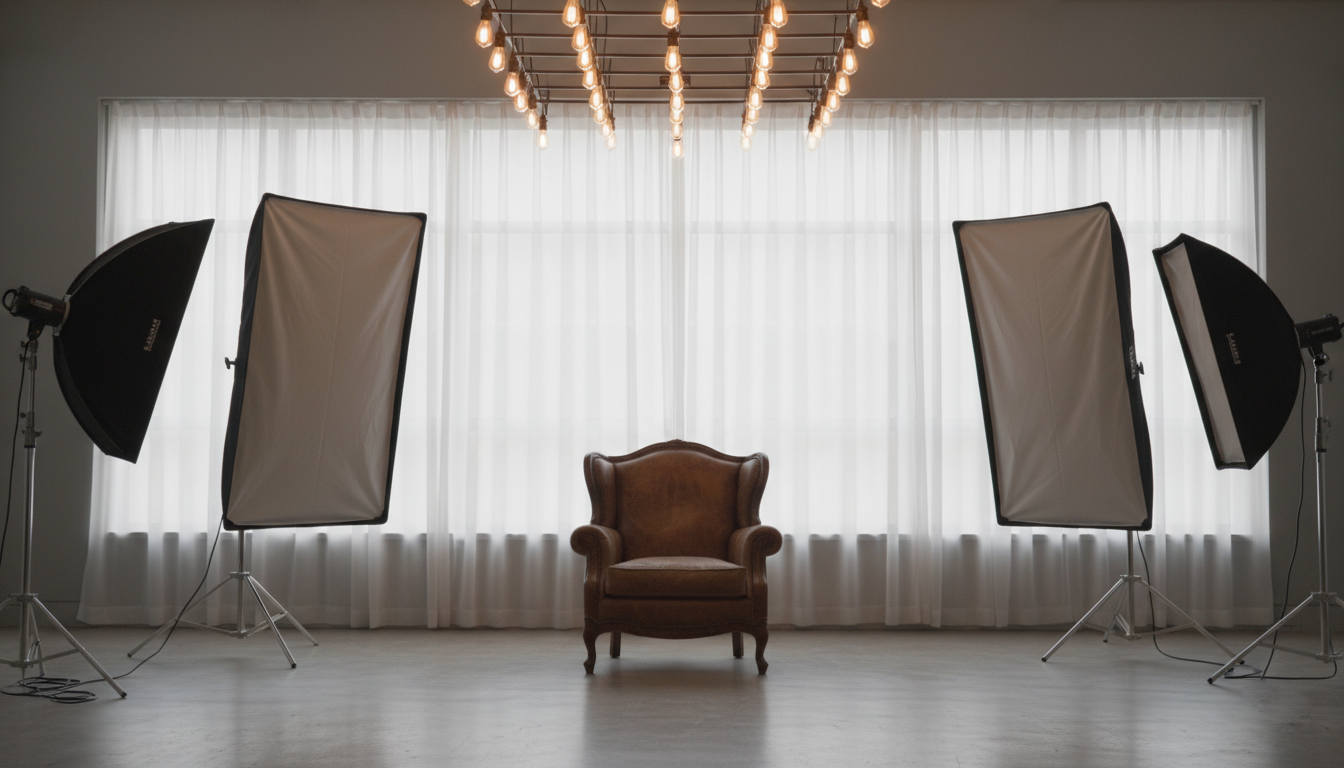
Soft Light
Soft light in photography is all about creating gentle shadows and mild highlights. It diminishes the contrast between dark and light areas and makes the subjects look real and nice. Essentially, this kind of light is very flattering because it distributes the light evenly, thus allowing the skin to look fresh and of even color.
Soft light is widely used by photographers in various genres of photography such as portraits, fashion, product, and lifestyle photography. Soft light can be achieved naturally from a cloudy sky or through a window with sheer curtains. It can also be created artificially using softboxes or diffusers. Basically, the light comes around the subject instead of going straight to it.
For a serene, corporate, and elegant style, soft light is the way to go. It works like a charm in hiding the flaws, keeping the detail, and giving a touch of sophistication as well as a natural vibe to the shots.
-
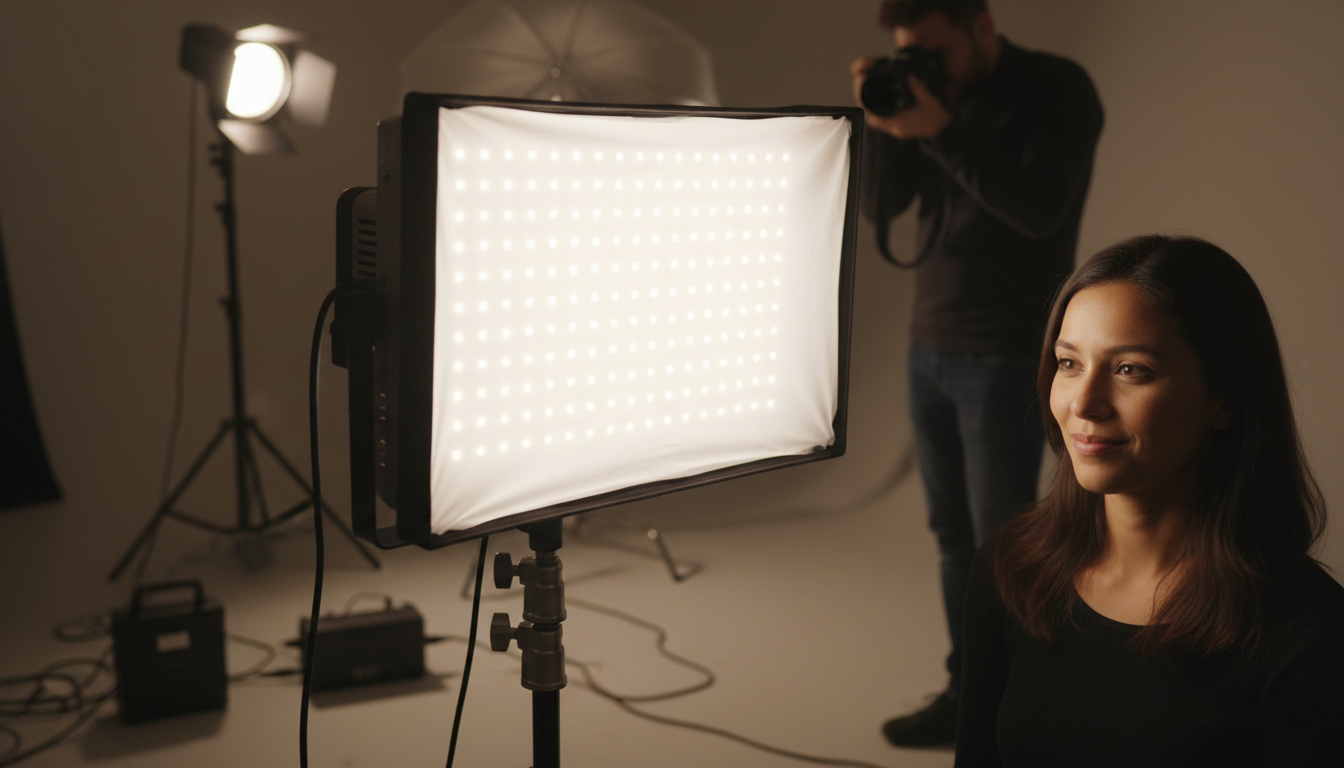
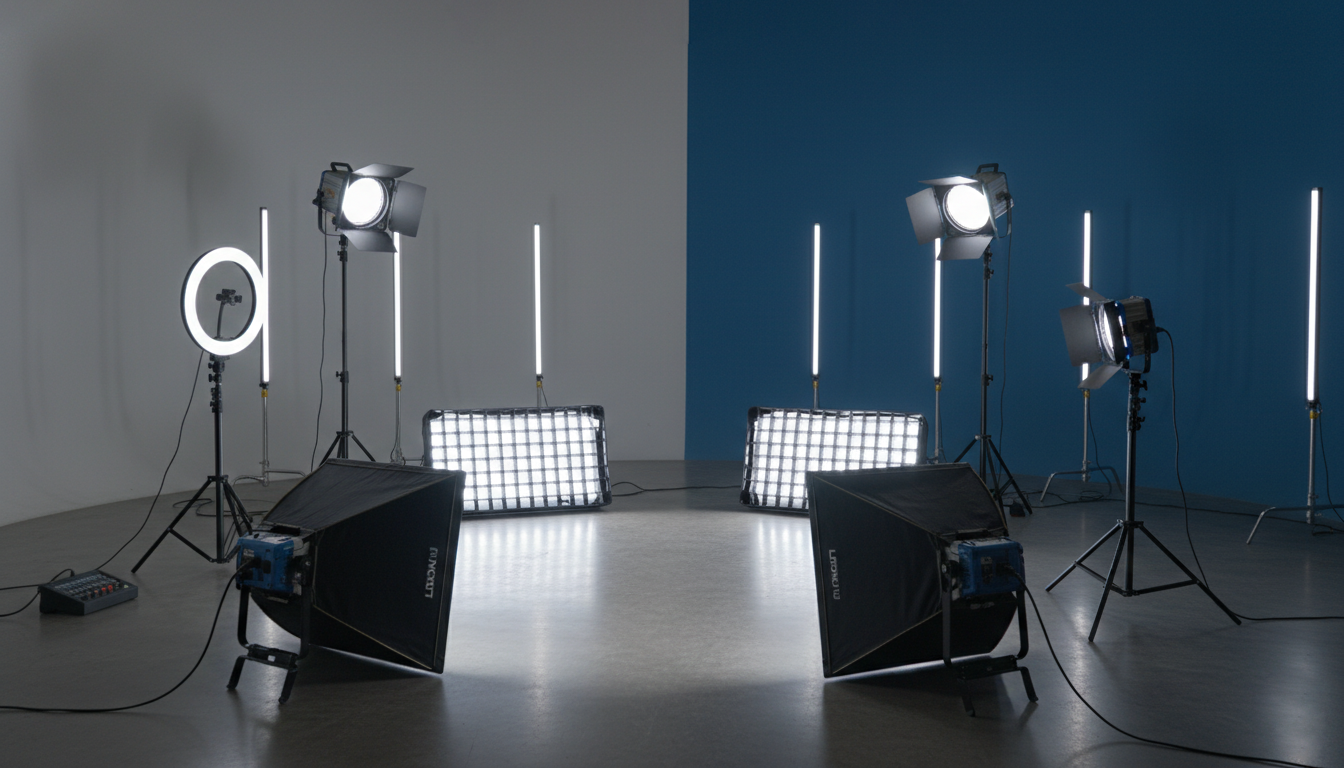
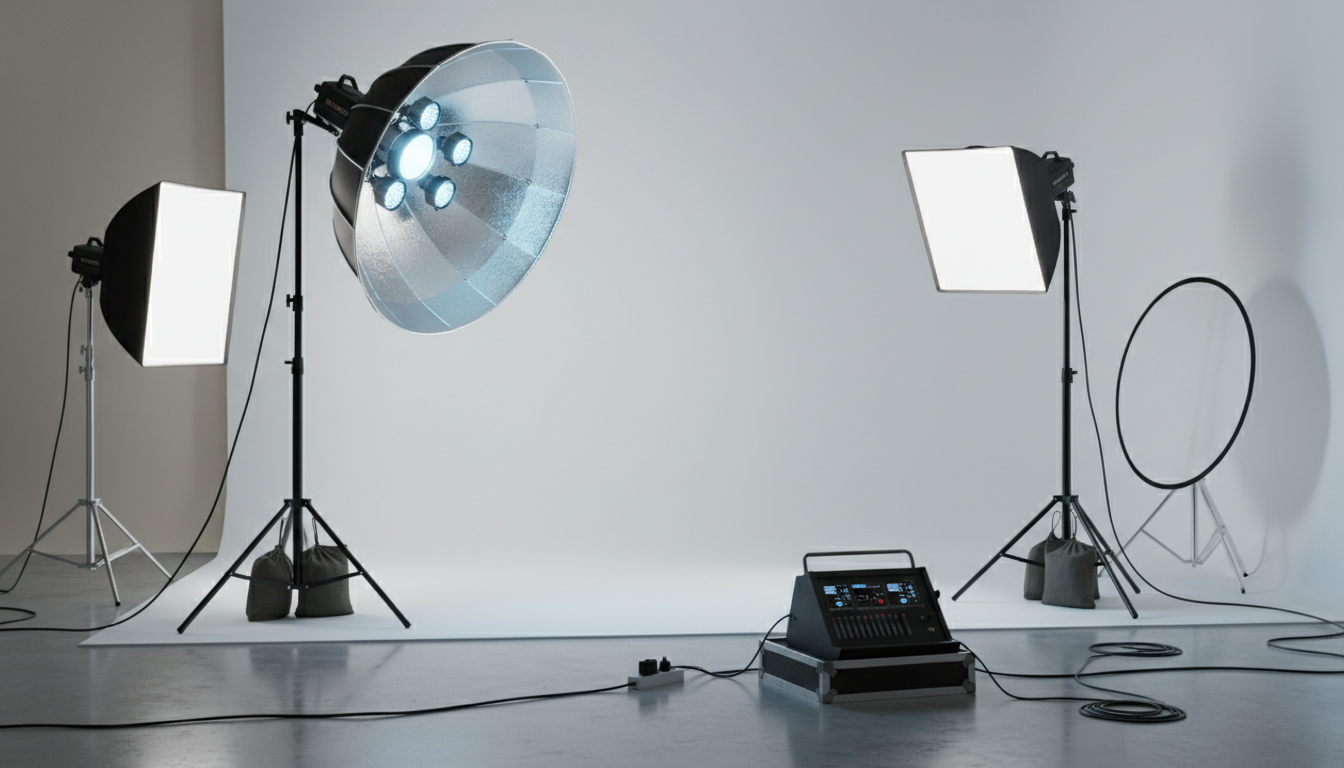
Continuous lights
Continuous lights in photography are those that offer a constant, steady source of illumination as opposed to very brief flashes. In fact, you can visually determine the light distribution on your subject even before capturing the image. Hence, they are perfect for novices, people making videos, and those involved in product photography. The use of continuous lighting is instrumental in the manipulation of shadows, highlights as well as the overall atmosphere of a scene which can be tailored to the exact requirements without the need for any trial shots.
-
Flat lighting
Flat lighting in photography refers to the lighting that is done in a way that the illumination is even and there are very soft or no shadows at all. The light source is both very near the camera or the front of the object, thereby the contrast is decreased and the texture is less visible. Such lighting is great for modeling, make, up, and product photography where the focus is on the flawless skin and the neat details. Flat lighting in photography is most commonly seen in eCommerce, ID pictures, and executive headshots due to the fact that it generates stable and easily reproducible outcomes.
-
Front lighting
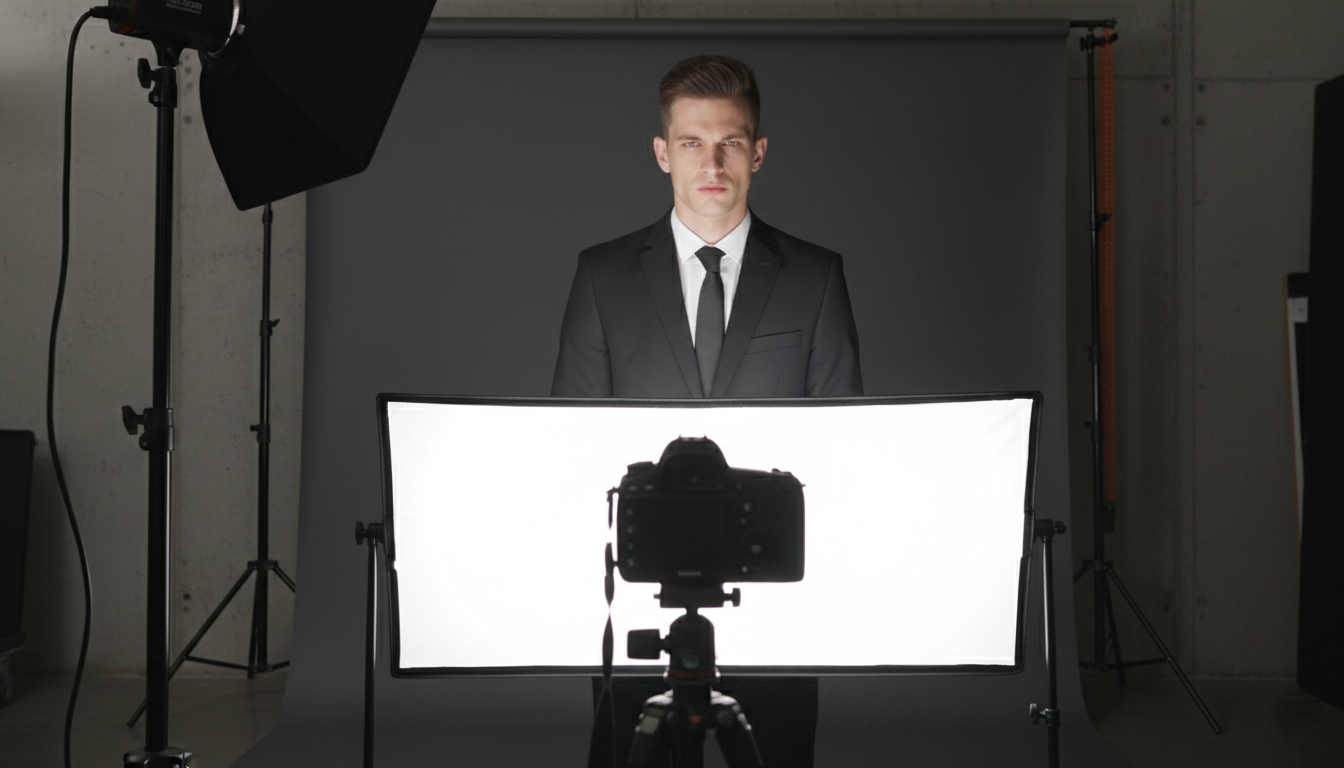
Front lighting in photography refers to a lighting arrangement in which the light source is positioned directly in front of the subject. It highlights the subject in an even manner and lessens the shadows, thus the details become very obvious and easy to understand. Essentially, it is employed in close, up photography, product photography, and ID, style shots that are the most accurate.
Due to the fact that front lighting is the least of the texture and depth, it has the effect of producing a very clean and natural appearance. Using this method is certainly suitable when you are looking for smooth skin tones, real colors, and an image without any distractions. Although it does not have dramatic shadows, front lighting is perfect for professional, commercial, and beginner, friendly photography setups where the main objectives are stillness and clarity.
-
LED lights
LED lights in photography have become a widely accepted option due to their ease, versatility, and affordability. They emit continuous light, so the lighting effect is visible in real, time even before the click of the camera. Hence, they are perfect users of any level of experience, i.e. beginners and professionals too.
Photographers rely on LED lights for face shots, product photography, videos, and social media content. These instruments offer the user variable brightness and color temperature thus the user is given a better command over the mood and tone of the shot. Moreover, LED lights keep cool, consume less energy, and are a great solution for small studios or indoor setups. In case of correct usage, LED lights in photography are a means of achieving neat, stable, and high, quality images.
-
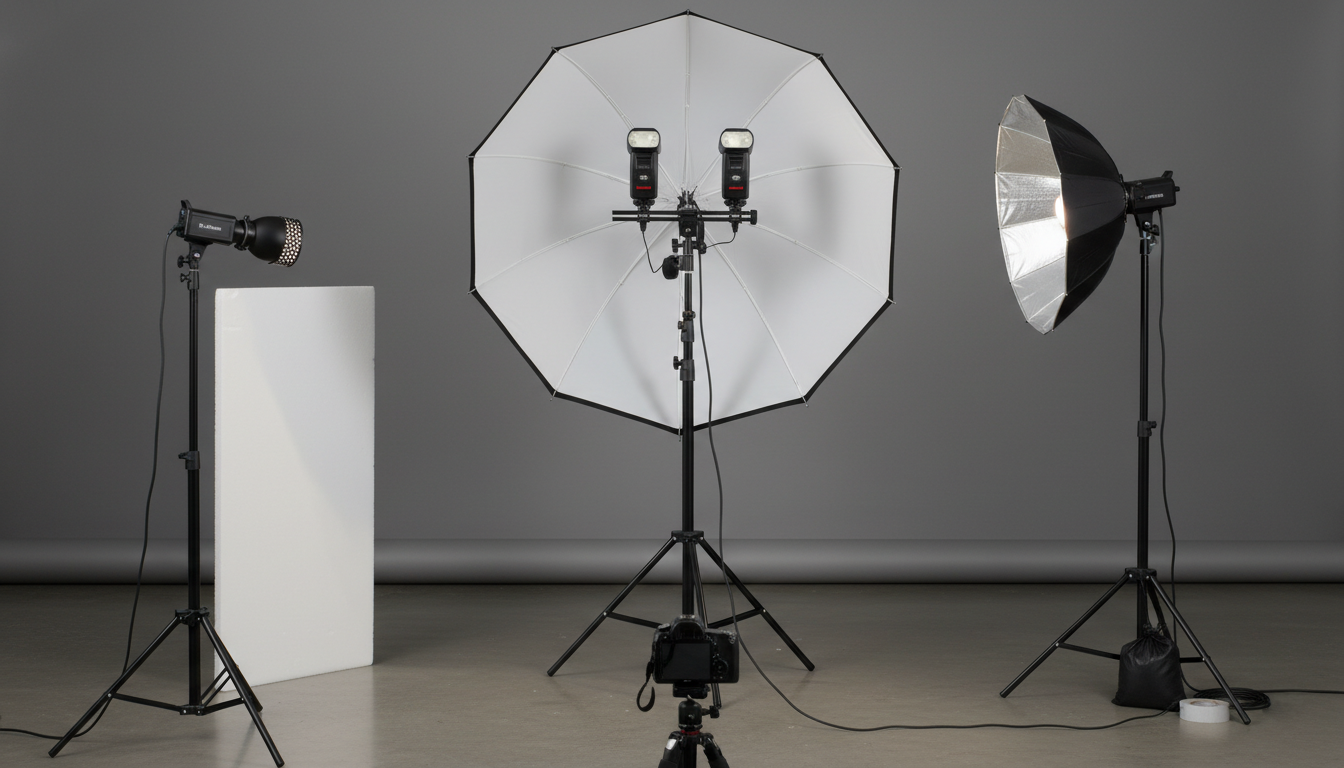
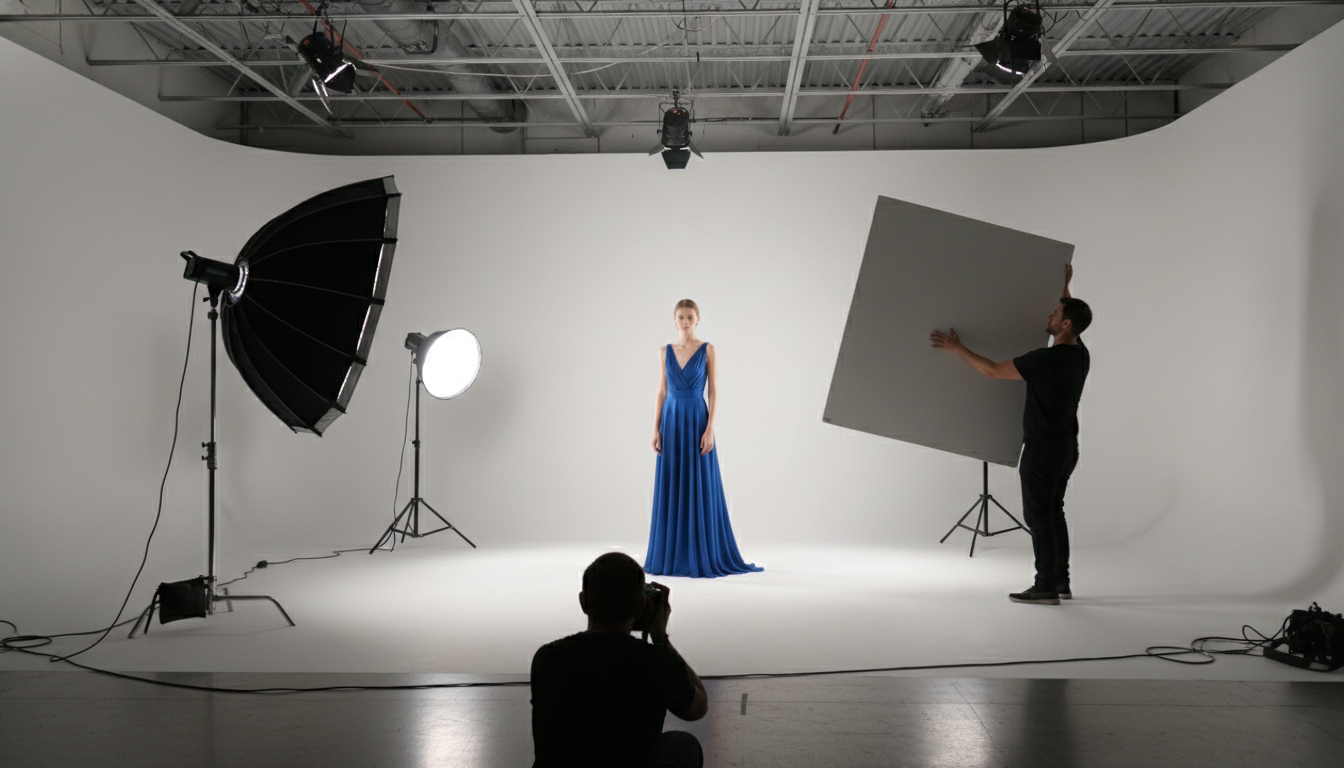
Reflectors

With, you can manage the light in your photography without needing additional equipment. Essentially, they reflect the available light back to the subject in order to lessen the shadows, even the exposure, and get a more natural result. Photographers use reflectors frequently to soften the hard sunlight, make faces brighter, and bring out the details in the shaded areas.
Reflectors are available in different colors, i.e., white, silver, gold, and black, and each one interacts with the light differently. White provides soft fill light, silver makes the light more intense, gold warms up the tones, and black absorbs the unwanted light. No matter if you are shooting portraits, products, or nature, reflectors in photography are a handy and efficient way to raise the image quality.
-
Natural light
Natural lighting in photography is basically utilizing the light given by the sun rather than using an artificial one. It is among the most used lightings since it is a soft light that is real and is also simple to work with. A lot of photographers use natural light for close, ups, lifestyle shoots, street photography, and any kind of outdoor scenes.
Such a light source varies from one to another day. Light of the morning and the evening is softer and has a warmer tone, whereas the light of the middle of the day is bright and has a cold tone. Knowing how the sun behaves will help you to have an ultimate control of your shadows, highlights, and contrasts without the need for extra gear. Natural light used in the right way in photography results in images that are clean, well, balanced, and attractive to the eye.
-
Snoots

Snoots in photography are a type of lighting equipment that allow you to control the light very precisely. Basically, they limit the light beam and concentrate it to a particular area of the object. Photographers employ snoots to emphasize tiny details, create a dramatic effect, and lessen the light that escapes.
Wherever you find portrait, product, and still, life photography, you will most likely see snoots being used. They are great for rim, hair, and spotlight effects. Since the light is only sent to the areas that need it, snoots produce strong contrast and depth. If any, snoots in photography provide you with clean, professional, grade results along with complete control of the mood and focus.
-
Speed lights
Speed lights in photography are small, handy flash units that allow photographers to have absolute control of light in any kind of a shoot. Usually, they are used on the camera or off the camera to provide light, diminish the hard shadows, and balance the exposure in dark situations. Speed lights are loved by many because they are less heavy, cheaper, and simpler in a set up as compared to the studio lighting. Photographers are mostly found with speed lights in their hands when doing portraits, events, weddings, and product photography for the purpose of generating pure and natural light and at the same time they are free to move and have up to their hands.
-
Tungsten
Tungsten lights in photography refer to one of the types of continuous artificial lightings that give off a warm, yellow, orange kind of glow. They are generally found in studios, on film sets, and in closed shoots where the need for consistent lighting is a must. Most of these lightings have a color temperature of about 3200K, which is significantly warmer than daylight.
Photographers go for the use of tungsten lights because the result of the light is visible immediately. Since the light is not turned off, it is very simple to see the shadows, highlights, and even the overall atmosphere before making the shot. At the same time, tungsten lighting is great for portraits, cinematic photography, and indoor scenes of the kind, but it may result in strong color casts if white balance is not regulated correctly.
While it is true that tungsten lights emit heat and use more energy than LED lights, they are still around in these days of LED lights in tightly controlled environments where warmth and smooth shadows are preferred. If they are used properly, tungsten lights in photography can be a great source of depth, empathy, and that vintage cinematic look that most photographers aim for in their shots.
-
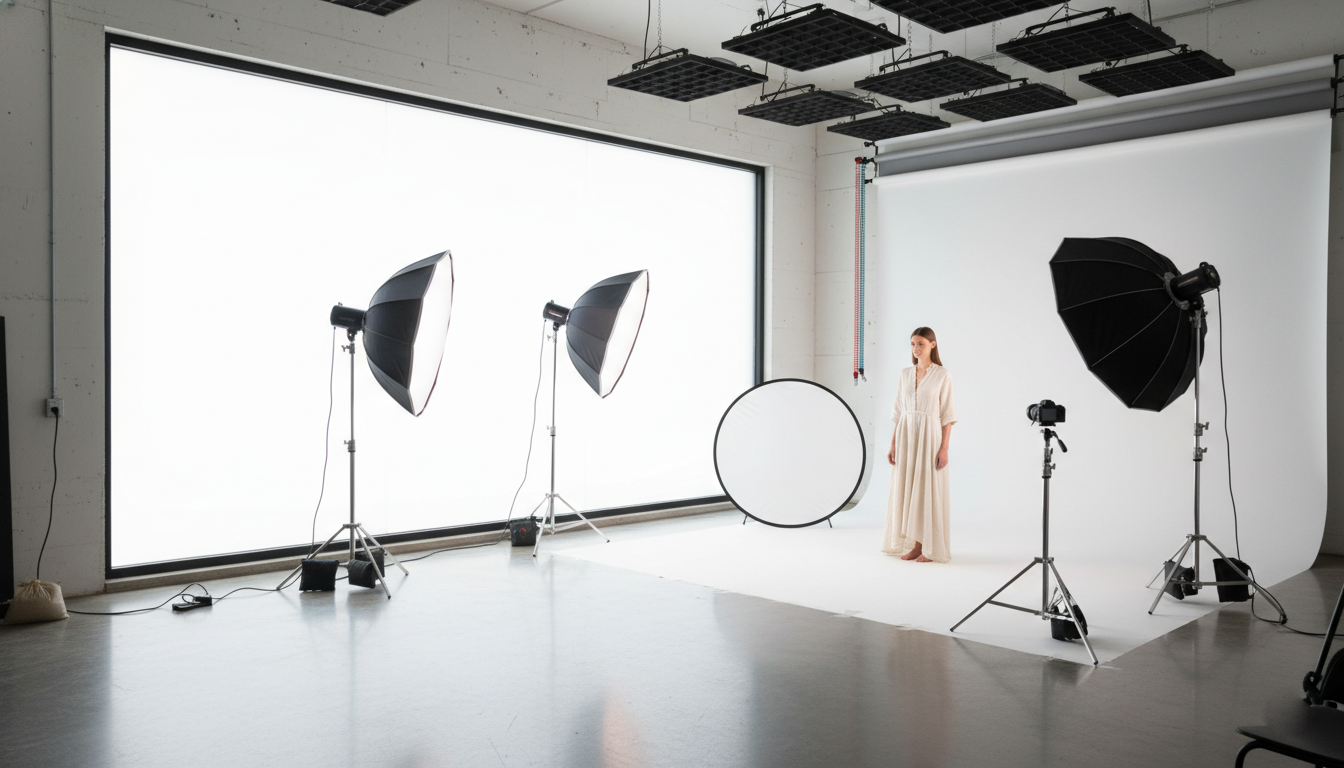
Artificial Light
Artificial light in photography gives you full control over how your image looks. Unlike natural light, it stays consistent and works in any environment, day or night. Photographers use artificial light to shape shadows, control highlights, and maintain the same exposure across every shot.
This type of lighting includes studio strobes, continuous lights, LED panels, ring lights, and speed lights. Each option serves a different purpose, from product photography to portraits and commercial work. Artificial light is ideal when you need precision, repeatability, and creative freedom without depending on weather or time of day.
-
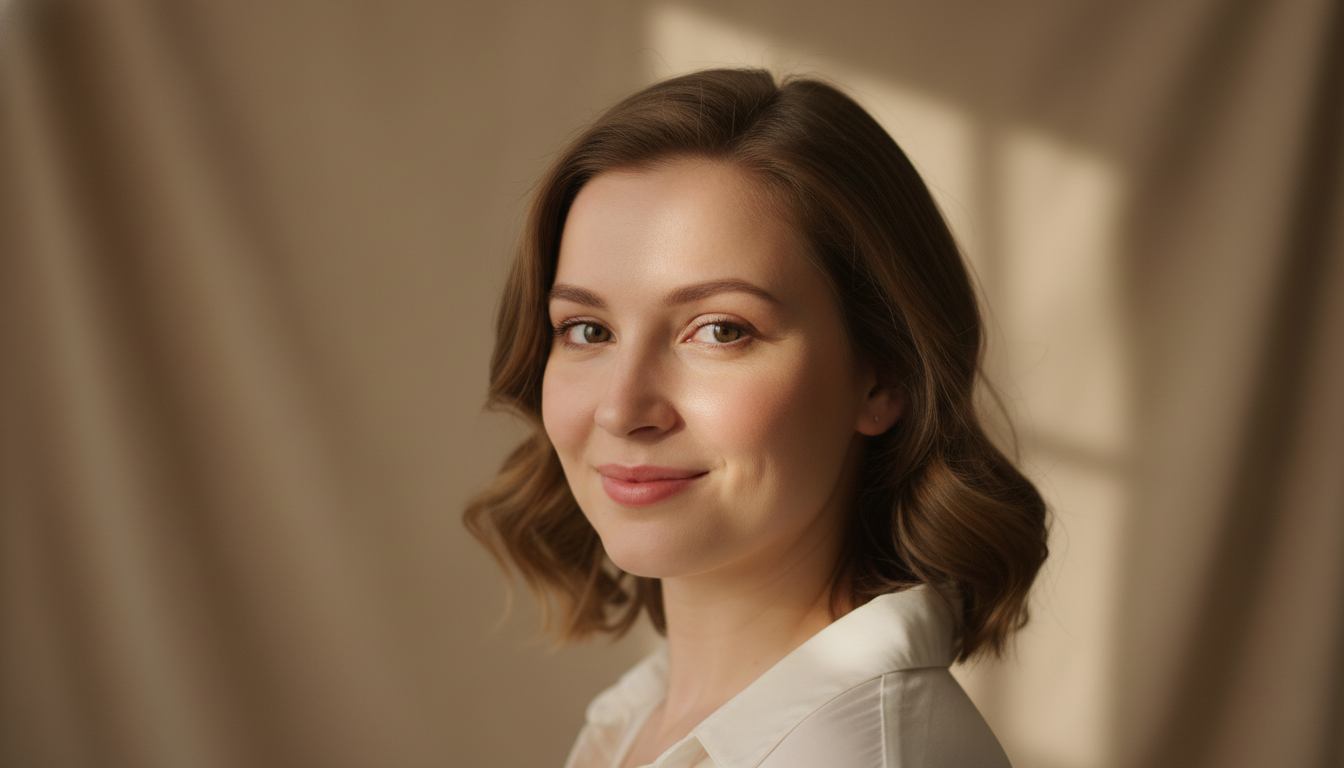
Warm Light
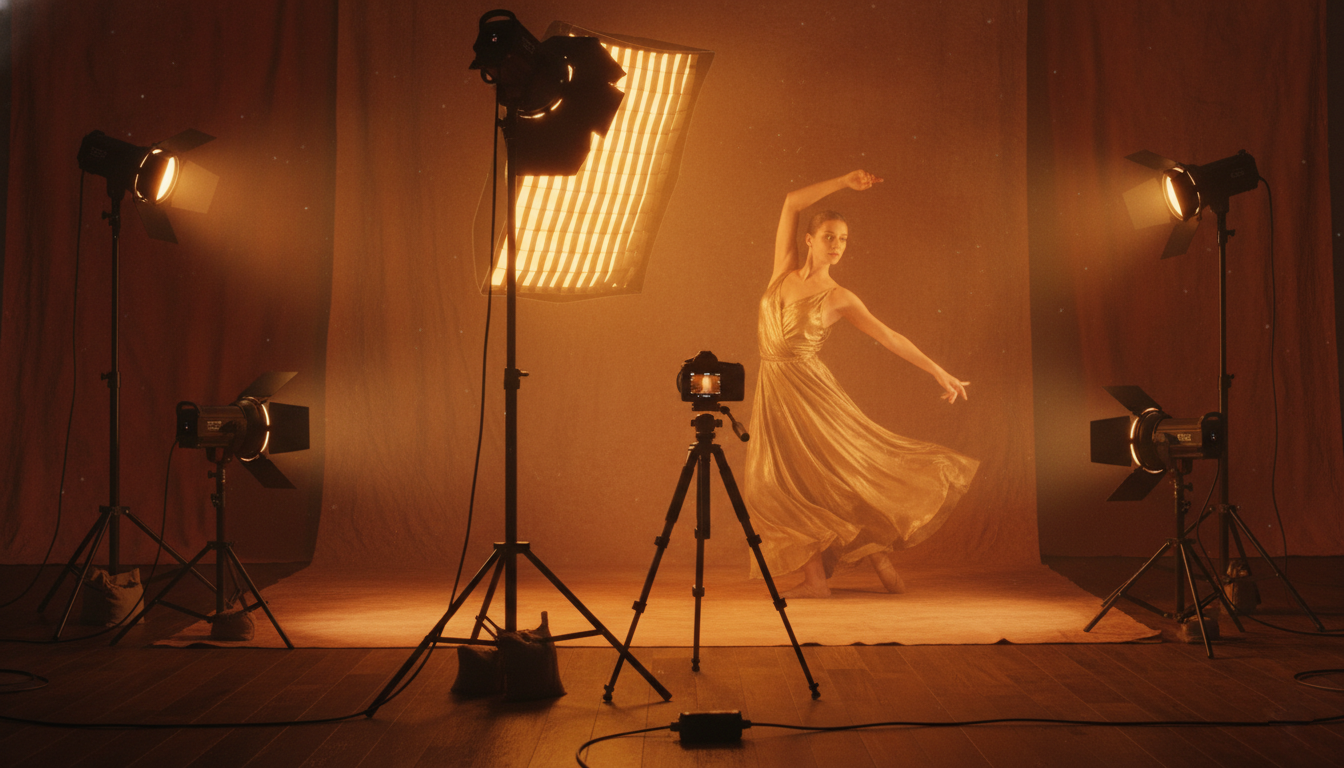
Warm light in photography is a light that has a yellow, orange, or golden tint and makes the mood of the photo friendly and inviting. We can easily spot it in the first and last hours of the day. Also, it can be found in indoor lights like tungsten and candlelight. Such light contributes to the photos by adding more emotional depth to them and making the subjects appear more natural and attractive.
Photographers use warm light in photography to evoke a feeling of comfort, romance, or nostalgia. It is a great “work” for the faces of people in the shots, lifestyle scenes, food photography, and interiors. Warm light has the ability to skin tones on faces, make harsh shadows disappear, and bring a cinematic look to the photo.
Photographers can have warmth in their photos as a result of their white balance adjustment or deciding to use warm light sources and shooting during the golden hour. This is the way that words and images can connect, and this is the effect that warm light in photography has when it is used appropriately.
-
Cool Light
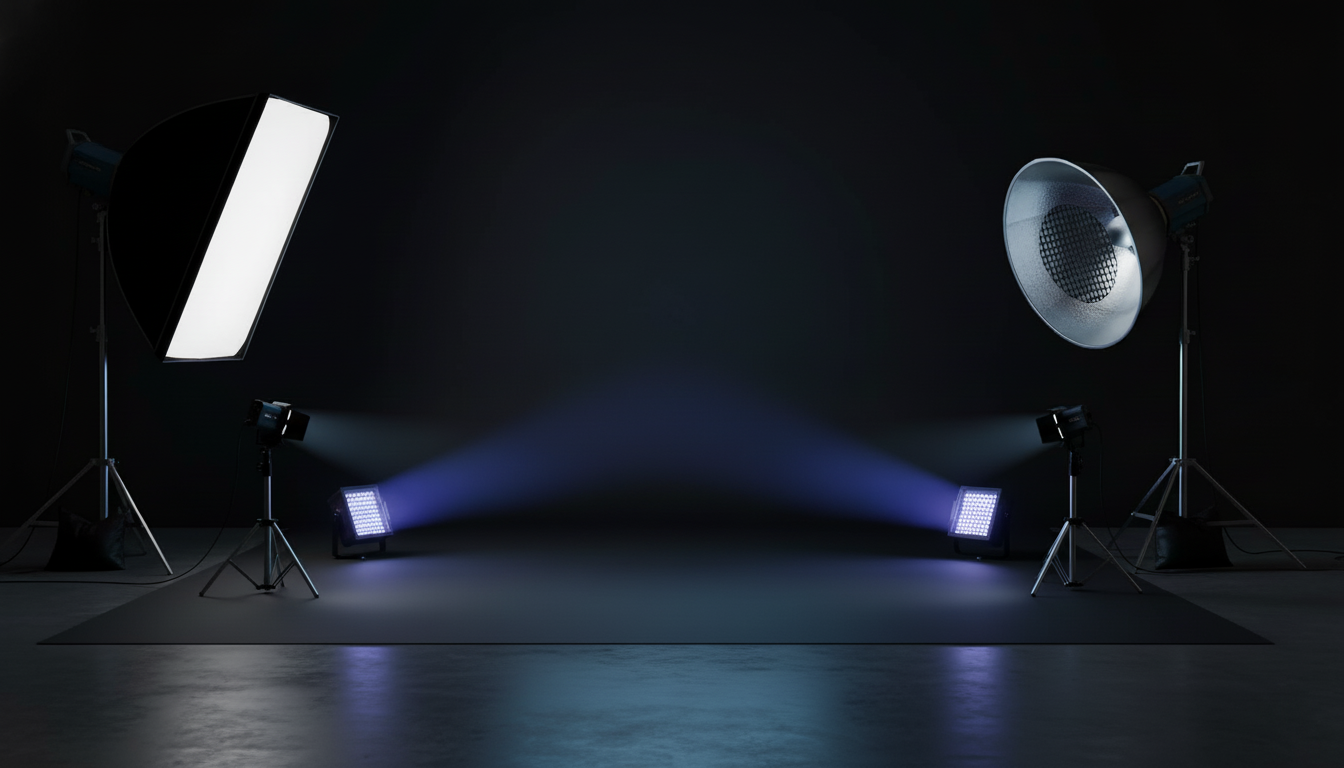
Cool light in photography is a light source that has a bluish tint and is used to depict a clean, calm, or even dramatic kind of atmosphere. The light generally has a higher color temperature, most of the time it is above 5000K, and it can be found in the shade, cloudy weather, early morning, and also can be emitted by some artificially made sources like LED or fluorescent lights.
Photographers employ the use of cool light to infuse their photos with a trendy, moody, or classy vibe. It is very effective to be used in fashion, product photography, architecture, and cinematic portraits where the focus is on the sharpness of details and contrast. Besides, cool light can make certain colors look bright and can also help in the reduction of the warmth of skin tones, which is beneficial when you are after a neutral or an edgy style.
If cool light is used in the right manner, it becomes a tool for mood and visual balance control. However, if it is overly used, it may give the impression that the photos are cold or even make the photos look unnatural, hence it is necessary to white balance adjustment or warm light mixing so as to get a natural outcome.
-
Semi-lateral Lighting

Semi, lateral lighting refers to a lighting arrangement where the illumination comes from a slight side angle of the subject instead of directly in front. As a result, the image has a great interplay of light and shadow, which gives it more depth without the impression of dramatic or harsh lighting.
Such a lighting approach is featured most frequently in portrait and product photography since it highlights the figure, surface, and facial features while still allowing the most important details to be seen. Semi, lateral lighting is a great tool for rescuing the photos from the situation where they are just flat because it introduces gentle contrast and thus, the subject looks more natural and has a 3D effect. Moreover, it is a perfect fit for achieving a professional, lifelike style with a small amount of visual appeal.
-
45-degree Lighting
One of the most fundamental lighting techniques in photography is 45, degree lighting. Here, the primary light source is arranged at a 45, degree angle to the subject, i.e., it is slightly to one side and above the eye level. As a result, the light coming from this particular direction produces shadows that look very natural and have a depth or nearly 3D effect. At the same time, the shadows are not too dark/light or too contrast.
45, degree lighting is a typical example of photographic lighting used by photographers for portraits as well as for product shots. Since it balances very well the highlights and shadows, the facial features become more apparent, the objects get more volume and the images retain all the details of the surfaces. Apart from being simple to operate, this device/method is compatible with both studio and daylight and i
-
Top Lighting
Lighting is the base of any excellent photo. If a photo lacks lighting, then the composition and camera settings are of no use. Top lighting in photography essentially means the best and most influential lighting types that photographers use to create mood, depth, and clarity in their shots.
These different lighting types, ranging from natural daylight to a precisely controlled studio setup, have their own unique functions. Some lighting techniques can remove the shadows and give a neat look to the picture, while others can deepen the contrast and create drama. Being familiar with the top lighting in photography and realizing which, when, and how to use it, enables you to have control over the highlights, get rid of the unwanted shadows and make the important details of the subject more visible.
In case you are shooting portraits, products, or lifestyle images, knowing how to use the top lighting in photography is the key to working smarter, not harder. It is a tool for creative freedom and makes it possible for you to achieve the same level of quality in different lighting conditions.
-
Bottom Lighting
Bottom lighting in photography refers to the method where the light source is situated under the subject and directed upwards. This kind of lighting generates deep shadows and bright areas of light, which in most cases result in the subject being given a mysterious or an intense type of appearance. Since it illuminates those parts which are always in the dark, it can totally change the features of the face and sometimes can add an effect that is not quite natural or even a little scary.
Photographers use bottom lighting in photography to achieve creative portraits, horror themes, cinematic scenes, and conceptual shots mostly. It is not a good one for producing natural, looking images, but it can be very effective when the intention is to create drama, tension, or a striking visual effect. If employed judiciously and mixed with fill or side light, bottom lighting can result in stunning and unforgettable photographs.
-
Hair Light
Hair light in a picture refers to a lighting technique that helps the main item stand out from the crowd by a gentle or strong light, which highlights the hair. The light is coming from behind or a little bit above the subject and is focused on the head. Such lighting, which is often referred to as rim light, creates depth, adds dimension and makes sure that the hair does not get mixed with dark or similarly colored backgrounds.
Photographers use hair light mostly in portrait, fashion, and studio photography to sharpen the detail and to give a finished and aristocrat look. If everything is perfect, hair light can be used as an accent layer to add more interest to the scene without disturbing the main lighting design. In particular, hair light is useful for dark hair, backlit scenes, and luxurious portrait work where the separation of the subject is vital.
-
Background Light
Background lighting in photography refers to the lighting that is used to brighten the area which is behind the main object and separate that area from the back drop. It essentially allows the light to look like it is coming from a different angle, thus helping the subject to pop out more and giving the whole shot some depth. If the background light is done properly, it will give a clean, neat, and professional appearance of the whole thing without taking away the attention from the main point.
This kind of light is usually put behind the subject or a little bit to the side of the subject and pointed at the background, not at the subject. The light can be gentle if the intention is only to separate or it can be stronger if a fiery effect is needed. Background light in photography is a great tool for portrait, product, and studio shoots, where it can be used for setting the mood, bringing out the textures, and enhancing the overall image balance.
-
Accent Light
Accent light in photography serves the purpose of focusing the viewer’s eye to a certain area of the subject. It brings out the details that may have been overlooked, for instance, the texture, the shape, or even a feature that is most emphasized. Such illumination not only gives the subject an additional layer but also separation from the background.
Photographers frequently resort to accent lighting to evoke mood and attract the eye of the viewer. It is a fine choice for portraits, product photography, and still life where emphasis is required. If the use of accent light is proper, it will be an addition to the main lighting without being too strong, thus making the photo look more professional and purposeful.
-
Catch Light
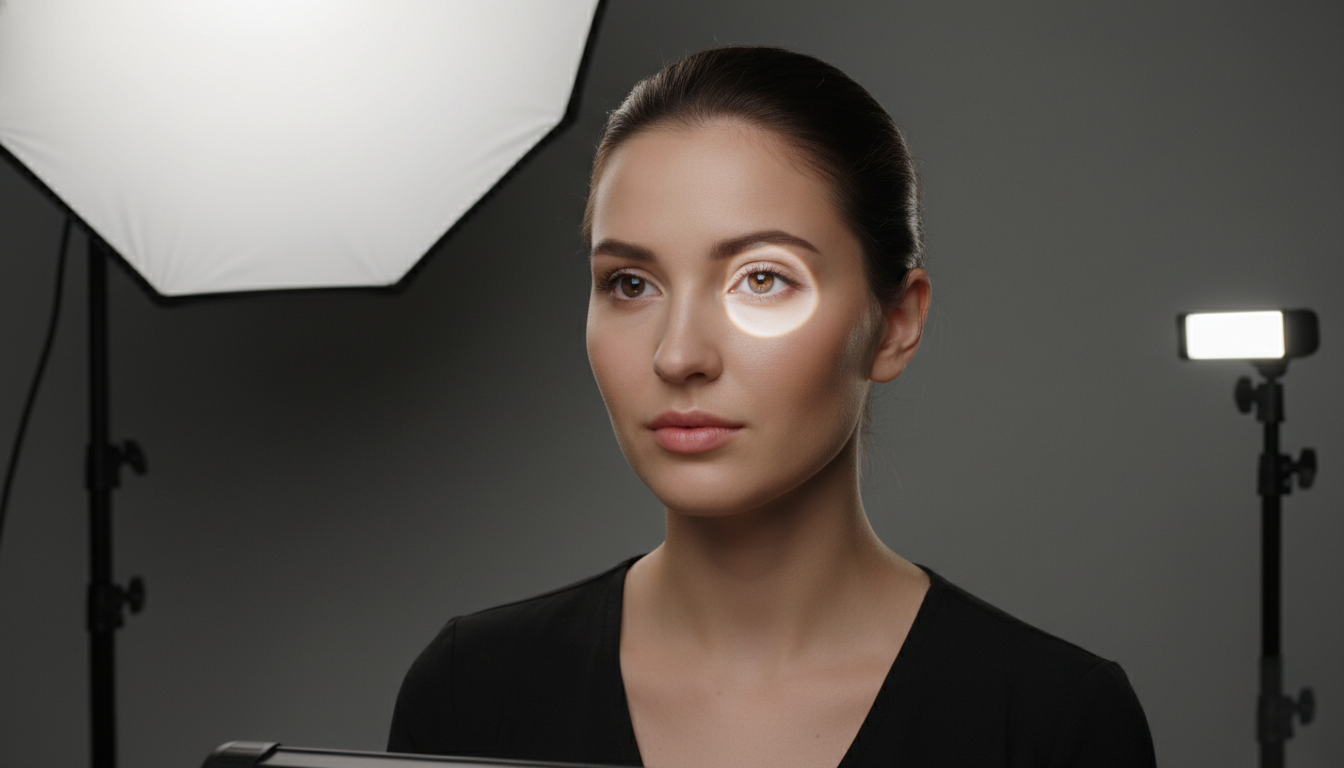
Catch light in photography is the small light reflection that can be seen in a subject’s eyes. It is one of the elements that bring life, depth, and emotion to the photos of people. Eyes without catch light can appear even in well, lit photos, flat or dull.
Photographers employ catch light to establish a bond and authenticity. It can be from the sun, studio lights, or a reflector that is placed in front of the subject. The size, shape, and position of the catch light are determined by the light source and the angle.
Knowing what catch light in photography is can help you decide the degree of a portraits emotional expression and the connection it makes with the viewer. A properly positioned catch light can make eyes look lighter, clearer, and more human, thereby, making the whole image look better in an instant.
-
Bounce Light
Bounce light in photography refers to a method where light is thrown from a surface to the subject after it has been reflected from that surface. Instead of directing the light straight to your subject, you throw it from a wall, ceiling, reflector, or even the ground. In this way, the light becomes softer, smoother, and more natural with less of the deep shadows that usually occur.
Photographers employ bounce light as a means of controlling contrast and diminishing glare. The Illuminate skin or any other surface in a very even way. With the help of the bounce light, the photography can retain the skin texture as well as the small details. Bounce light in photography is a great tool for making beautiful portraits, shooting indoors, and product photography when clean and flattering light is absolutely necessary. Without the use of complicated equipment, you can manipulate the light and achieve a professional finish by simply selecting the proper surface and angle.
-
Clamshell Lighting
One of the most common portrait lighting setups using clamshell lighting in photography is known for its soft, clean, and flattering kind of light. Two light sources are used one above and one below the subjects face thus producing even illumination with very few shadows. The setup is particularly useful in beauty, fashion, and headshot photography, as it gives an impression of the skin being smooth and the facial features being naturally highlighted.
Photographers mostly position the main light a little bit above the eye level and a reflector or a secondary light is placed below the face to fill in the shadows. The lighting is balanced with the eyes being bright, soft shadows under the chin, and a professional studio finish is what you get in the end. Clamshell lighting is simple to put together, compatible with both novice and skilled users, and perfect when you desire a neat, luxurious look without the presence of a strong contrast.
-
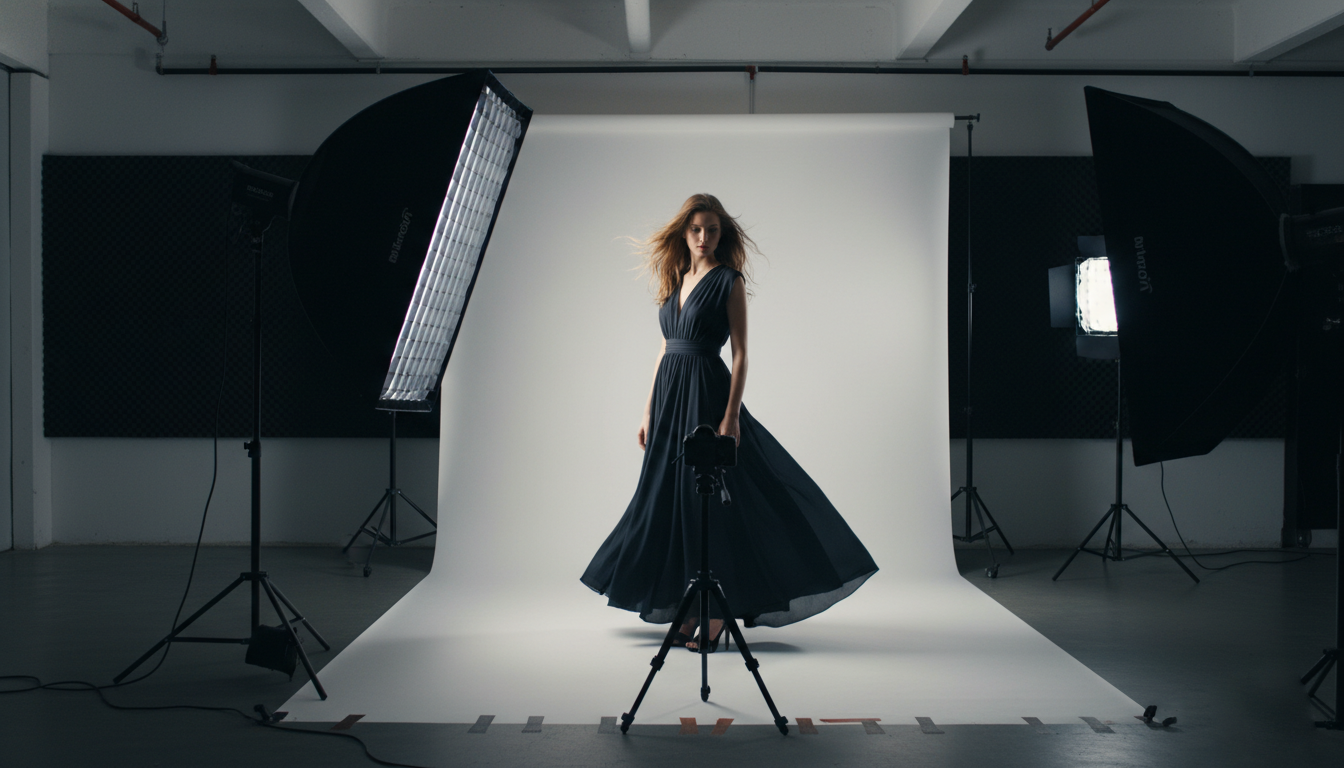
Cross Lighting
Cross lighting in photography means using two different lights to illuminate a subject from two different sides, usually from the opposite sides or at an angle. With this setup, exposure is balanced while the subject is given depth, texture, and a sense of three, dimensionality. This method is widely used in portraits, product photography, and cinematic scenes that are close, ups of details.
By using cross lighting, most of the shadow parts become less harsh, yet the image is not flattened as the light intensity is reduced without completely removing the shadows. The bright one is generally the key light, and the other one, the fill light, helps in getting rid of the darkest parts so that the photographers have more control over the contrast and also help them to figure out the shapes by the light more accurately. The technique is extremely helpful in bringing out the facial features, the texture, and the curves of the body.
Cross lighting in photography is the best option if you want a dramatic effect, though it is still under your control. It makes the picture more attractive while the essential details remain visible thus it is a lighting setup which is frequently used in professional studio and creative lighting.
Final Thought
Understanding the different types of lighting in photography is one of the most important skills a photographer can develop. Lighting influences how a subject looks, how a photo feels, and how professional the final image appears. When you know how to choose and control light, you gain creative freedom instead of relying on luck.
Each lighting type serves a specific purpose. Some help you capture natural and authentic moments, while others allow complete control in a studio environment. Dramatic lighting can add emotion and storytelling, while soft lighting creates clean and polished results. Knowing when and how to use each one is what separates beginner work from professional photography.
As you practice, experiment with different lighting setups and observe how they affect your images. With time, lighting will become a deliberate creative choice rather than a challenge. Mastering these lighting techniques will help you create stronger, more consistent, and visually compelling photographs in any situation.


