How to Use Patch Tool in Photoshop: Step by Step Tutorial
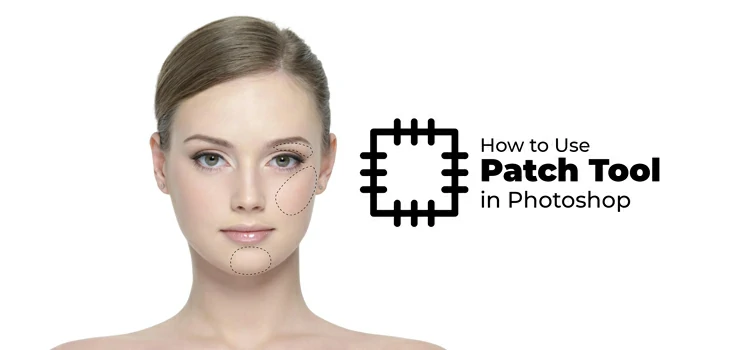
Photoshop comes with some magnificent tools, doesn’t it? These tools are designed to let you edit and retouch your photography, thereby making them masterpieces. One of the striking tools that Photoshop offers is Patch tool.
Patch tool is basically a selection tool but different from the other selection tools like Quick Selection, Magic Wand, Lasso, and Pen. As the name reflects, patch tool is used to fix or mend a particular region of an image. It works by covering the selected object or area with another part of the same image.
Why Use Patch Tool in Photoshop?
Photoshop’s Patch tool serves a number of benefits to edit and refine your photography. You can take advantage of the Patch tool even if you aren’t a Photoshop expert. That’s how much easy using the Patch tool.
Before we walk you through how to leverage Patch tool in Photoshop, let’s take a look at the reasons why you should use Photoshop’s Patch tool-
- Remove distracting elements like glasses, books, etc. from photography
- Eliminate dust and blemishes from imagery
- Get rid of unwanted objects or elements like a strand of hair, fur, etc. from a photograph
- Duplicate and inject a particular element to other areas of an image
How to Use Patch Tool in Photoshop
Now, we will show you how to use Patch tool in Photoshop. We will work with 2 different images to show the different outputs with the Patch tool. Firstly, we will remove unwanted elements from an image. Secondly, we will copy and add a particular object to another area of an image.
Let’s get started…
Step 1: Open your Photo in Photoshop

At the beginning, open the image from which you want to remove any distracting or unwanted objects. Then, unlock the image layer by right-clicking on the lock icon in the layer panel.
Step 2: Select the Patch Tool

Now, navigate to the Patch tool from the toolbar and select it. You can also press J as a shortcut to select the Patch tool.
Step 3: Draw the Selection

Now, it’s time to draw the selection around the object or element you want to get rid of. Click and hold down the mouse to select the area. Then, make sure that the setting is selected to “Source” to perform the desired action.
Step 4: Drag the Object or Element

Afterward, drag the selection to the area you want to cover it with. Pay close attention to the patterns of the area as you don’t want any imperfection in your image.
Step-5: Final Output

Now, release the mouse, press M, and then right-click to deselect the area. Your unwanted elements have vanished as these parts were covered by the sampled area.
To Conclude
That’s it for this tutorial. Hopefully, it was helpful for you to understand the use of Photoshop’s Patch tool. If you want us to make any particular Photoshop tutorial for you, do let us know without any hesitation.