How to Use Content-Aware Fill in Photoshop (2 Easy Ways)

When you shoot photography, your photos often end up having unwanted objects, don’t they? You might tend to delete those photos just because they contain unwanted objects. Many times, if you delete some of these photos, you may not be able to click on another one exactly of the same quality.
No worries! You don’t have to delete these photos anymore. Adobe Photoshop has the solution to this issue. The image editor comes with “Content Aware Fill” feature through which you can get rid of unwanted objects in no time.
Not just for your clicked photography, you can make use of content-aware fill feature to iron out unwanted items even for stock photography. What I mean is that if you download an image from a free or paid stock photography site and discover any redundant item on the photograph, content-aware fill feature will come in handy in that case.
What is Content-Aware Fill?
Content-Aware Fill is a Photoshop command that is used to get rid of distracting elements or unwanted items by drawing a selection. The selection is drawn around the object to be removed. Photoshop then swaps the selected area adding new image detail from surrounding areas.
The selection can be done with the Lasso tool, Spot Healing Brush tool, and Patch tool to iron out unwanted elements. If you want to remove spots or blemishes, selection with Spot Healing Brush tool is perfect. On the other hand, for removing other elements or objects, Lasso tool is ideal.
How to Use Content-aware Tool in Photoshop
Now, it’s time to have a look at how Photoshop’s Content-aware tool works. We will walk you through a super easy method to remove objects leveraging the Content-aware tool in Photoshop. Without further ado, let’s get started…
Step 1: Open your Image in Photoshop

Right at the outset, open the image from which you want to remove any object in Photoshop. Make sure to unlock the layer by clicking on the lock icon located on the right.
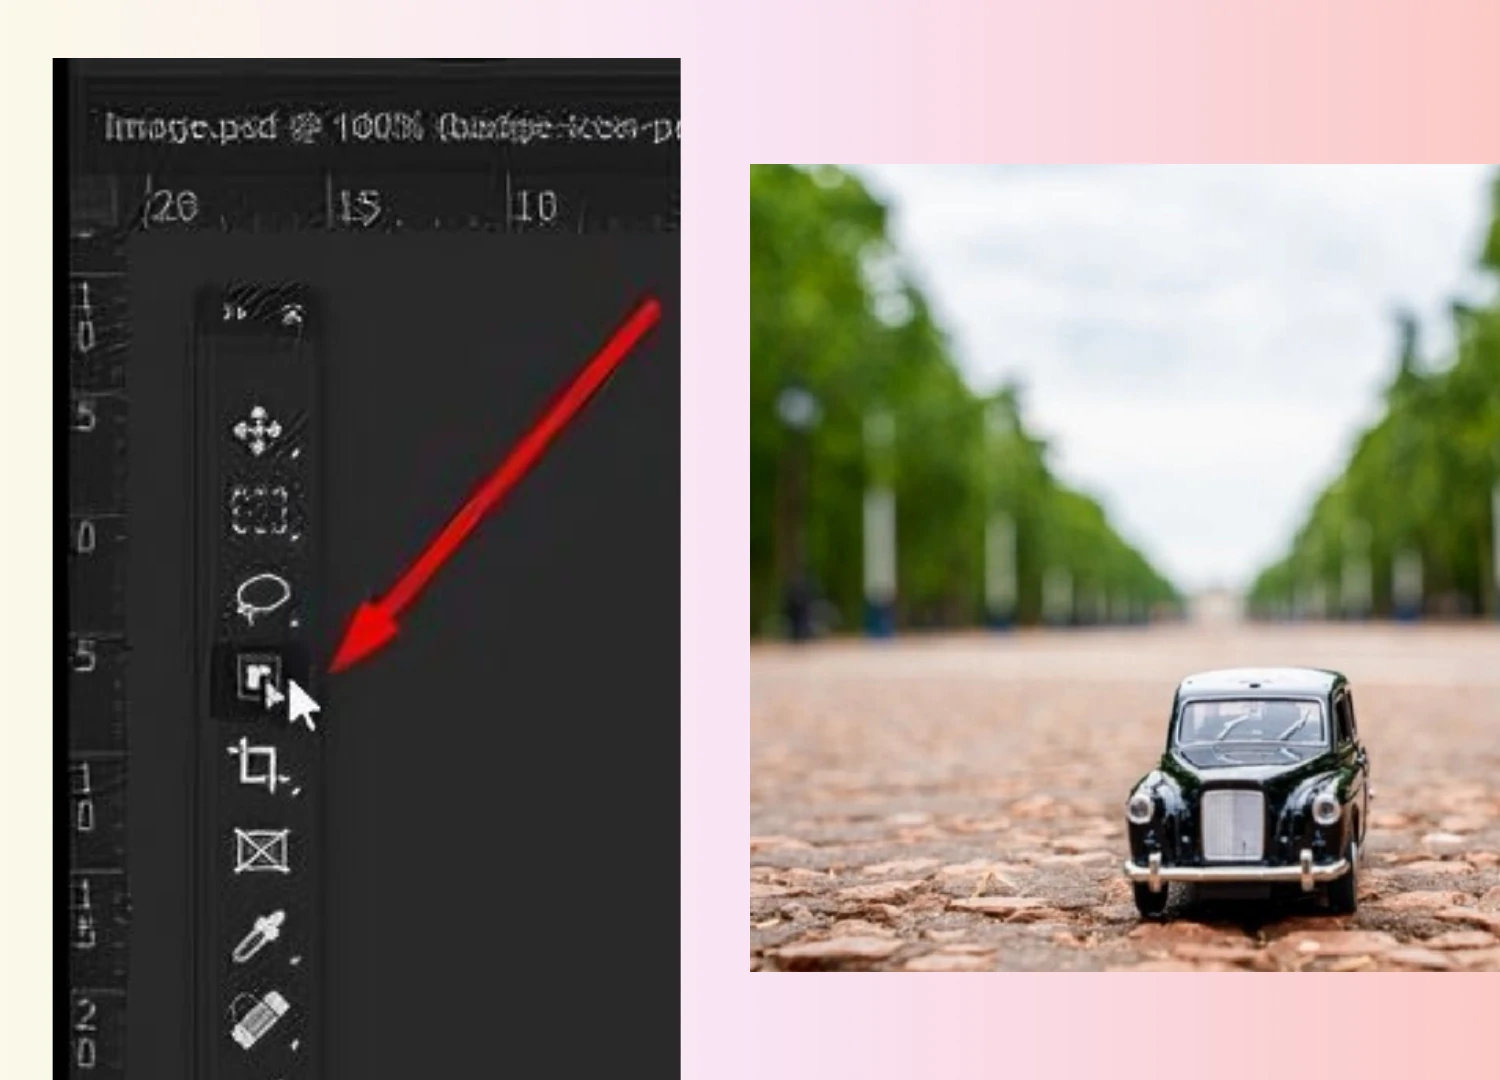
Step 2: Select the Lasso Tool

Now, duplicate the layer by right-clicking on the mouse or by clicking Ctrl+J. Then, move ahead to the toolbar and select the Lasso tool.
Step 3: Make the Selection

At this point, make a loose selection around the object or element you want to remove from your image. Once you complete the selection, move to “Edit” tab on the menu bar and navigate to “Fill”.
Step 4: Select Content-Aware from the Drop-down Menu

With that, a dialog box will show up where you have to select the Content-Aware option from the drop-down menu. If everything looks cool, go ahead and select “Ok”.
Step 5: The Selected Object Disappears

Immediately after that, your object within the selection will disappear with Content-aware fill. Photoshop will replace the object and fill the area with sampling pixels from surrounding areas.
Step 6: Content-Aware Fill in Photoshop-Final Output

Finally, your image will show up with everything except the object or element that you removed.
Using Content-Aware Fill Workspace
In some instances, the Photoshop fill tool might not work for you. This is when content-aware fill workspace comes into play. It gives you a little more control over your photos by allowing you to fill the pixels by sampling their surroundings.
Here's how you can do it:
Step 1: Open the Image and Select the Object Selection Tool
From your keyboard, press CTRL+O to open the image, or go to "File" and click on "Open." If you are using the new version of Photoshop, you can easily select the subject of your image.
To do that, you need to select the Object Selection tool (w) first. ![]()
Step 2: Select the Subject

Secondly, at the top of the bar, there is a button labeled "Select Subject." Once you click on that, you'll see that it has automatically selected the subject of your image.
NOTE: You may need to expand the selection in some instances; to do so, go to Select > Modify > Expand. After that, simply increase the pixel value, and you're good to go.
Step 3: Select the Content-Aware Fill Tool

Now, you can easily apply Photoshop's content-aware fill to your image. To do that, go to File > Content-Aware Fill.
Step 4: Refine the Sampling Area

Now all you have to do is select or paint the sampling area. Sometimes you may need to paint more in order to get the desired outcome.
Another cool thing about this workspace is that it supports live previews. So, you can check whether it works or not before clicking on the OK button.
Final Result


This is how so easily you can eliminate any object or element that you don’t want to be part of your image with the Content-aware Fill feature of Photoshop.