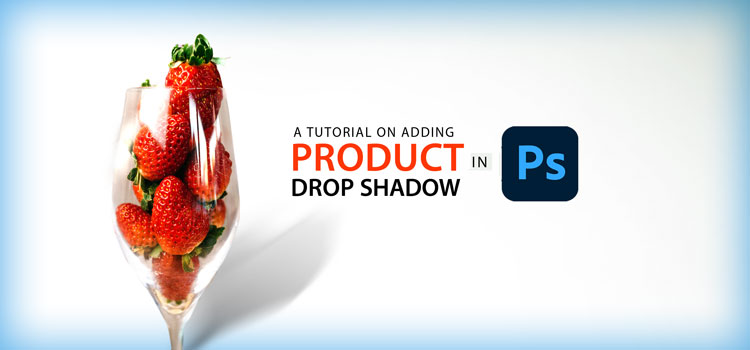
How to Add a Drop Shadow to Your Product Photography in Photoshop?
Looking for a way to spice up your product photography? Shake off your worries as here in this write-up, we will introduce you to a smashing product photo enhancement effect called drop shadow. Why should you add a drop shadow to your product photography?
Well, the simple answer is, it lets you showcase your product photos 3-dimensionally adding depth to your product photography. As a result, your prospects are likely to be lured by your product imagery.
If you own an e-commerce business, it’s very crucial that you display your product photos showing up catchy and realistic. Customers don’t have the luxury to touch products online, so they want to view their preferred products and realistically and imposingly.
When you take product shots in a studio, it’s an uphill task to create shadows of your products. And if you are just a layman without having professional touch in product photography, you will struggle even more.
But a shadow can turn your product image mesmerizing. So, how can you add shadows to your product imagery?
It’s pretty simple and in this tutorial, we will specifically walk you through each and every step of adding a drop shadow to your product photo.
So, let’s cut to the chase...
1. Open an Image in Photoshop
At first, open your image in Photoshop and make sure the image has a high resolution. To apply drop shadow, we have picked an image of a juice-filled plastic glass topped with ice cubes.

2. Draw a Path
Now, select the pen tool from the toolbar located on the left and draw a path around the edge of the object. After the path drawing is complete, remove the background from the image.

3. Duplicate the Layers
After that, move to the Layers Panel on the right side of the Photoshop window. Select the Background Layer and duplicate it by right-clicking on the mouse or you can even make use of the keyboard shortcut. Press Ctrl + J (Windows) or Command + J (Mac) to duplicate the layer.
You have to duplicate this layer as well to work on the shadow. For better understanding, rename the first duplicate layer with “Shadow” and the 2nd one with “Product”.

4. Select the Shadow Layer to Enable the Transform Tool
Moving on, select the Shadow layer and hit Ctrl + T (Windows) or Command + T (Mac) to enable the Transform tool. Then, right-click on your mouse and select "Distort" to drag the transformed image into a fitting angle to align with the incoming light source on your subject.
If required, you can also reposition the transformed image by selecting the Move tool hitting V.

5. Select the Gradient Overlay
Now, double-click on the Shadow layer to select the Gradient overlay. This will modify the color of your transformed image bringing out a shadow effect.
You can also use the Opacity slider and Angle fixer to adjust the shadow effect.

Win more sales with eye-catching product photos
Free service up to 5 images
6. Convert the Layer into a Smart Object and Select the Blend Mode
Then, right-click on the Shadow layer and convert the layer into a smart object by clicking Convert to Smart Object. Thereafter, find Blend Mode in the Layers panel and select “Multiply”.

7. Select the Filter
Move on to the Filter from the Photoshop main menu after that and click on “Blur” from the drop-down menu and select Gaussian Blur to apply the Gaussian Blur filter. Select a pixel radius for the blur.
Through this feature, you can experiment with the shadow effect as the resolution of all the images isn’t identical.

8. Perfect the Shadow with Further Transforming
Now, it’s time to do further transforming of your shadow. Select the Transform tool again and transform your shadow. Try to understand the light source and position your shadow accordingly.
You are likely to make errors in this process but you also have the scope to rectify those errors by making adjustments. Keep the shadow subtle to bring out a realistic shadow look.

Final Output
So, here it is!!! The product drop shadow creation is done. But to bring perfection into your drop shadow, you can use a brush selecting the brush tool if needed and set its opacity, flow, size, and hardness to compatible parameters.

That’s all in today’s tutorial. Hopefully, you had fathomed the concept of drop shadow and also picked up the process of creating a drop shadow for your product photography. Until next time, dig and chill!
Win more sales with eye-catching product photos
Free service up to 5 images


