Rembrandt Lighting Explained: How to Create Dramatic, Professional Portraits

Rembrandt lighting is one of those “forever” portrait looks. It is classic, flattering, and looks like they belong in a magazine spread.
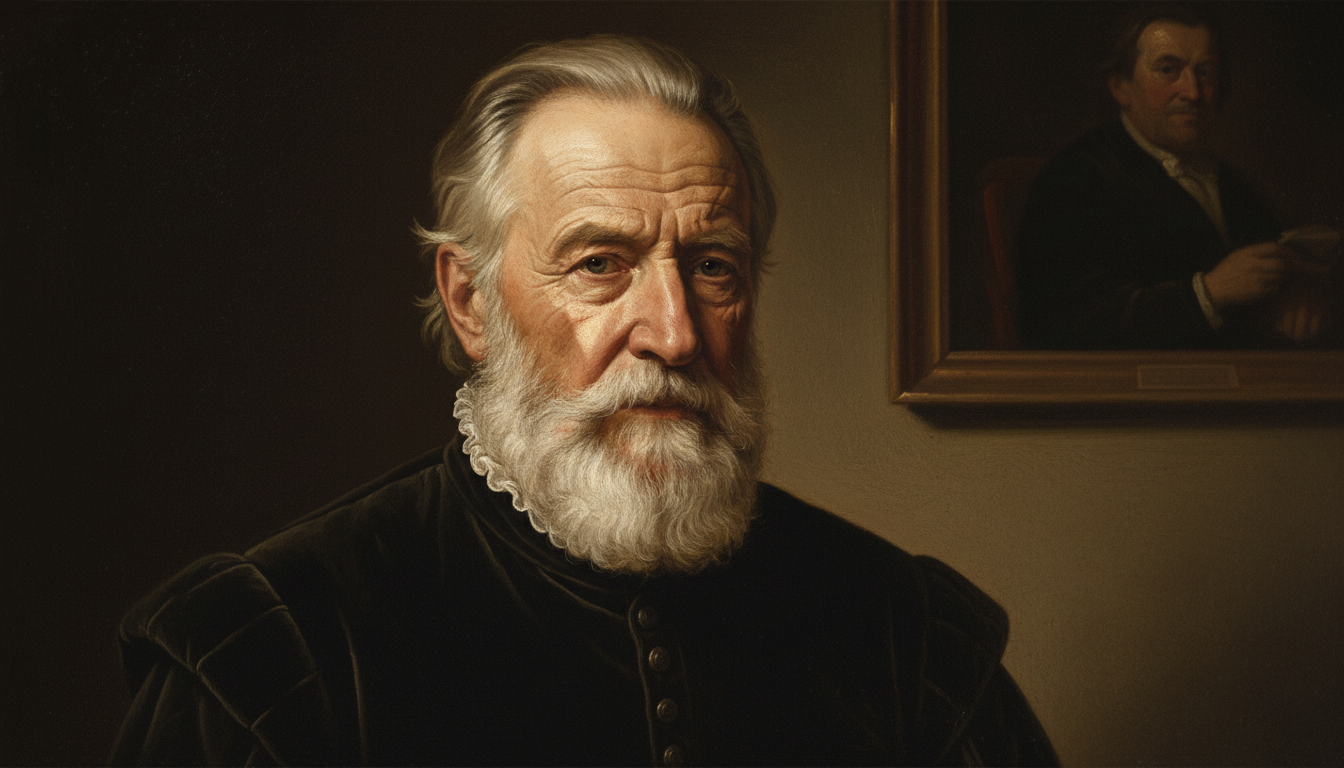
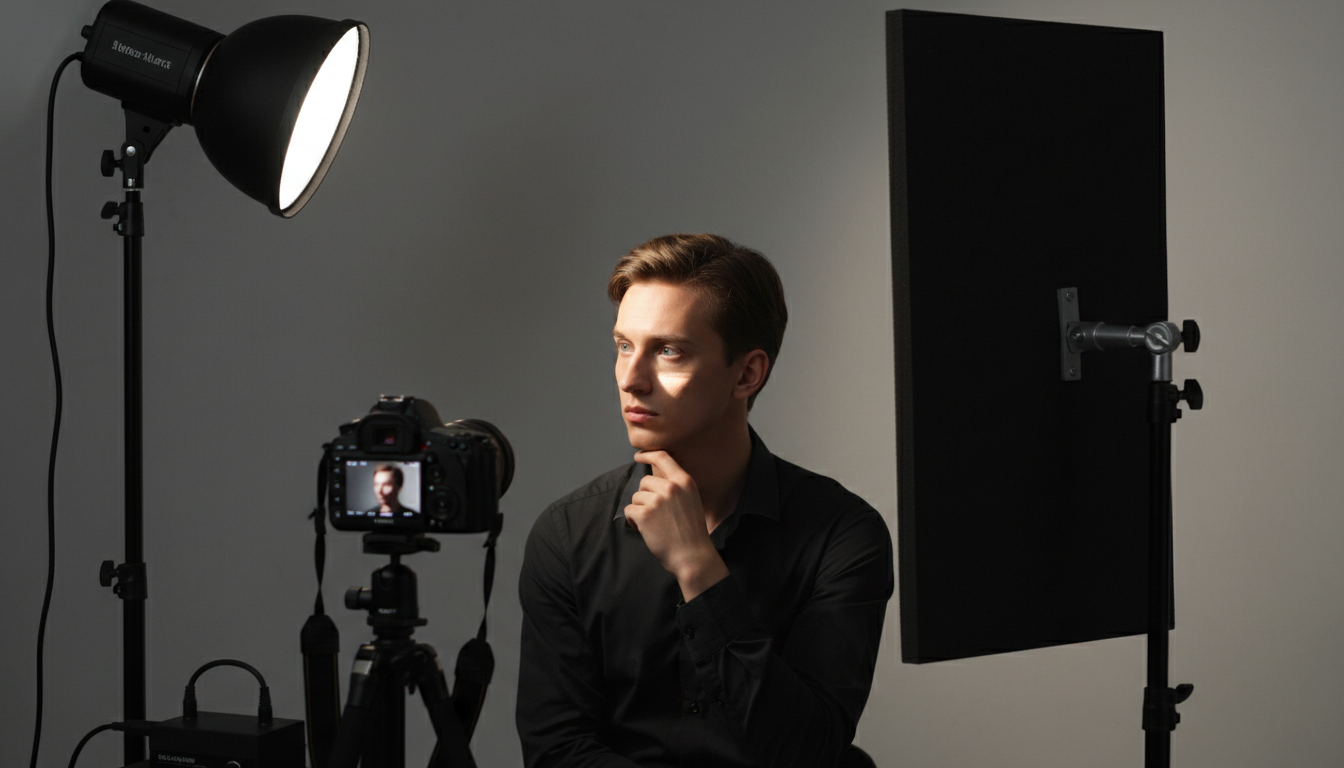
If you have ever noticed a portrait that one side of the face has a soft light under the eye (on the shadow side), that is the Rembrandt signature. The goal is achieving dramatic result like shape the face, keep skin smooth, and still hold detail in the shadows.
It is also having a moment again. Editorial-style portrait work, “cinematic” wedding add-ons, and low-light flash techniques keep trending because clients want images that feel intentional, not accidental.
Even mainstream wedding coverage is leaning moodier, with photographers using flash and controlled light in darker conditions to create elevated, cinematic portraits.
And the gear side backs this up: Profoto’s annual report breaks the lighting market into off-camera flash (30%), on-camera flash (25%), and continuous light (45%), which tells you something important: continuous LED is huge now, but off-camera flash is still a major slice of the pro world.
Let’s break this down in a way you can actually use on a shoot.
What Rembrandt lighting is (and what it isn’t)
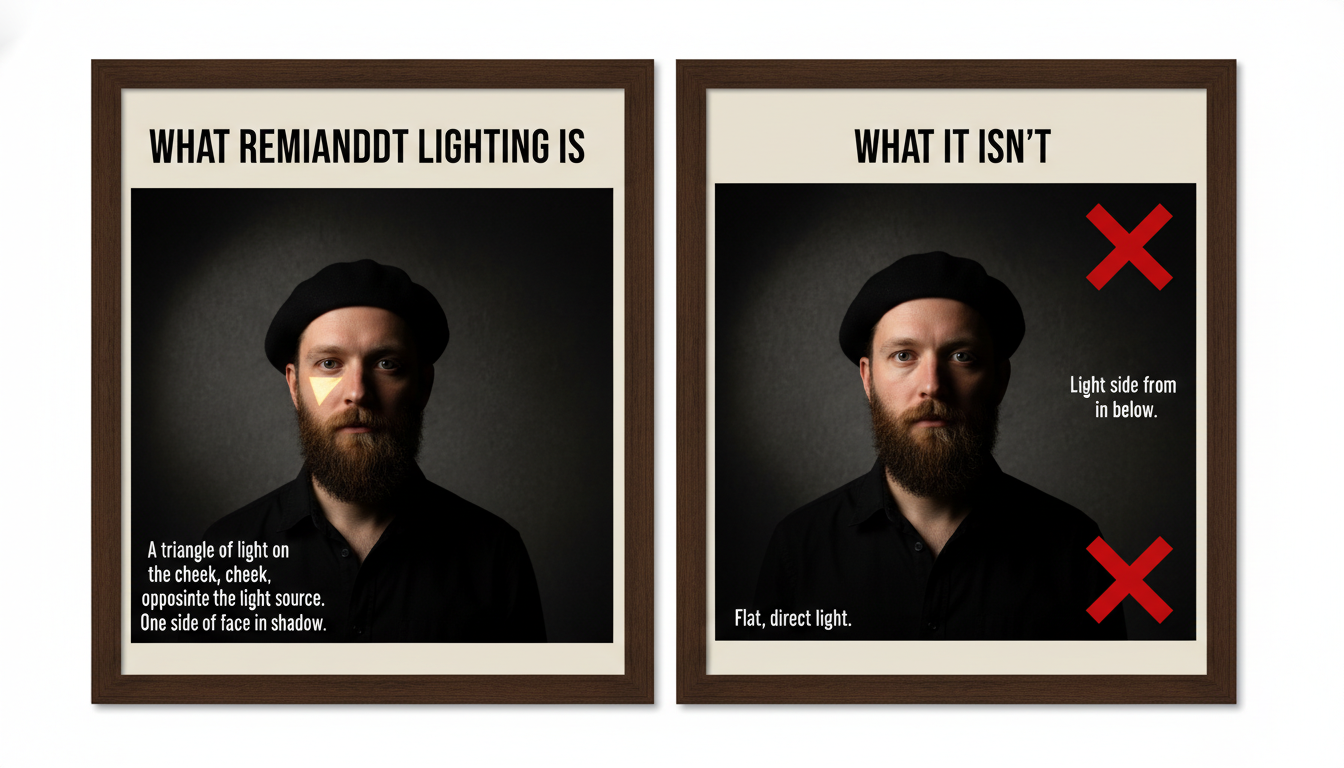
Rembrandt lighting is a short-lighting pattern where:
- Key light comes from the side and slightly above the subject.
- The far cheek (shadow side) still gets a small triangle of light under the eye.
- The nose shadow connects (or almost connects) to the cheek shadow, creating that classic “painterly” depth.
What it’s not:
- Split lighting (50/50 bright vs dark down the face). That’s harsher and more dramatic.
- Loop lighting (small nose shadow, but no triangle on the far cheek).
- Butterfly/Paramount (light centered above camera with a shadow directly under the nose).
Rembrandt lives in the sweet spot: dramatic, but still flattering for most faces when you control shadow depth.
Why it looks “professional” so fast
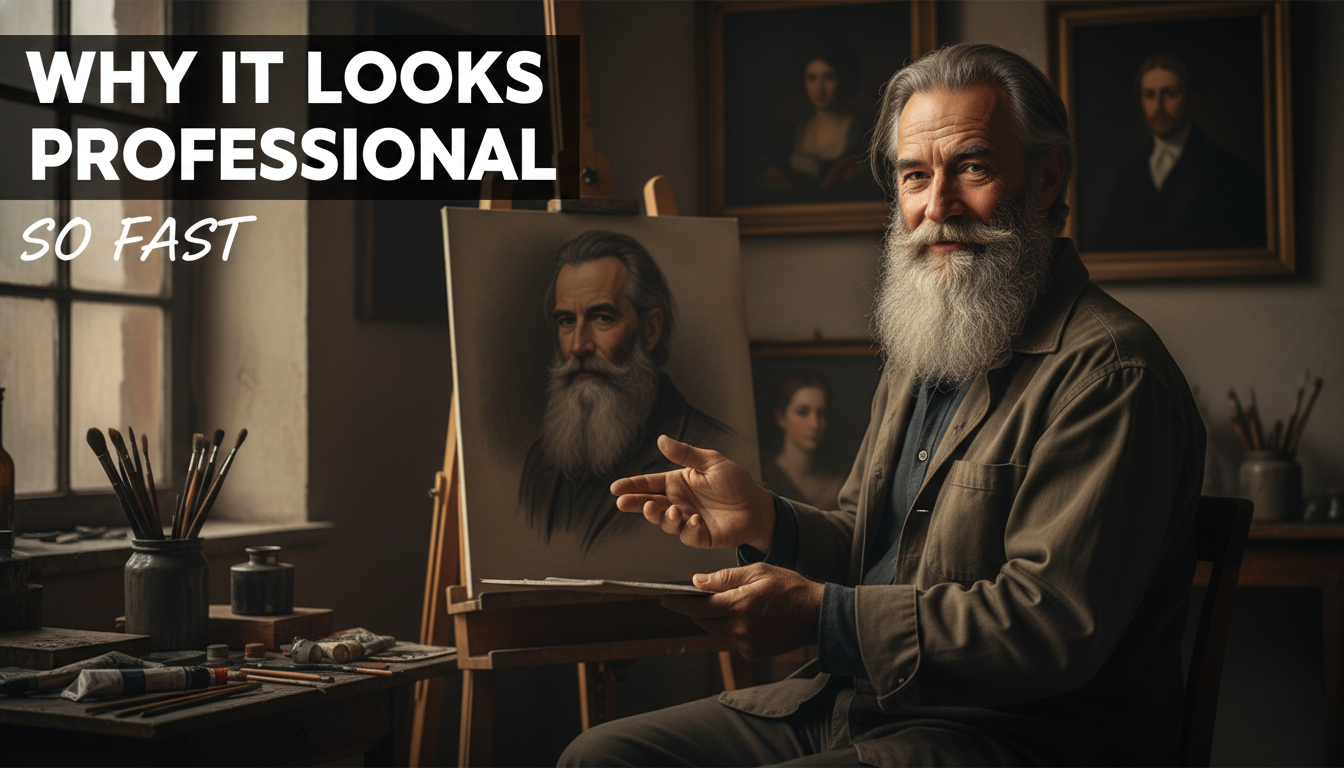
Rembrandt lighting in photography works because it does three things clients love (even if they cannot explain it):
- It creates structure. Cheekbones, jawline, and nose get definition without looking over-edited.
- It controls attention. The bright side becomes the “hero” and the shadows stop the frame from looking flat.
- Rembrandt hides problems politely. Texture, asymmetry, or mild skin issues often look less obvious in shaped light than in broad lighting, flat light.
That is the whole game: give the face dimension while keeping the skin kind.
The modern trend angle: why Rembrandt fits with portrait style
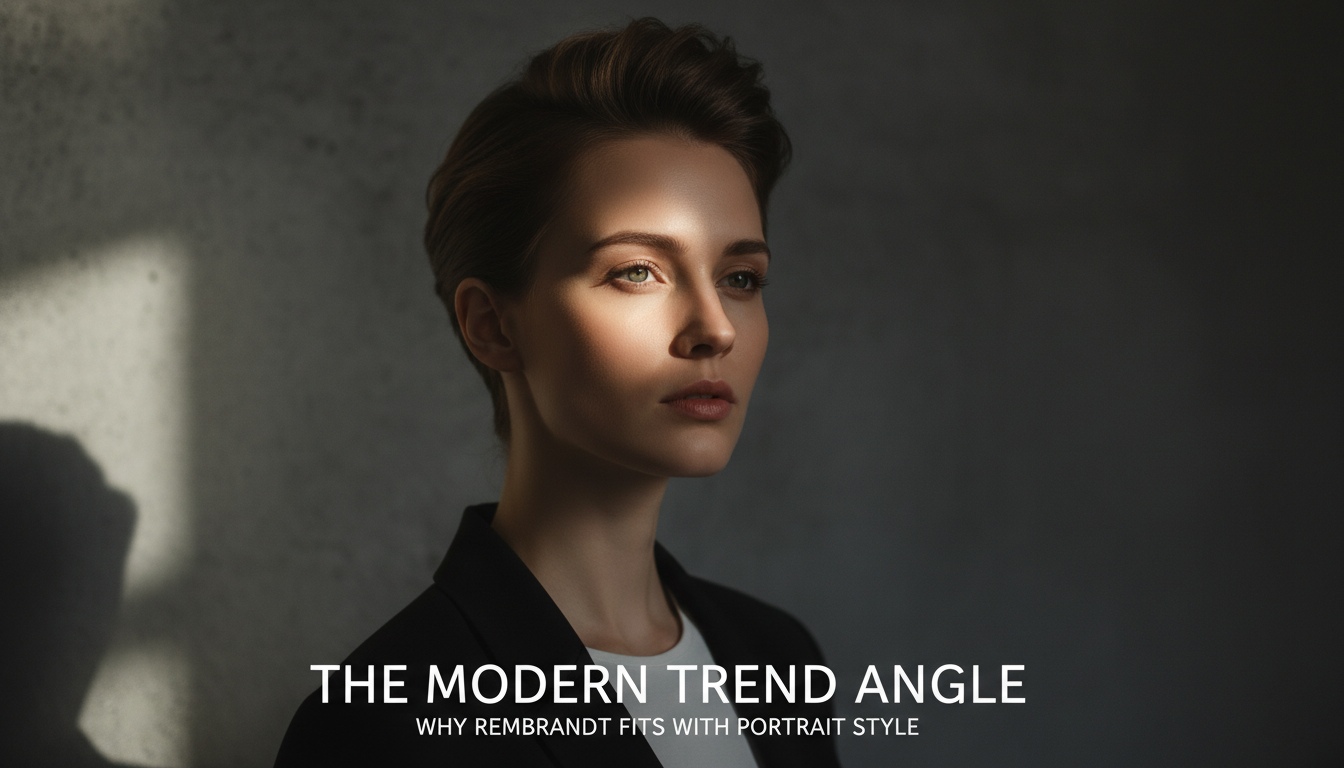
Portrait tastes swing like fashion. Right now, a few forces are pushing photographers back toward dramatic, controlled lighting:
- Editorial-style wedding photography is rising, and flash is being used more intentionally in low light to create a “cinematic” feel.
- The pro lighting market is still heavily invested in both continuous light and flash. Profoto cites a split where continuous is the largest segment (45%), but off-camera flash is still a major 30% of the market.
- The wireless flash market is projected to grow over the next decade (one industry estimate values it at $1.2B in 2024 projected to $2.5B by 2034, ~7.5% CAGR). Even if you take market forecasts with a grain of salt, the direction is clear: creators keep buying lighting.
- Photographer survey work like Zenfolio’s State of the Photography Industry highlights an industry in flux (AI, shifting workflows, equipment preferences) based on responses from 4,500+ photographers across 70+ countries. That’s not “just vibes.” It is a big sample showing real change.
Rembrandt lighting fits this era because it is dramatic and clean. It reads as premium without screaming “I used a flash.”
The Rembrandt checklist (the non-negotiables)
Before we talk gear, lock in the pattern:
- Key light is 30-60 degrees off camera (to the subject’s left or right).
- Key light is above eye level (usually 15-45 degrees high).
- The shadow-side cheek shows a triangle of light:
- Top point: just under the eye
- Side edges: cheekbone + nose shadow
- Bottom edge: above the corner of the mouth (roughly)
If the triangle disappears, you are in loop or split lighting. If the triangle is huge, your light is too frontal or too big/close in a weird way.
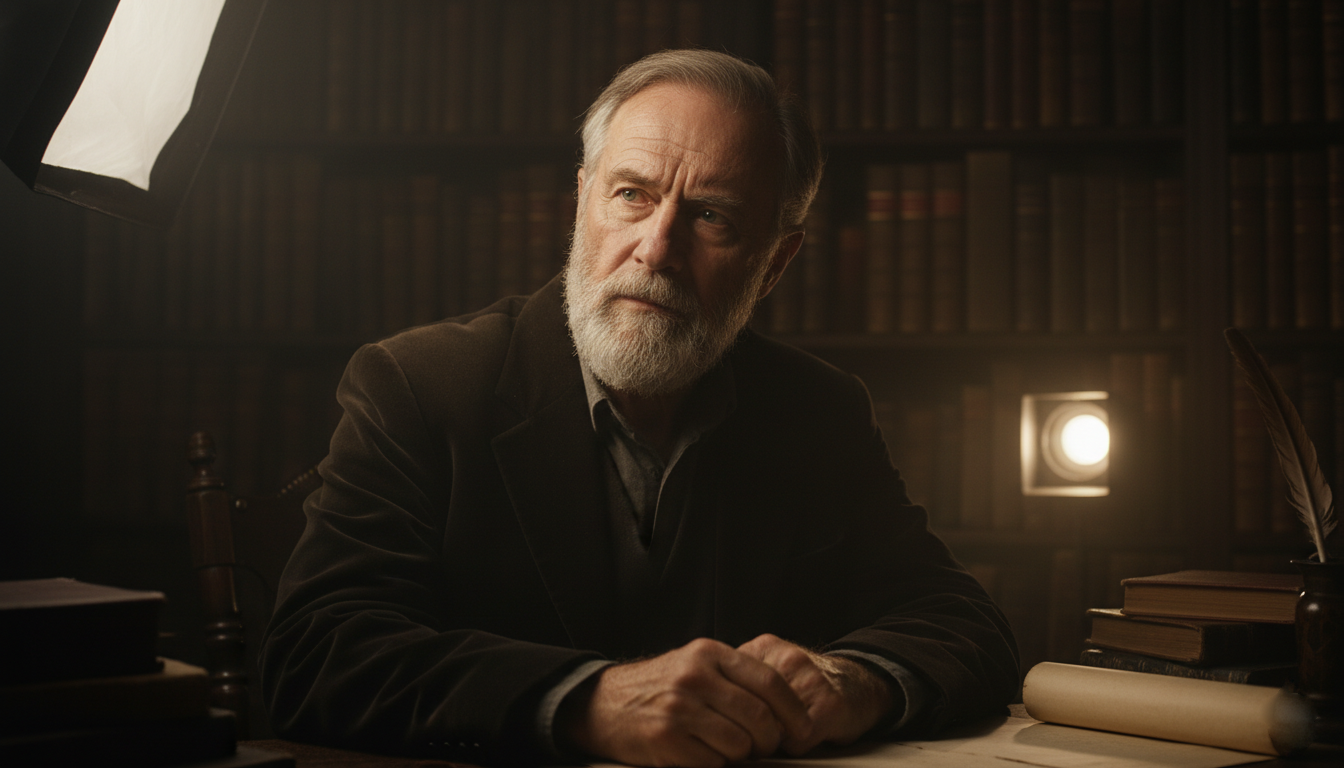
Setup 1: One-light Rembrandt (fastest way to learn)

You need
- 1 light (strobe or LED)
- 1 modifier (softbox or umbrella)
- Optional: reflector or white foam board
Where to put the light
- Place your subject 4-8 feet from the background (for separation).
- Put the light 45 degrees to the side and slightly above the subject.
- Aim it down toward the far cheek, not straight at the nose.
How to see the triangle
- Have the subject turn their face slightly toward the light until the triangle appears.
- If the triangle is missing, move the light more to the side (or raise it slightly).
- If it becomes split lighting (half face black), bring the light a bit closer to camera.
Pro tip
- Start with the light farther away than you think. Close light = fast falloff and deeper shadows. Farther light = smoother transitions (usually more flattering).
Setup 2: One light + reflector (the “client-safe” Rembrandt)
This is how you keep the Rembrandt mood while making it easier to sell commercially.
Add a reflector on the shadow side:
- White reflector = soft fill (clean, natural)
- Silver reflector = stronger fill (more contrast control, can look “flashy” if too close)
What it fixes
- Under-eye shadows get gentler
- Skin texture looks smoother
- You get detail in dark hair and dark clothing
If you’ve ever shot Rembrandt and the client said “I look tired”, it is usually because you went too contrast too fast. The reflector is the cheat code.
Setup 3: Two-light Rembrandt (key + rim for separation)
If you want that “high-end studio” look, add a rim.
Light 1 (key): Rembrandt position (as above)
Light 2 (rim/hair):
- Place behind subject on the shadow side
- Aim at hair/shoulder line
- Use a grid or barn doors if possible
Why it works
Rembrandt creates depth on the face. The rim creates depth in the frame. Together, it looks expensive.
Strobe vs LED for Rembrandt: which is better?

This is the real-world question now because continuous light is a big portion of the market.
Choose strobe if you want:
- Cleaner files at lower ISO
- Sharper results with motion control
- More power (especially in bigger spaces)
Choose LED if you want:
- Experience speed
- Easier hybrid photo/video workflow
- Faster setup for solo creators
Our take:
If you are learning Rembrandt, LED helps you “see” the pattern instantly. If you are delivering client work in mixed conditions, strobe wins on consistency and image quality.
Camera settings that make Rembrandt look intentional
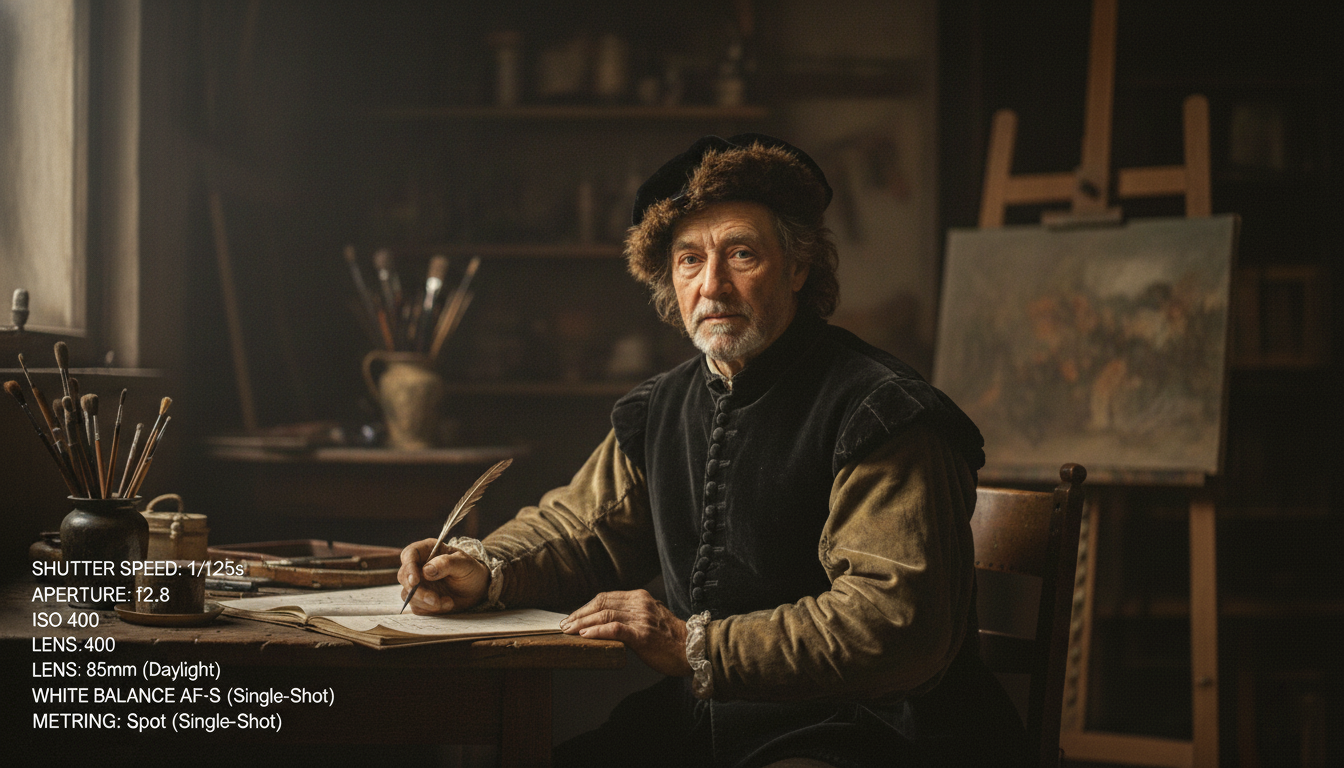
Rembrandt lighting falls apart when your exposure is sloppy. Use this as a baseline:
For strobe (studio-ish)
- ISO 100–200
- Shutter 1/160–1/250 (sync dependent)
- Aperture f/5.6–f/8 for crisp faces
For LED (continuous)
- ISO as low as you can keep it
- Shutter 1/125+ (or higher for movement)
- Aperture f/2–f/4 if you need light, but watch focus
Critical move: expose for the highlights on the bright cheek. Let the shadows be shadows, but do not crush them into black unless you are going for a hard, gritty look.
Face types: quick adjustments that matter
Rembrandt is not one-size-fits-all. Here is what changes fast:
Narrow face
- Keep light slightly more frontal
- Use more fill so the face does not look “too carved”
Round face
- Move light more to the side
- Raise it slightly to shape cheekbones
Deep-set eyes
- Lower the key a touch
- Add reflector fill to prevent “raccoon eyes”
Glasses
- Raise the light and angle down
- Have the subject lower the chin slightly
- Tilt the glasses down just a hair if needed
Background and wardrobe: the easy upgrades
Rembrandt lighting loves:
- Darker, simpler backgrounds
- Textured backdrops (gray, brown, muted tones)
- Wardrobe with shape (jackets, collars, layers)
If the background is too bright, Rembrandt loses drama. If the shirt is bright white, the shirt becomes the brightest thing in frame. Keep it controlled.
Common mistakes (and how to fix them in 10 seconds)
1) No triangle
Fix: turn the face slightly toward the light or move the light farther to the side.
2) Too much triangle (big patch of light)
Fix: move light farther to the side or increase distance from subject.
3) Split lighting by accident
Fix: bring key light closer to camera axis (less side angle).
4) Unflattering under-eye shadow
Fix: add reflector fill, or lower the light slightly.
5) “Flashy” look
Fix: use a bigger modifier, move it back, feather the light past the face (aim slightly off).
Rembrandt vs other popular portrait patterns (quick comparison)
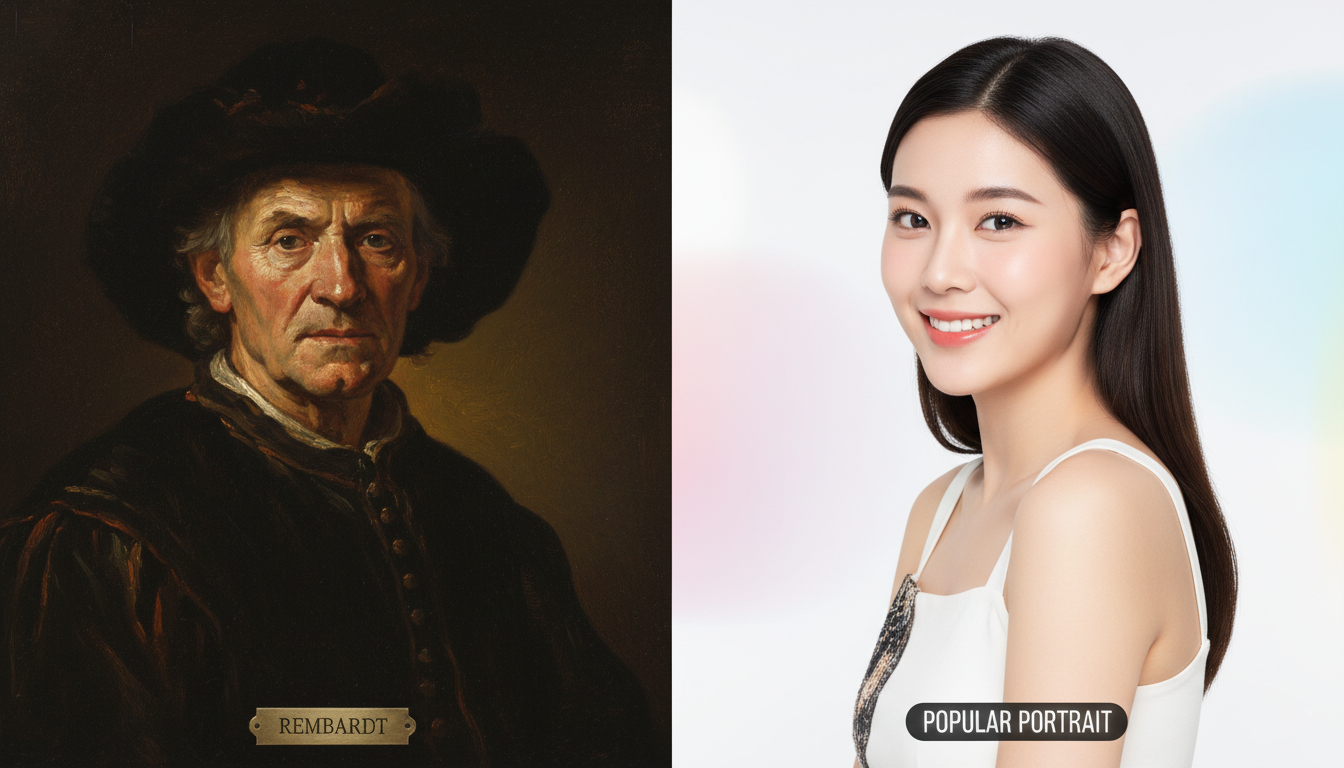
Rembrandt vs Loop
- Loop is safer and more “everyday flattering”
- Rembrandt is moodier and more editorial
Butterfly vs Rembrandt
- Butterfly is classic beauty light, cleaner and brighter
- Rembrandt is better for character, masculinity, drama, storytelling
Rembrandt vs Split
- Split is intense and stylized
- Rembrandt is still dramatic, but usually more client-friendly
If your client wants “cinematic,” Rembrandt is often the best first stop.
A simple Rembrandt workflow you can repeat anywhere
Here is a repeatable process that works in a studio, office, hotel room, or living room:
- Kill overhead lights (they destroy your shadows).
- Place subject 4-8 feet from the background.
- Set your key at 45 degrees side + slightly above.
- Look for the triangle.
- Add reflector if the shadows are too heavy.
- Add rim light only if you need separation.
- Shoot a 30-second test, zoom in on eyes and cheek highlights.
- Lock it and direct expression.
That’s it. Do not overcomplicate it.
The business reality: why lighting skill is a competitive advantage again
With AI tools speeding up photo retouching and lowering the barrier to “decent” images, lighting is one of the clearest separators between hobbyist and pro. Surveys like Zenfolio’s show photographers adapting to tech shifts and workflow change across a large global sample.
In plain speech: the more the market gets flooded with content, the more crafted portraits stand out.
Rembrandt lighting is one of the easiest ways to make your work look crafted.
Quick FAQ
Do I need a studio to do Rembrandt lighting?
No. One light and a wall can do it. The pattern matters more than the space.
Is Rembrandt lighting flattering for everyone?
It is flattering for most people if you control the contrast with distance and fill. Hard Rembrandt (deep shadows) is not for every client.
What modifier is best?
A medium softbox is the safest. Umbrellas are fine, but spill can flatten the scene unless you control it.
Can I do it with window light?
Yes. Put your subject near a window, angle them, and use a reflector opposite the window. You’re basically using the window as a giant softbox.
Final thought
Chasing the triangle is how you learn Rembrandt lighting. But once you can create it on command, stop obsessing over geometry and start shaping mood.
If you want a dramatic, professional portrait that clients instantly read as premium, Rembrandt lighting is one of the most reliable tools you can master.
If you tell us what you shoot most (men’s headshots, beauty, weddings, corporate portraits), we will suggest 2–3 Rembrandt variations that fit that style and are easy to sell.