Quick Portrait Retouching Tutorial in Photoshop CS6

Hi guys, today I’m with you presenting a new tutorial about making an image outstanding by Photoshop image editing service. There are various image editing services but I like to write about portrait retouching along with color correction.
Ok, let’s start with my girlfriend’s old photo. I like to show you how I make my beloved new and gorgeous as I want. I’ll retouch her image to makeup digitally as if I’m going to marry her this evening……ha…ha…..ha. Are you serious? Don’t be so. It’s a photo of an unknown girl.
Learn from video tutorial
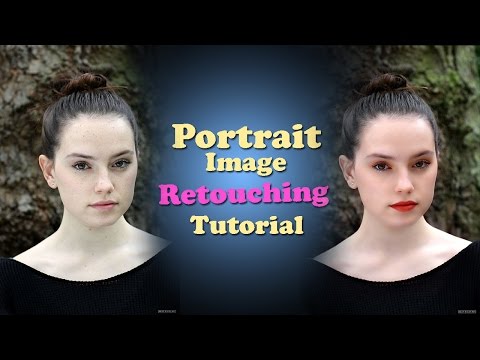
Let’s open the image. Notice, there are many spots on the face of the girl. I’ll try to remove these spots and make it more gorgeous by portrait retouching method applying many Photoshop tools and options.
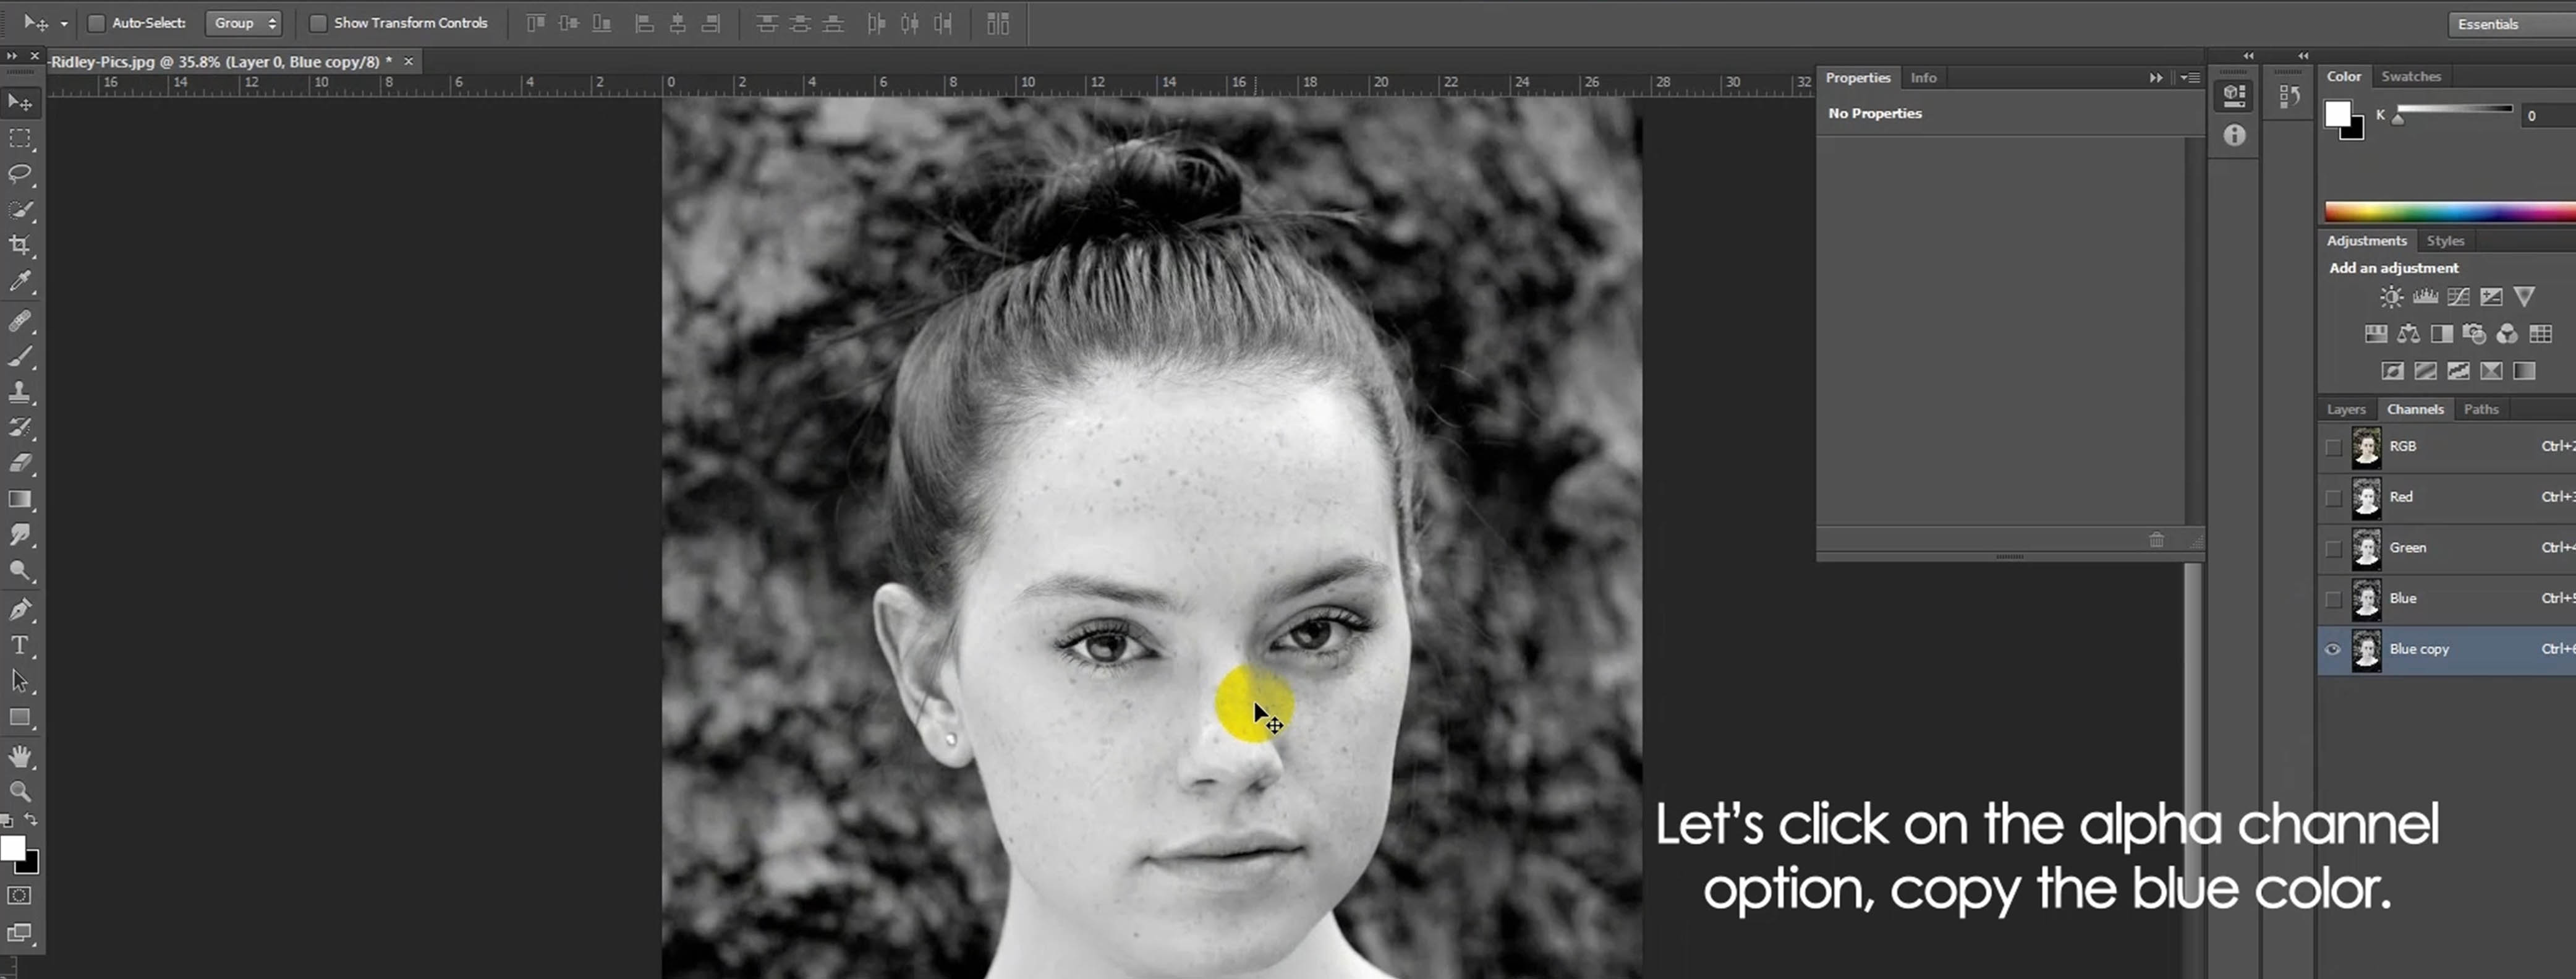
Let’s click on the alpha channel option, copy the blue color.
We are taking blue color to make the face black & white so that the spots get magnified. To do any kind of image editing service, it is must to zoom in the whole image or the part you like to edit.
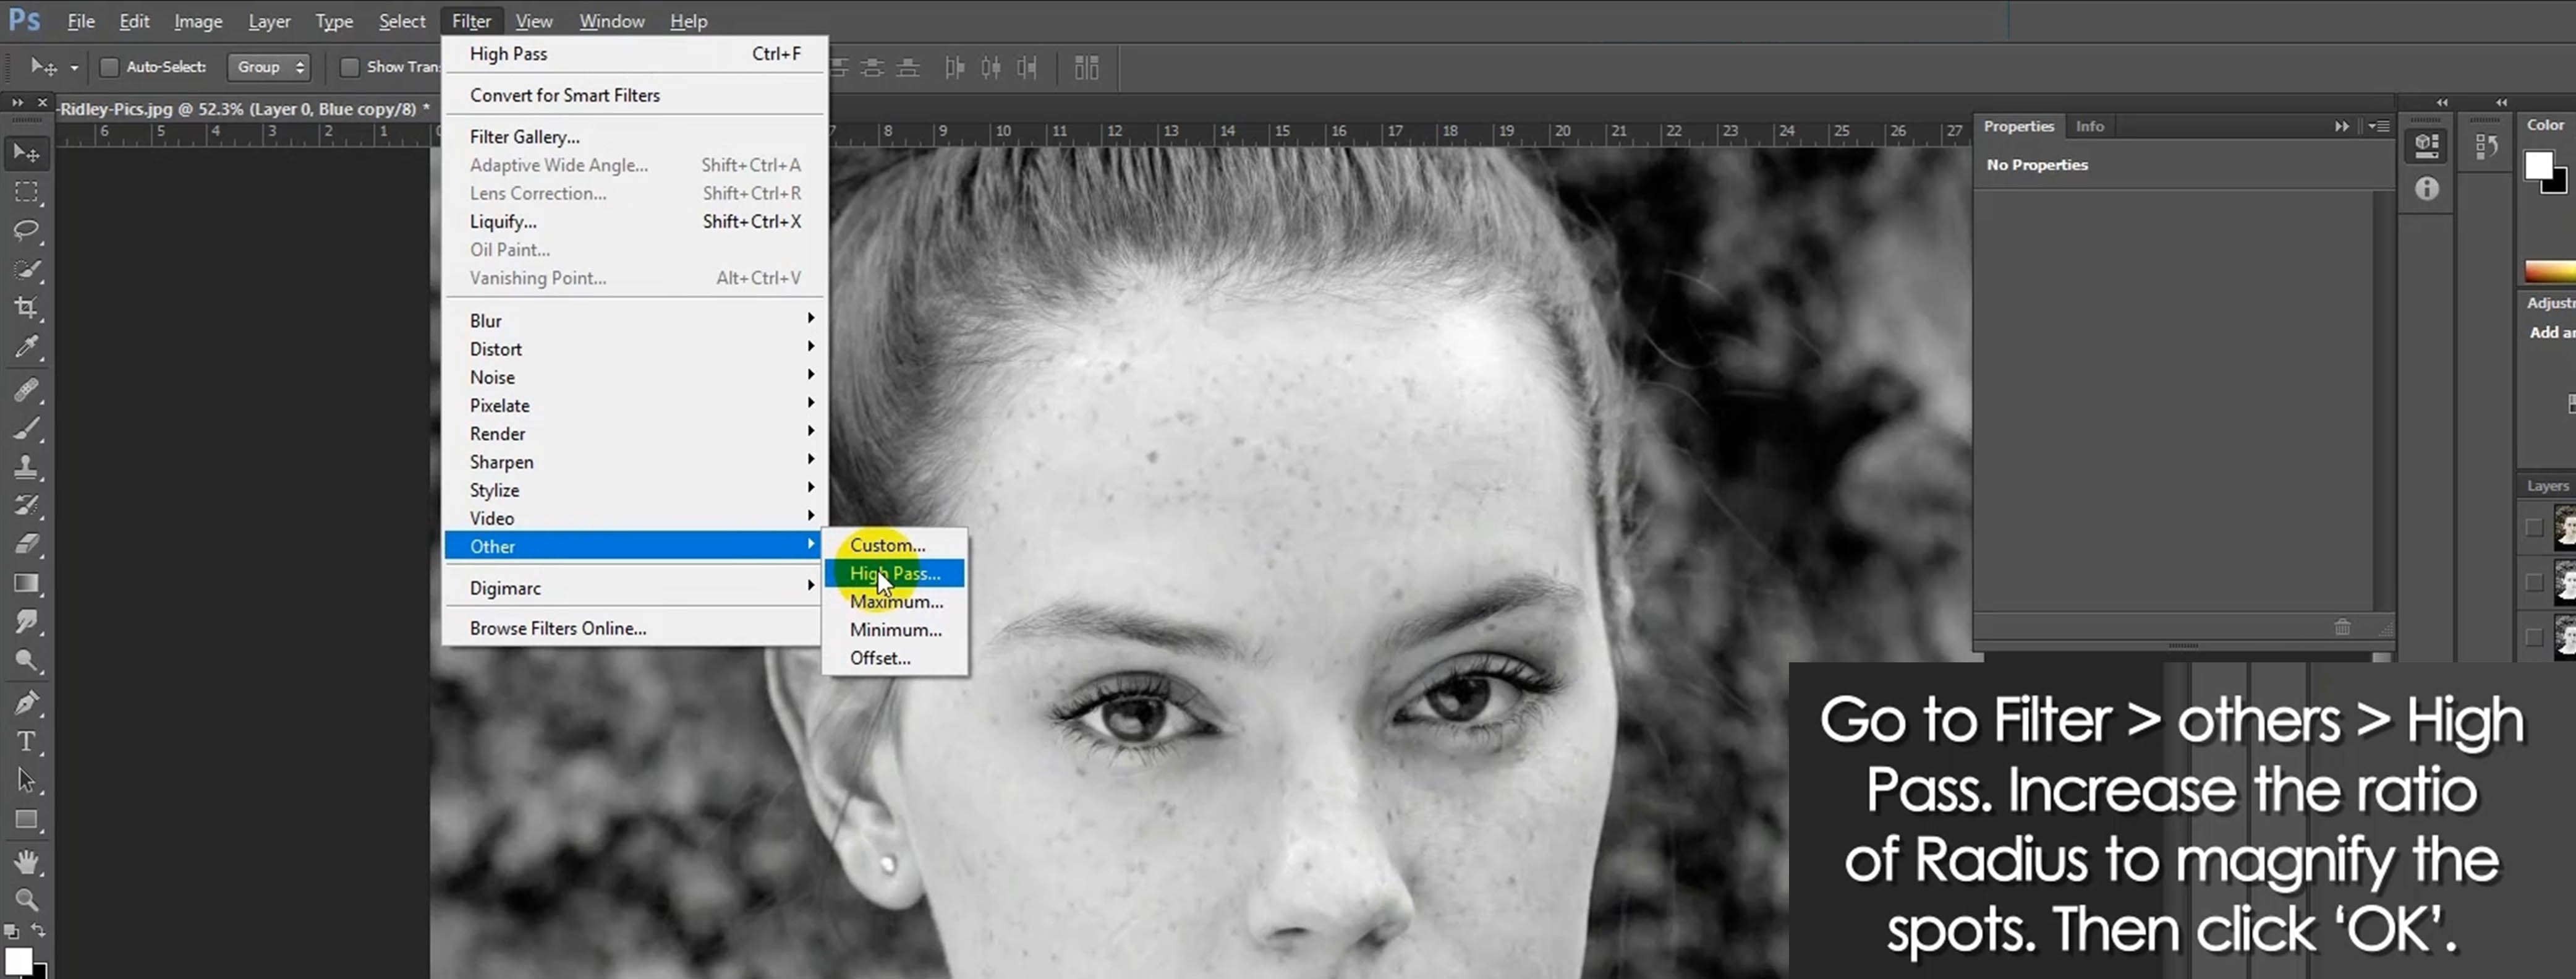
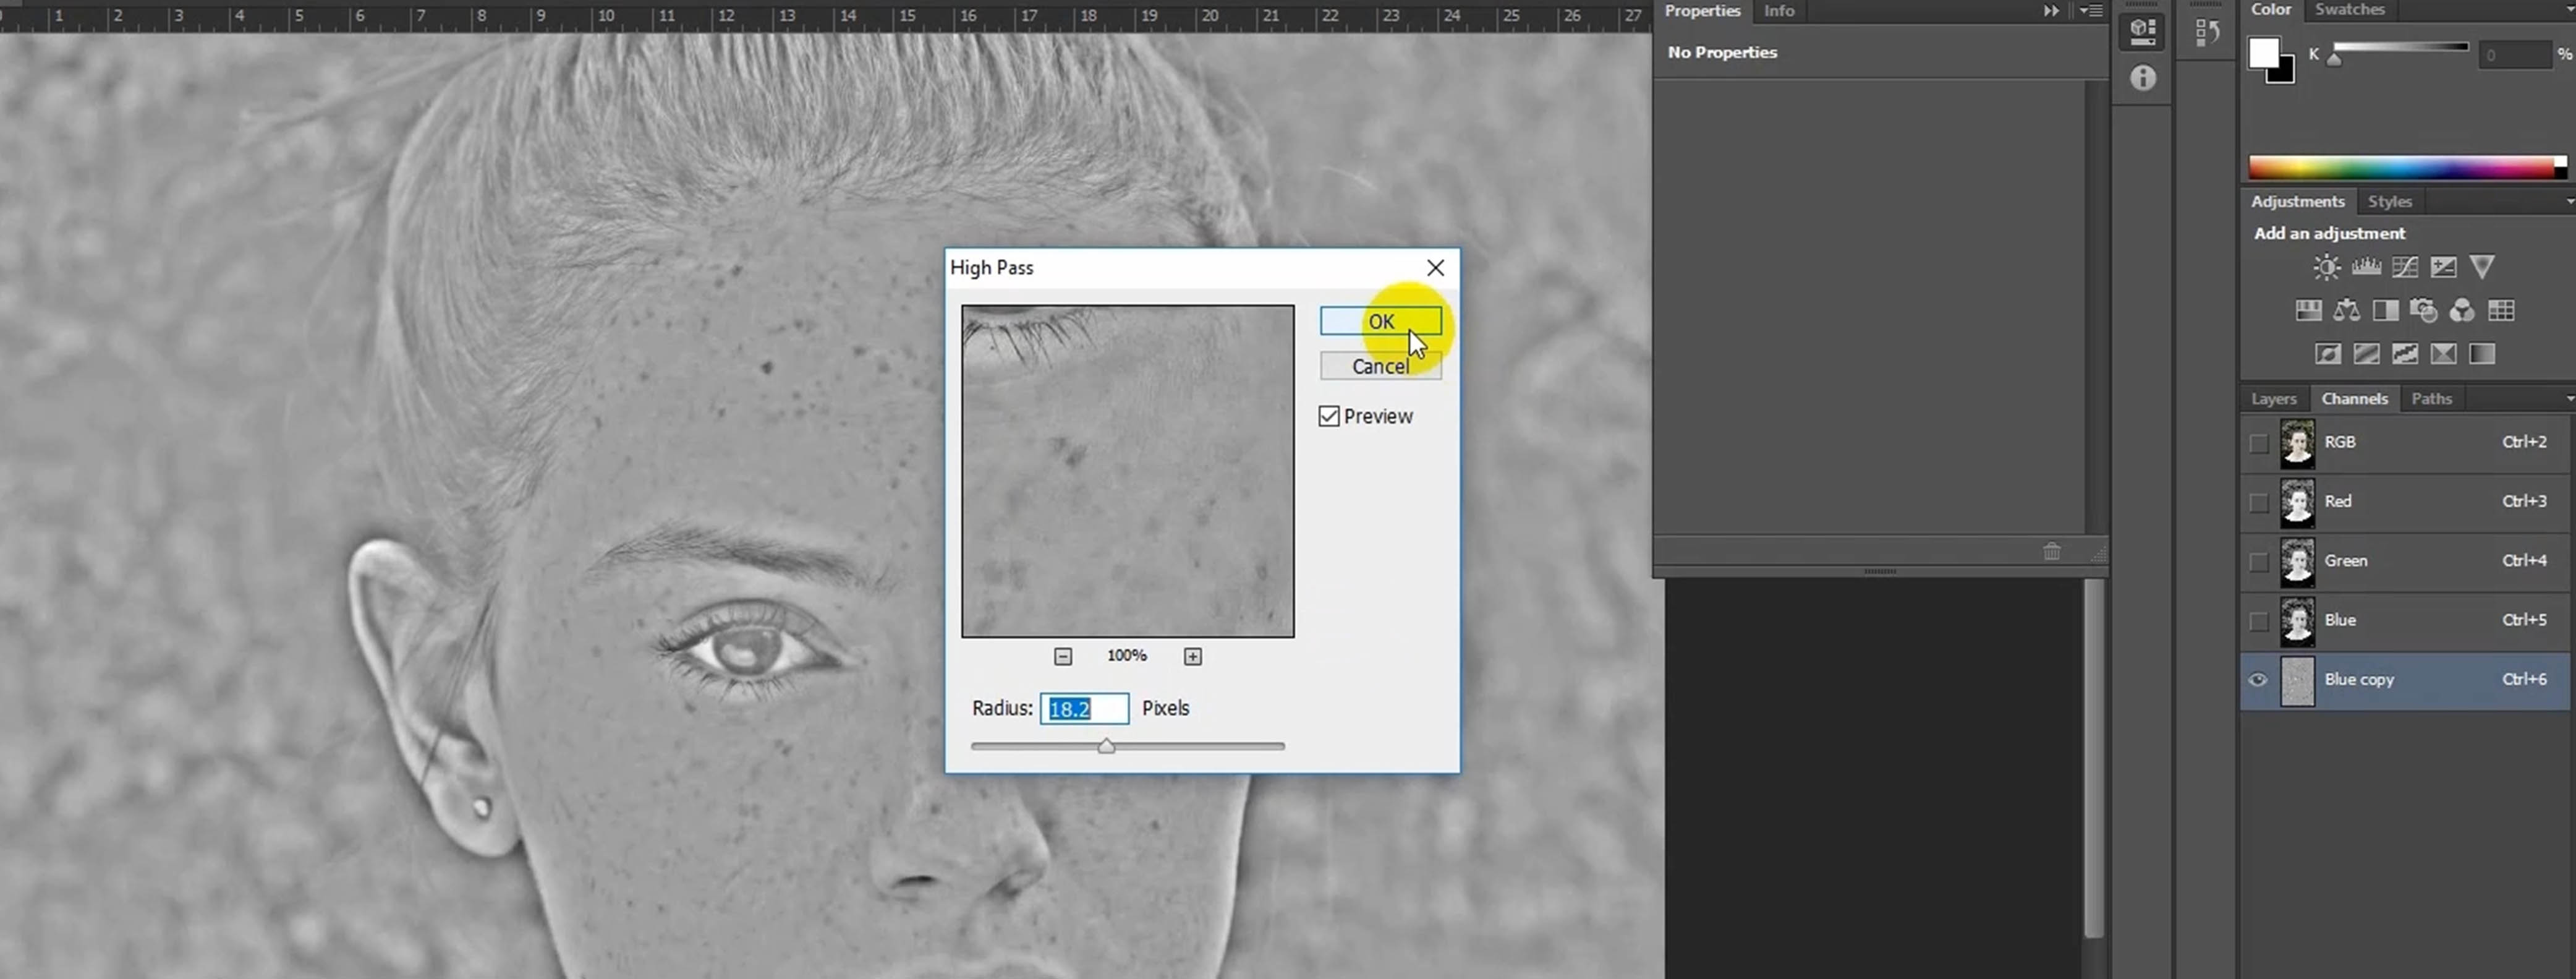
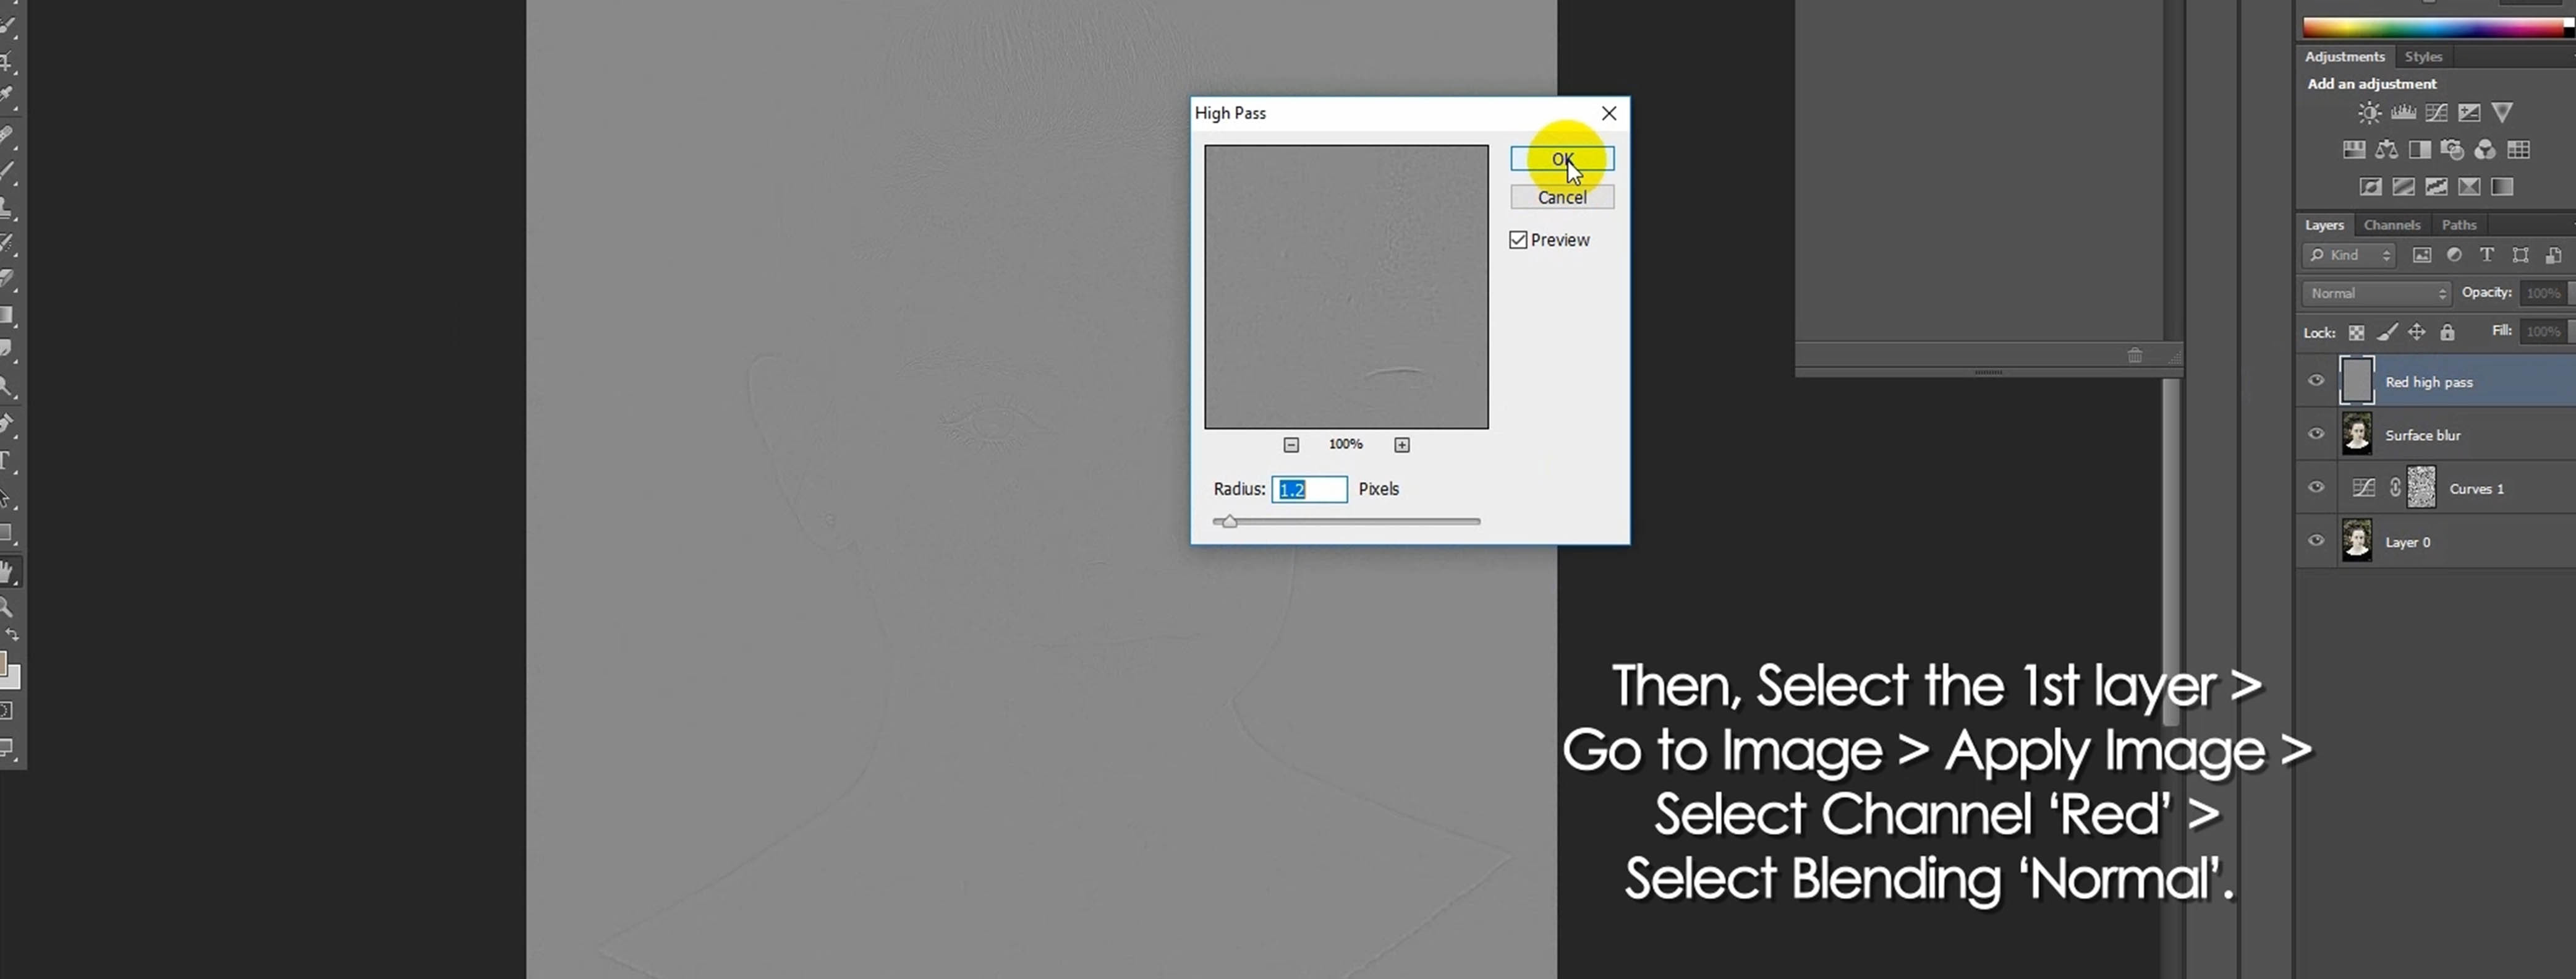
Go to Filter > others > High Pass. Increase the ratio of Radius. Then click ‘OK’.
Now, you can see the spots bigger and blacker than before. It helps you to point out the defect areas.
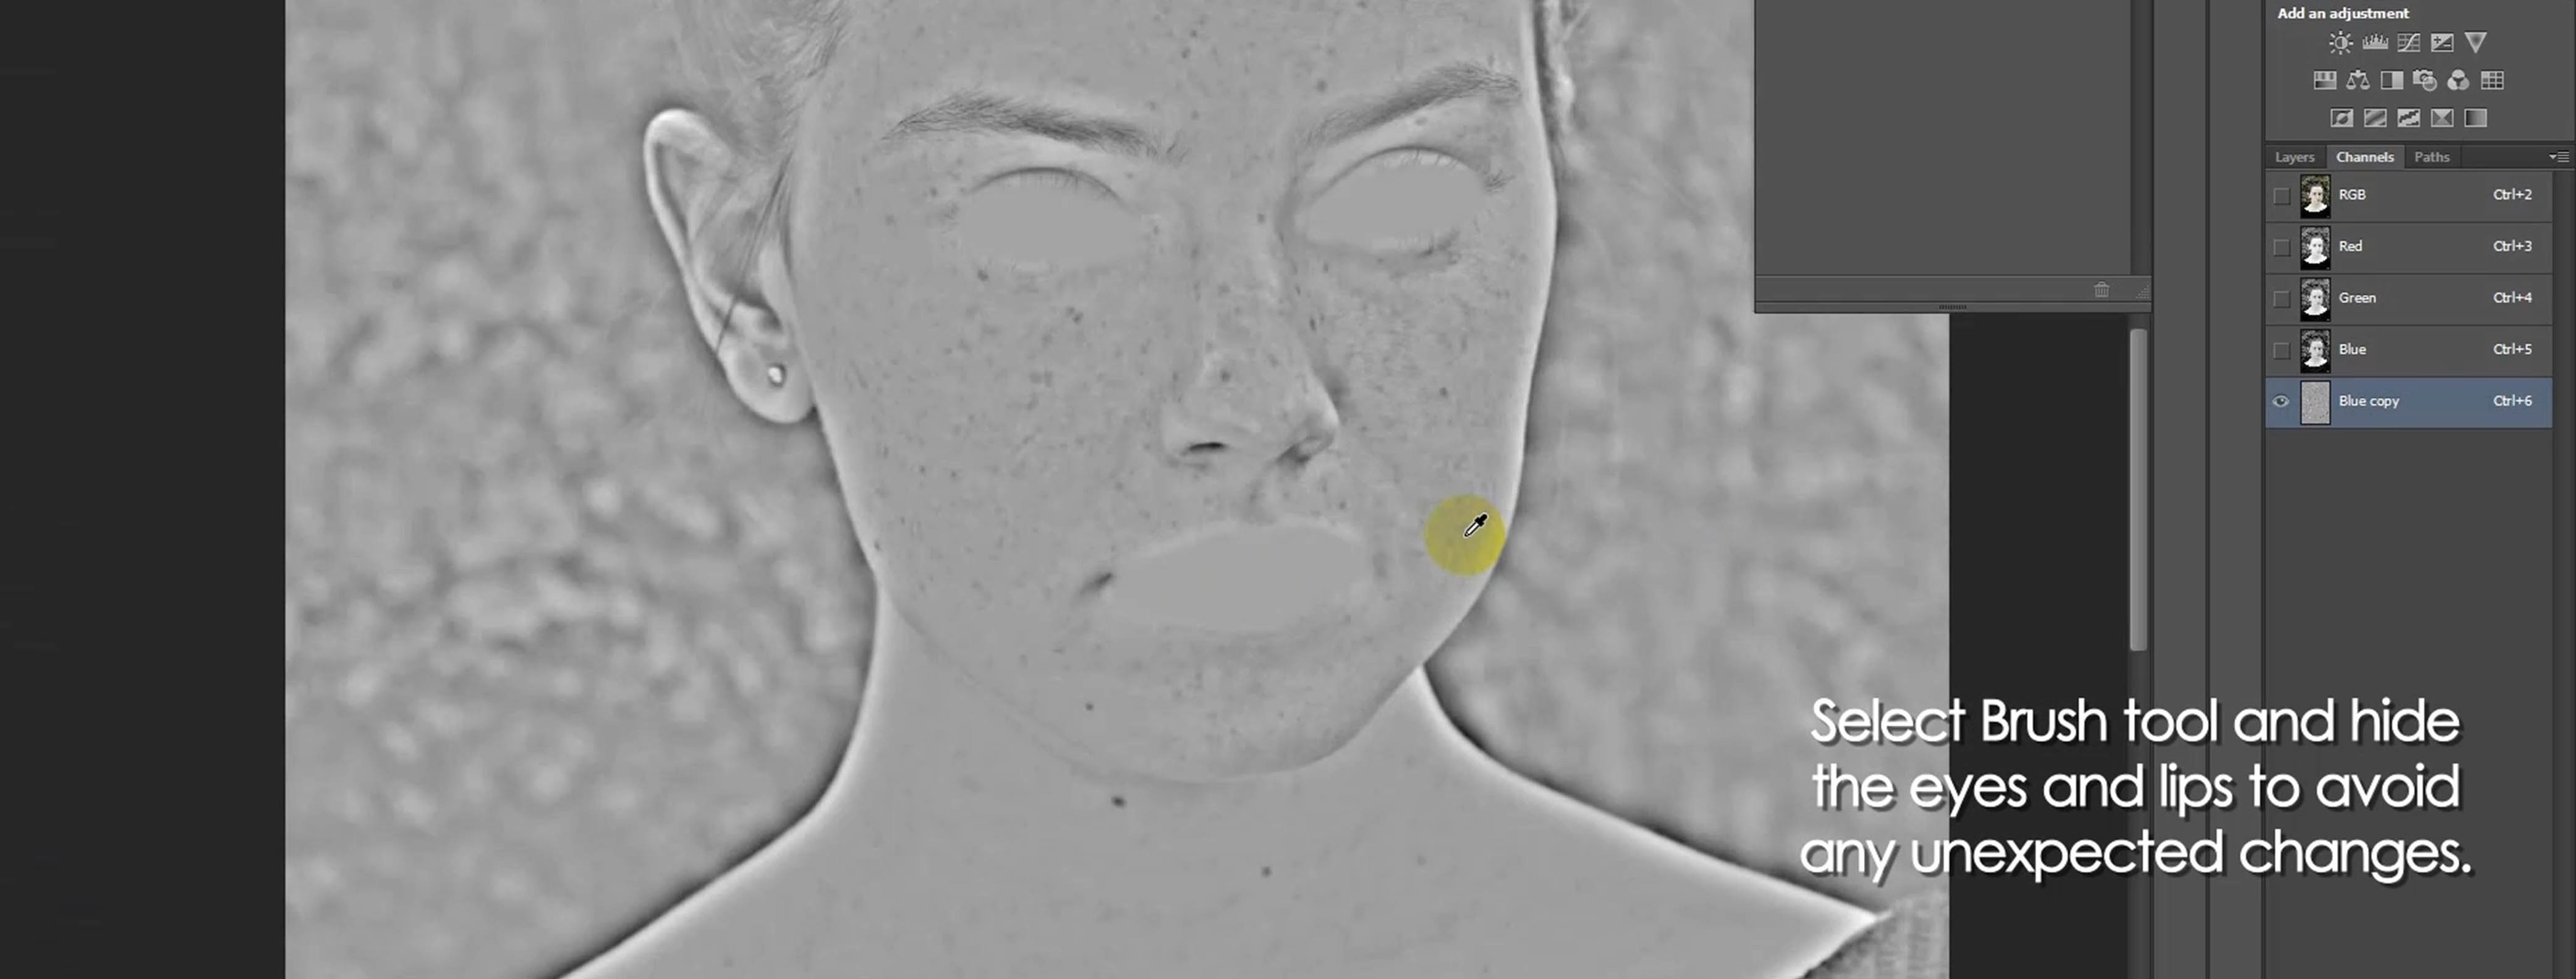
Select Brush tool and hide the eyes and lips.
In this section, I’m hiding the sensitive parts like eyes and lips to avoid the color changing. If you don’t do so, this area may get damaged. So this is for security.
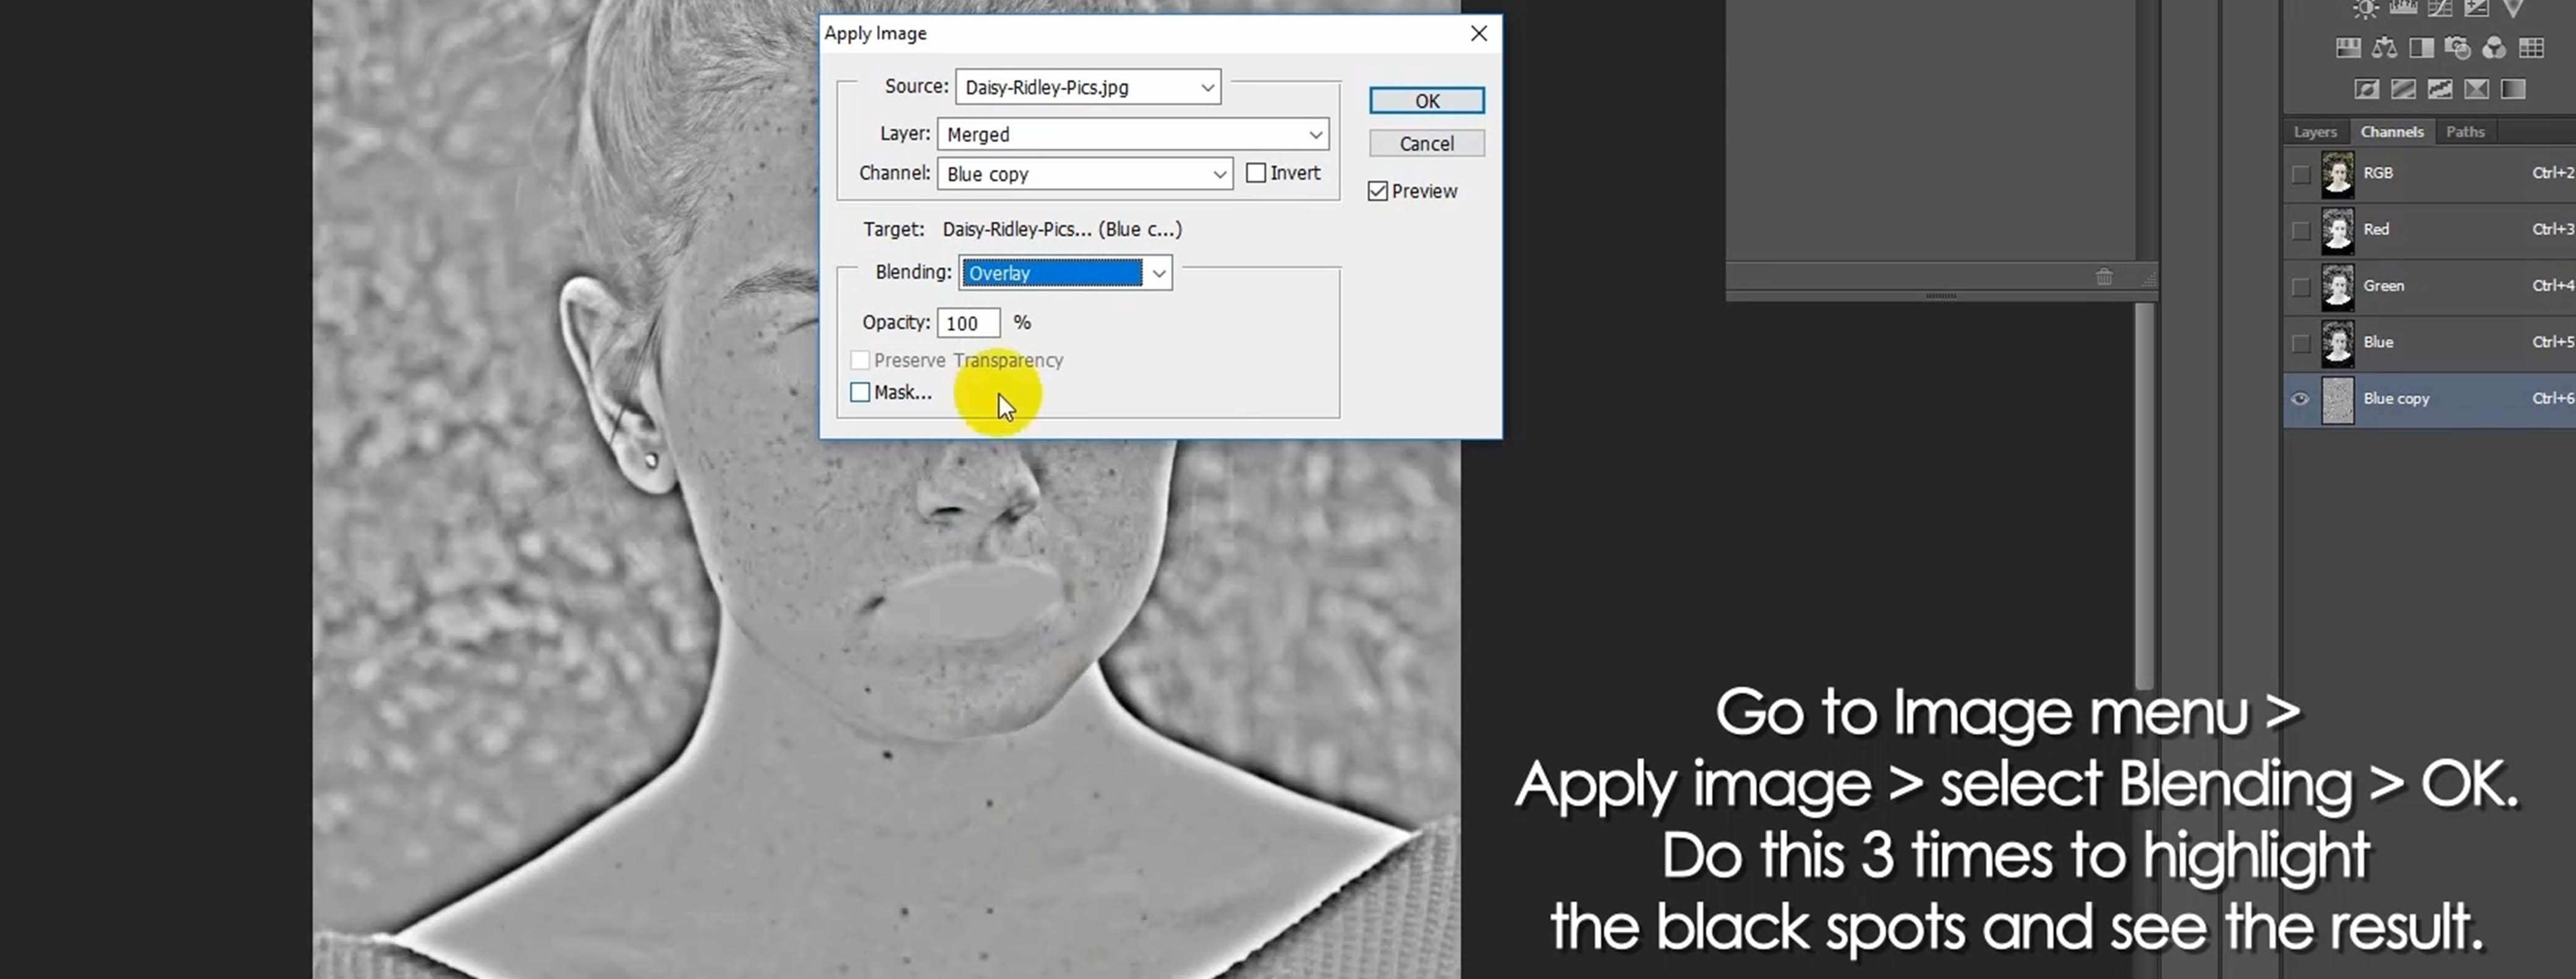
Go to Image menu > Apply image > select Blending > OK.
I’m doing this job 3 times to highlight the spots clearly. Now, look at the face, a difference will be visible.
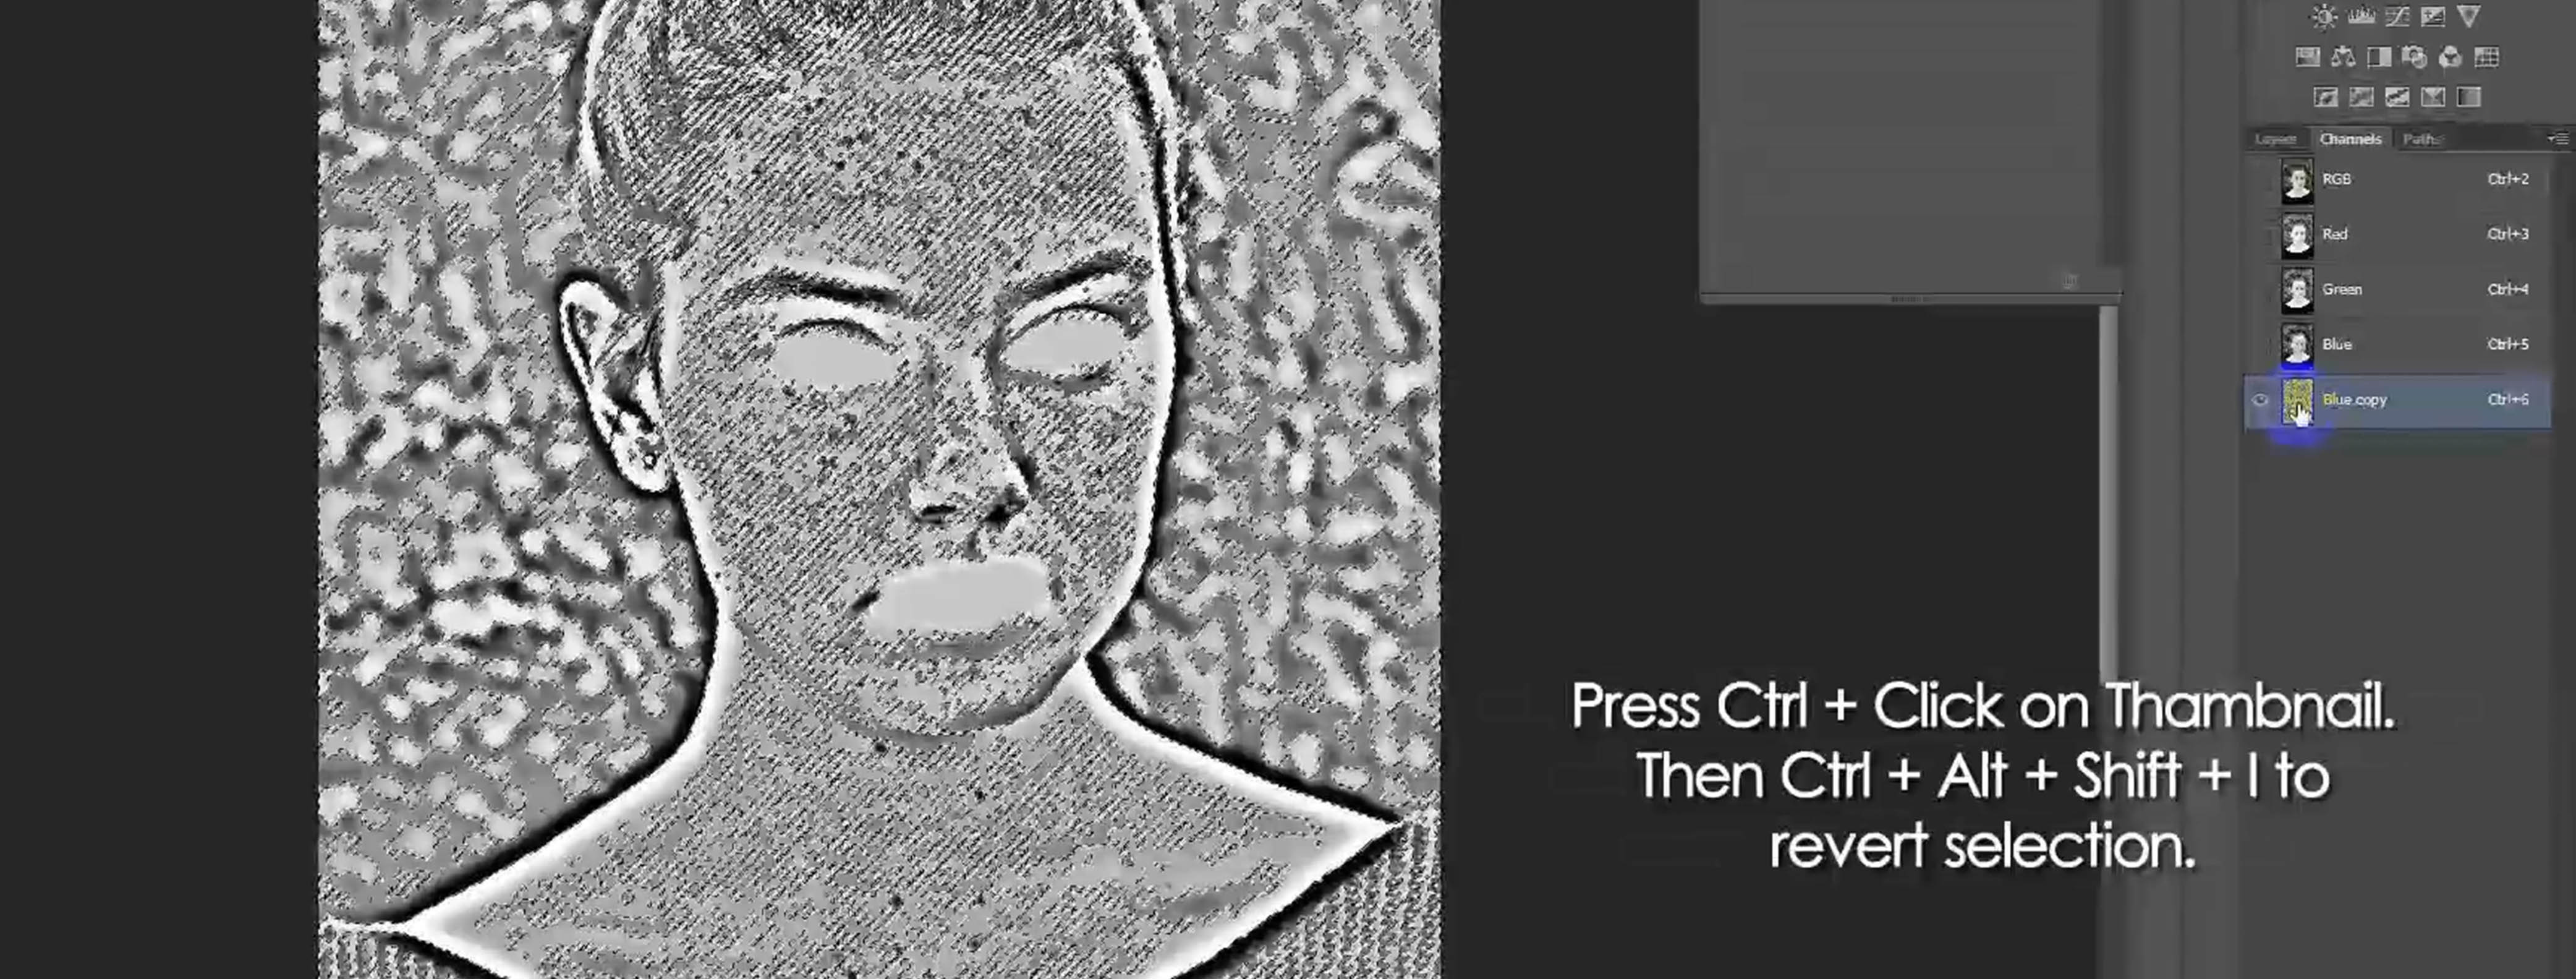
Press Ctrl + Click on Thambnail. Then Ctrl + Alt + Shift + I to revert selection.
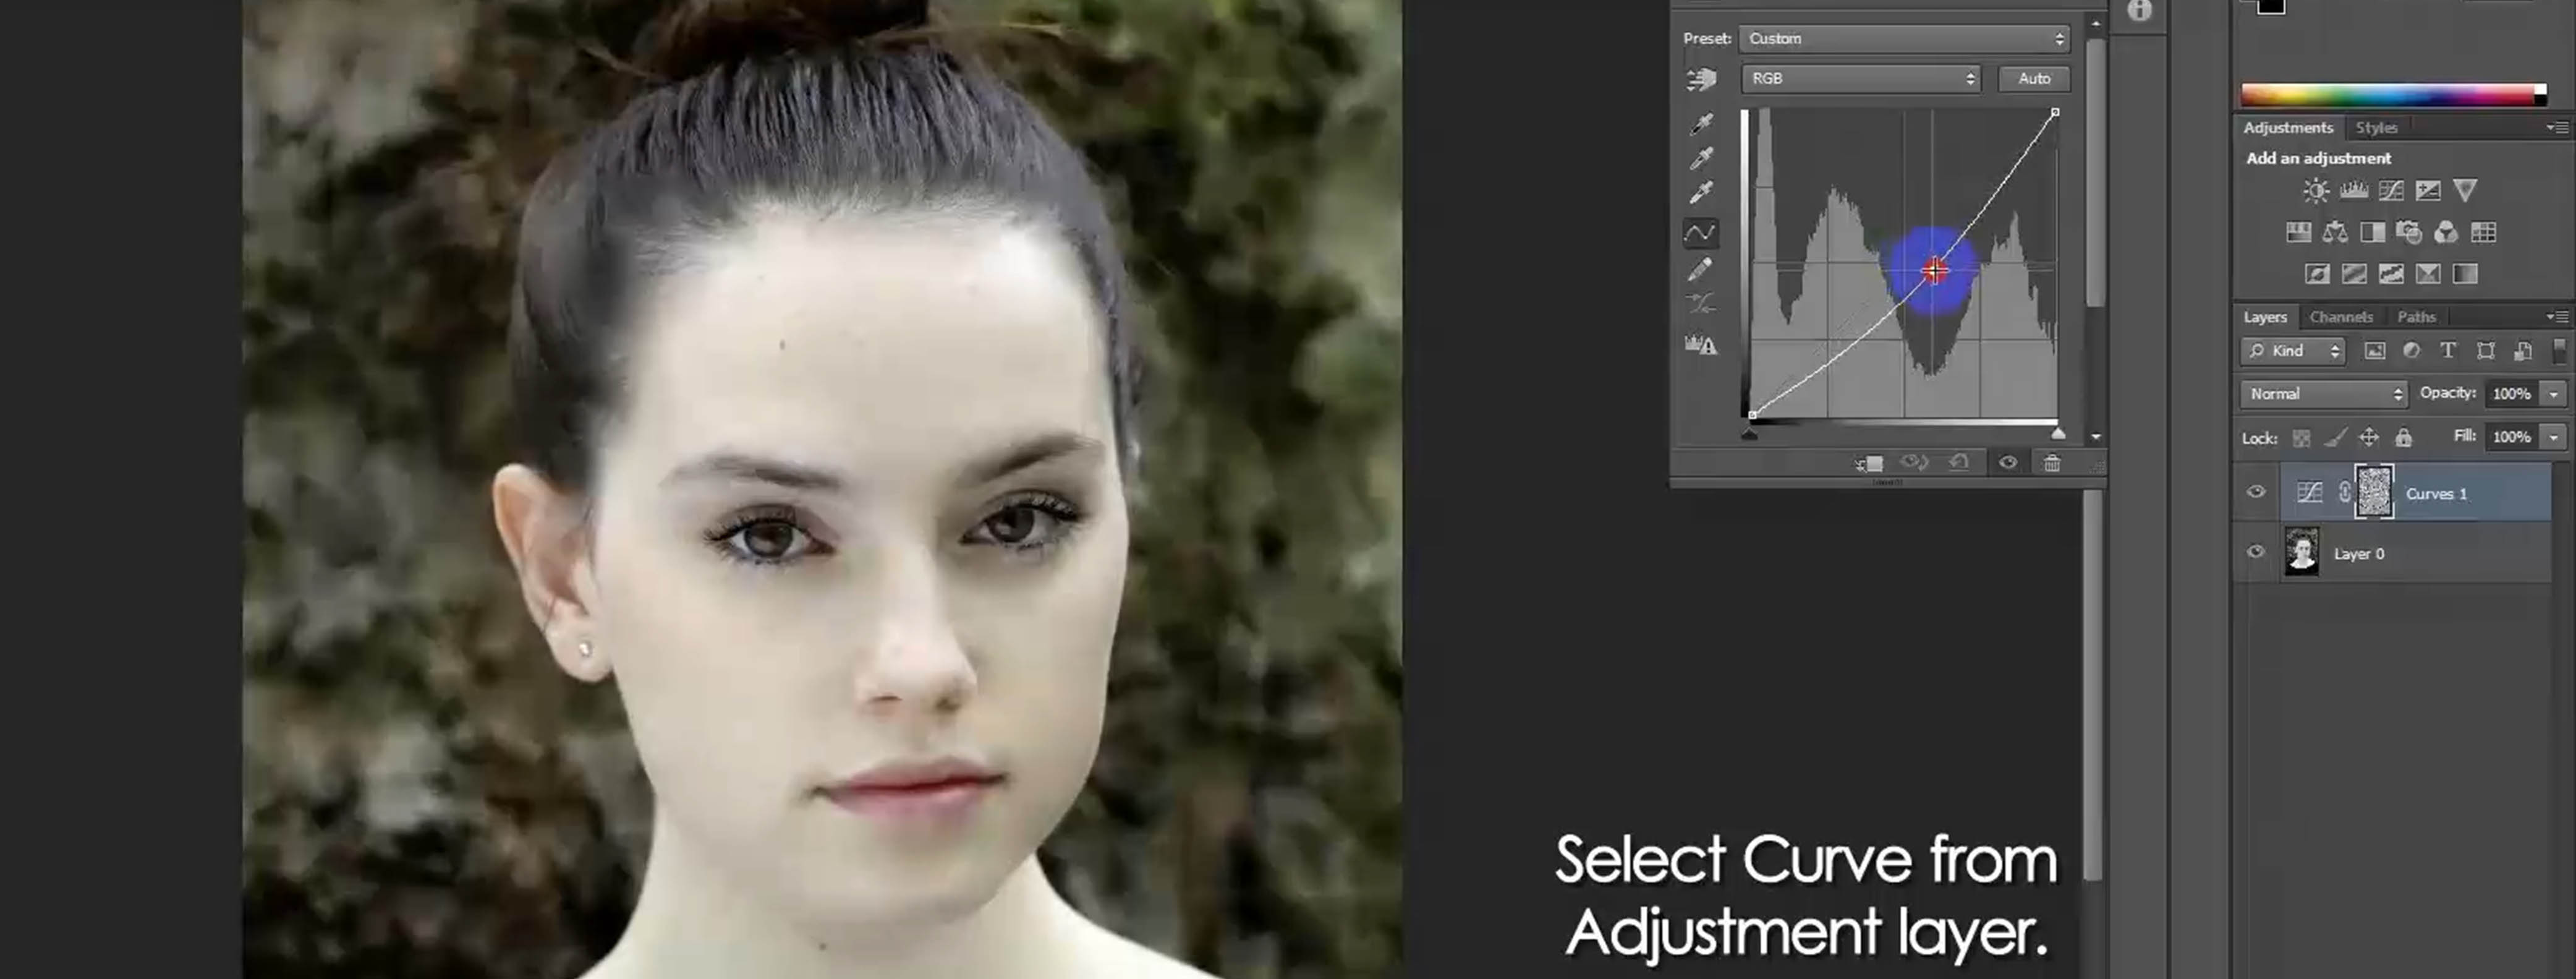
Select Curve from Adjustment layer. Apply it to the image.
Here, you can see a considerable change which will make you happy thinking the appearing success of this job. Now, you like to see the image again and over again as you see your girlfriend. In the case, beware of your real girlfriend, she may get angry…ha….ha…..ha.
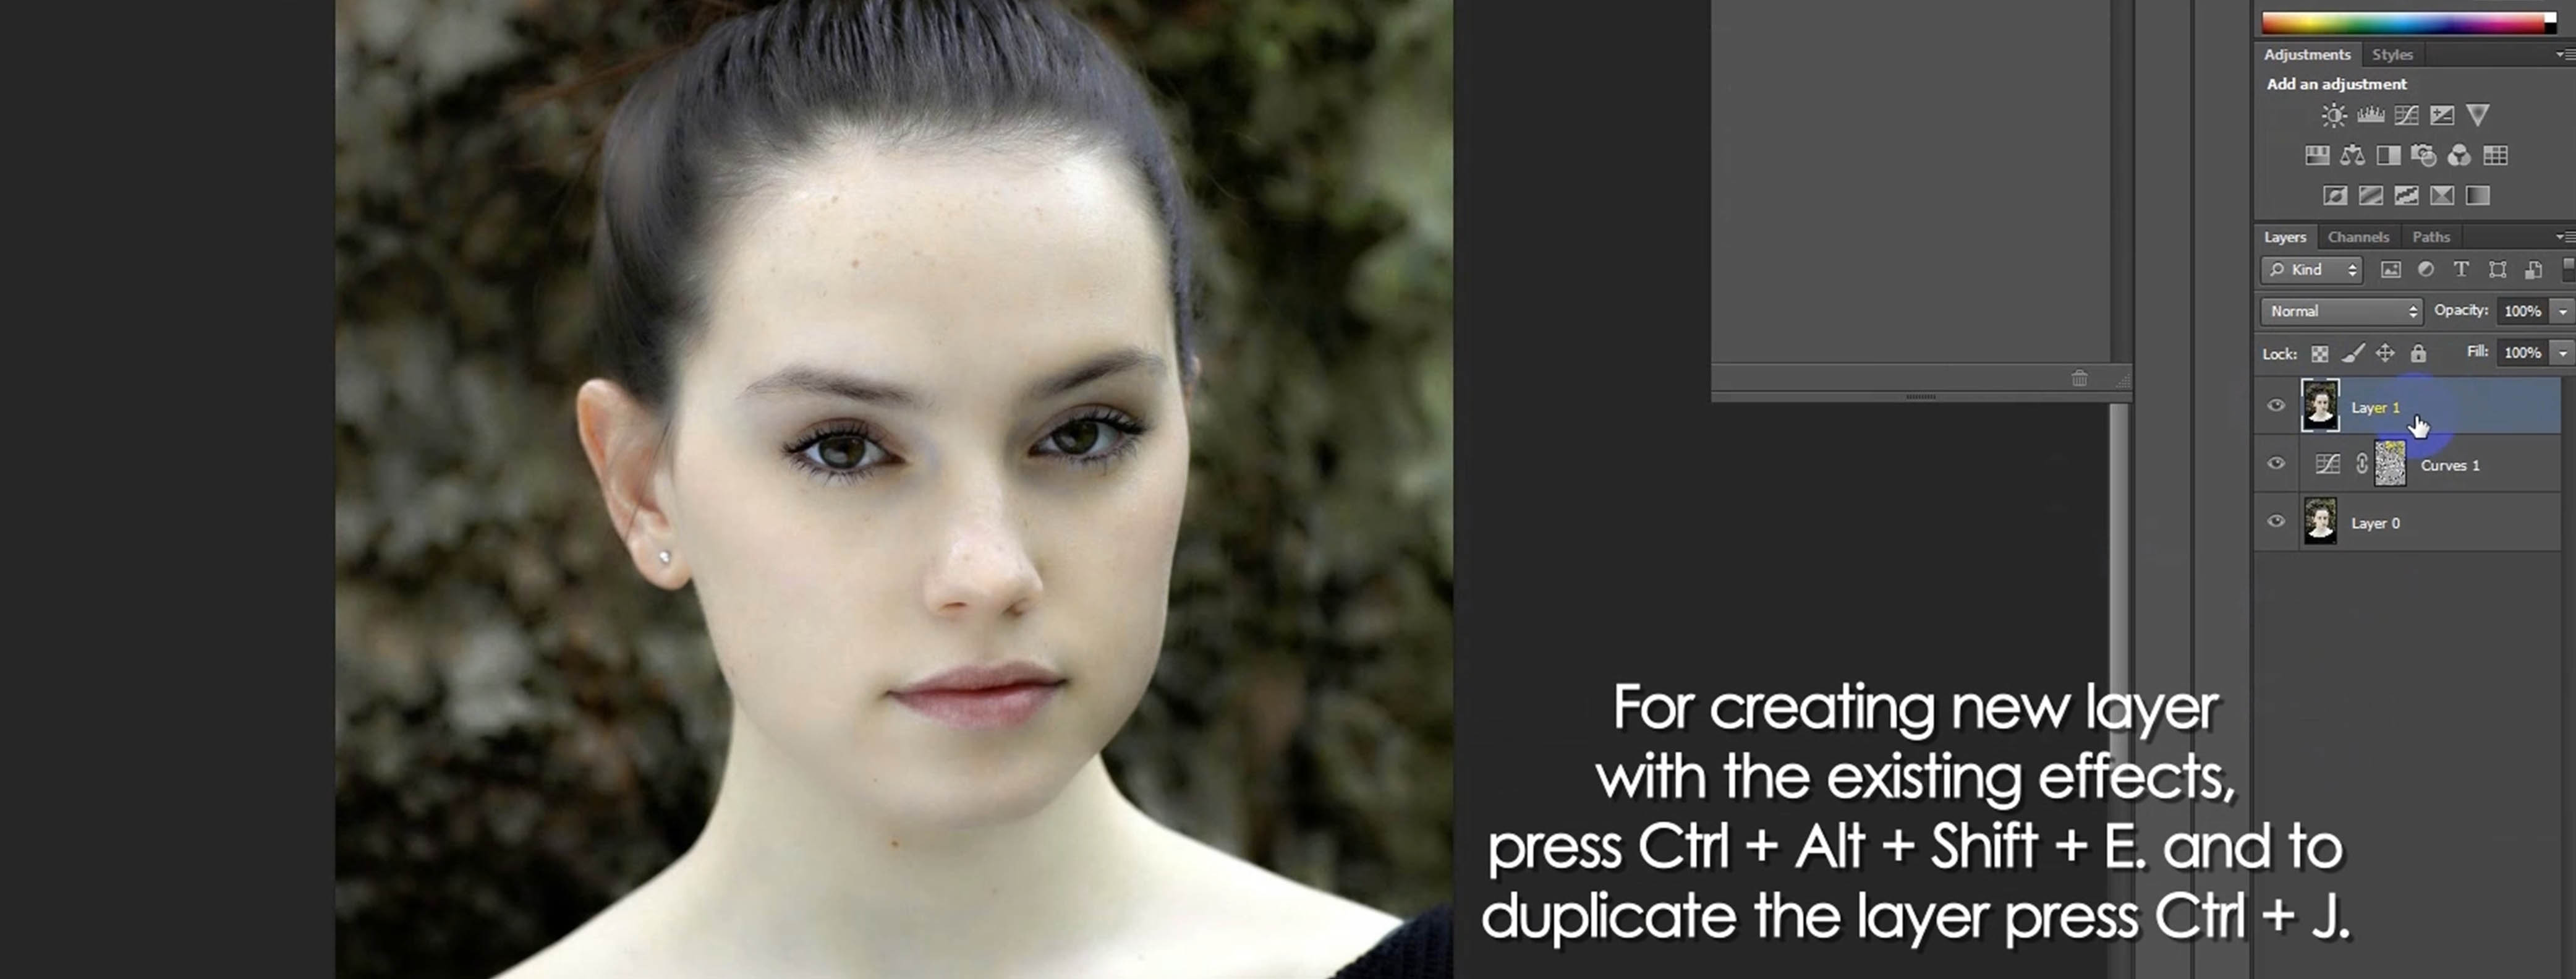
For creating new layer with the existing effects, press Ctrl + Alt + Shift + E. and to duplicate the layer press Ctrl + J.
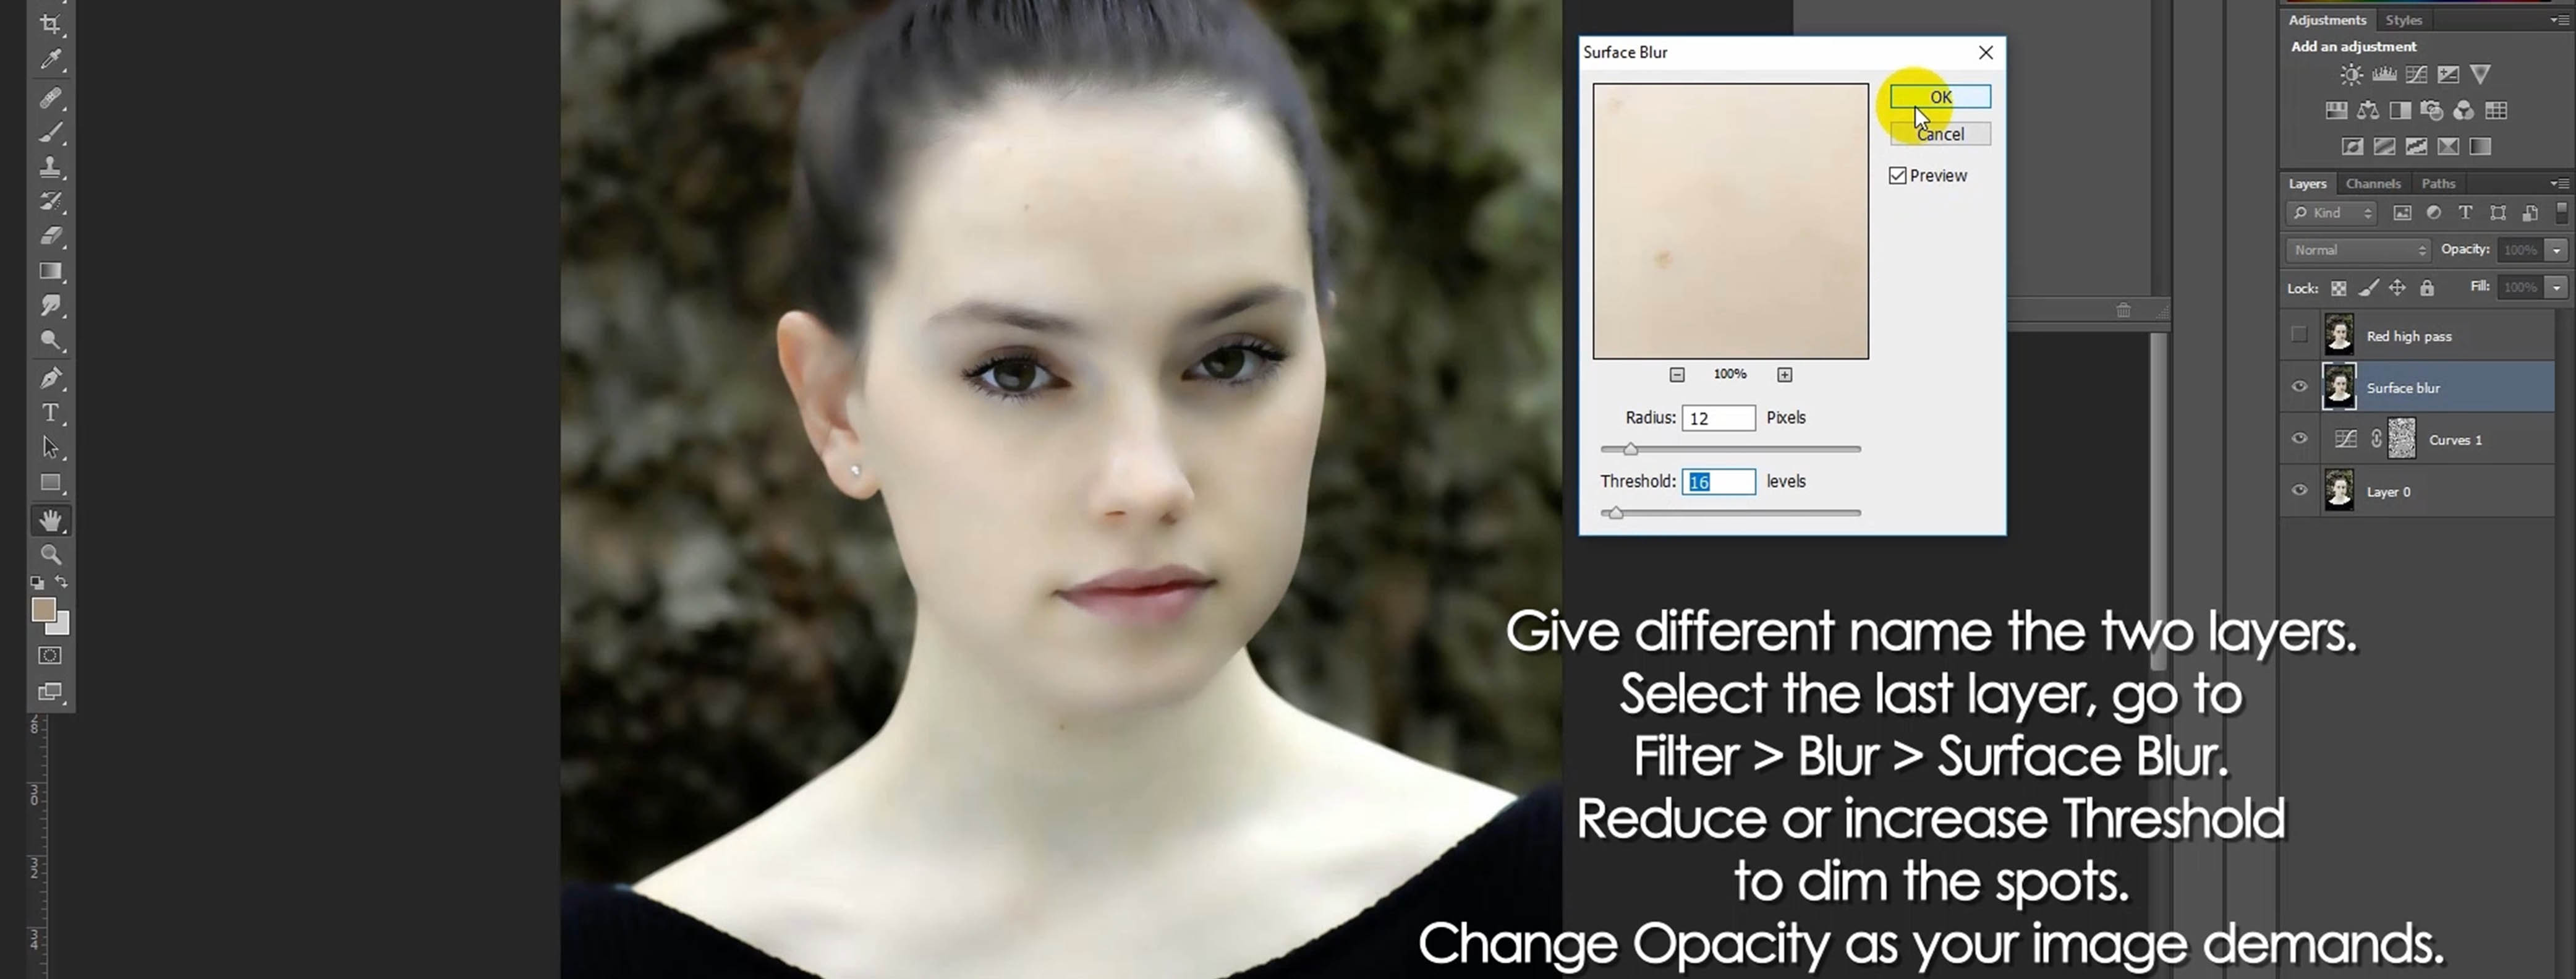
Give different name the two layers. Select the last layer, go to Filter > Blur > Surface Blur. Reduce or increase Threshold to dim the spots. Change Opacity as your image demands.
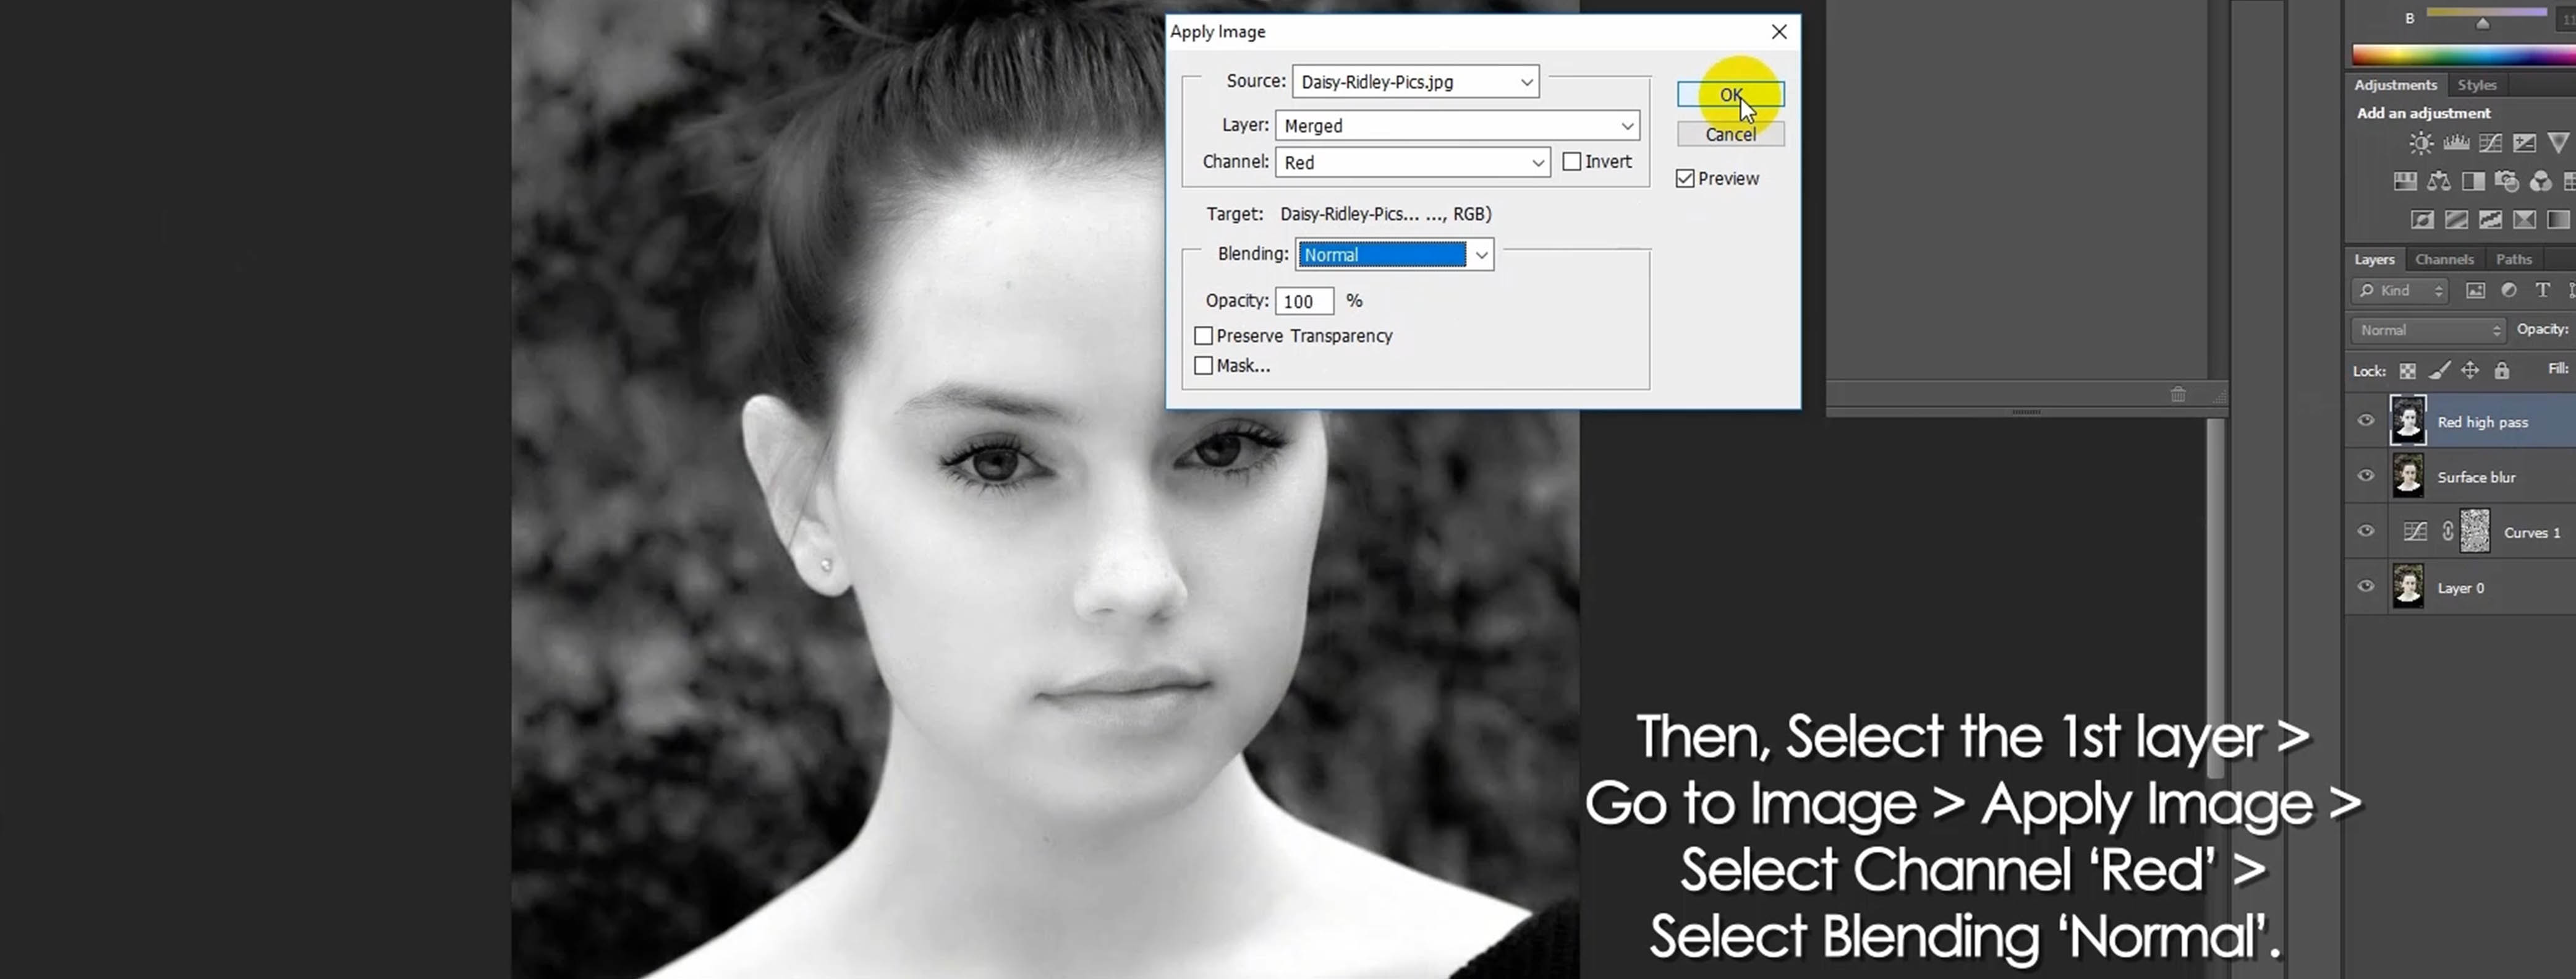
Then, select the 1st layer > Go to Image > Apply Image > Select Channel ‘Red’ > Select Blending ‘Normal’.
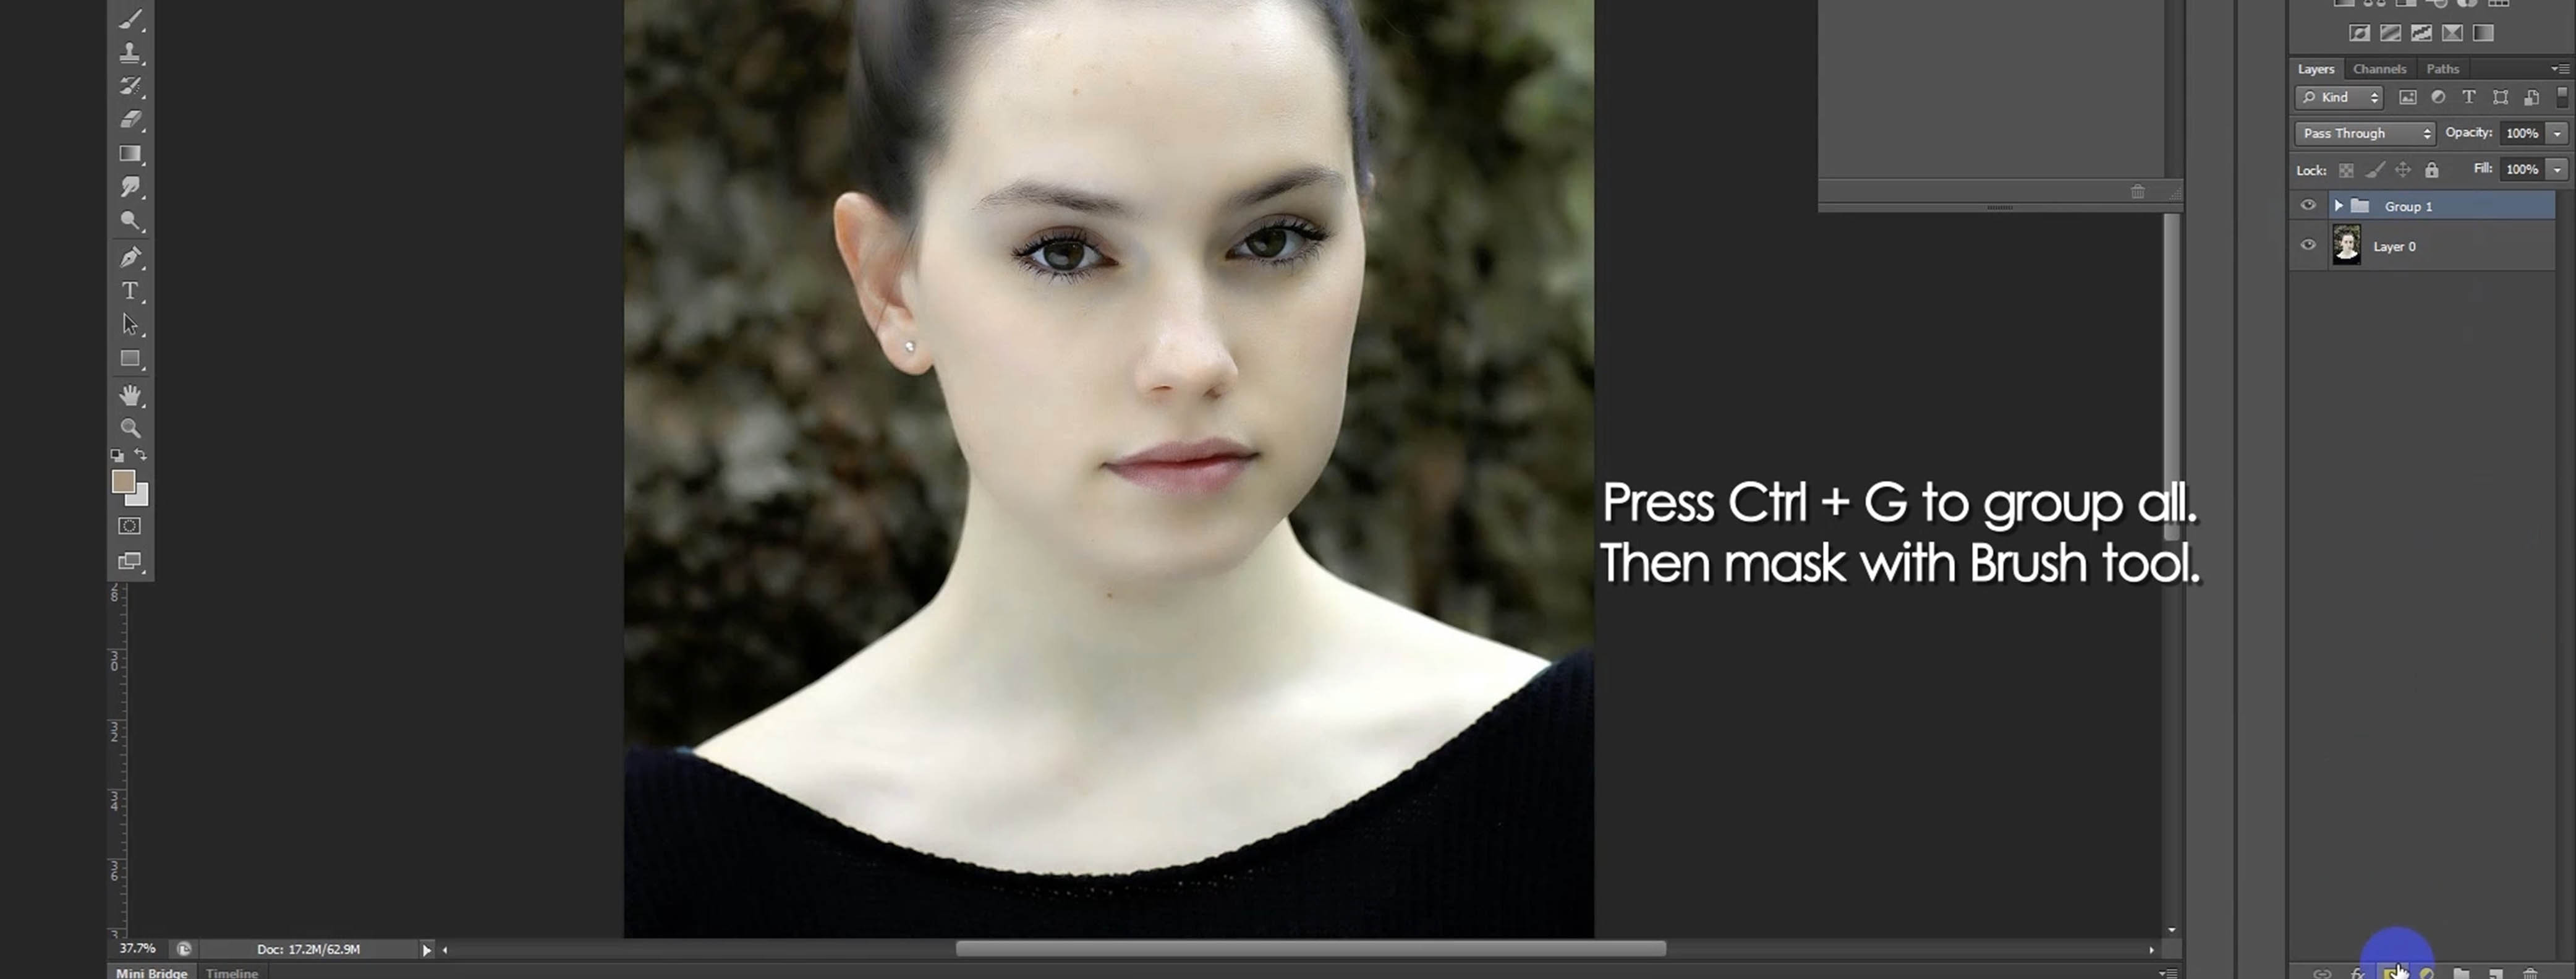
Press Ctrl + G to group all. Then mask with Brush tool.
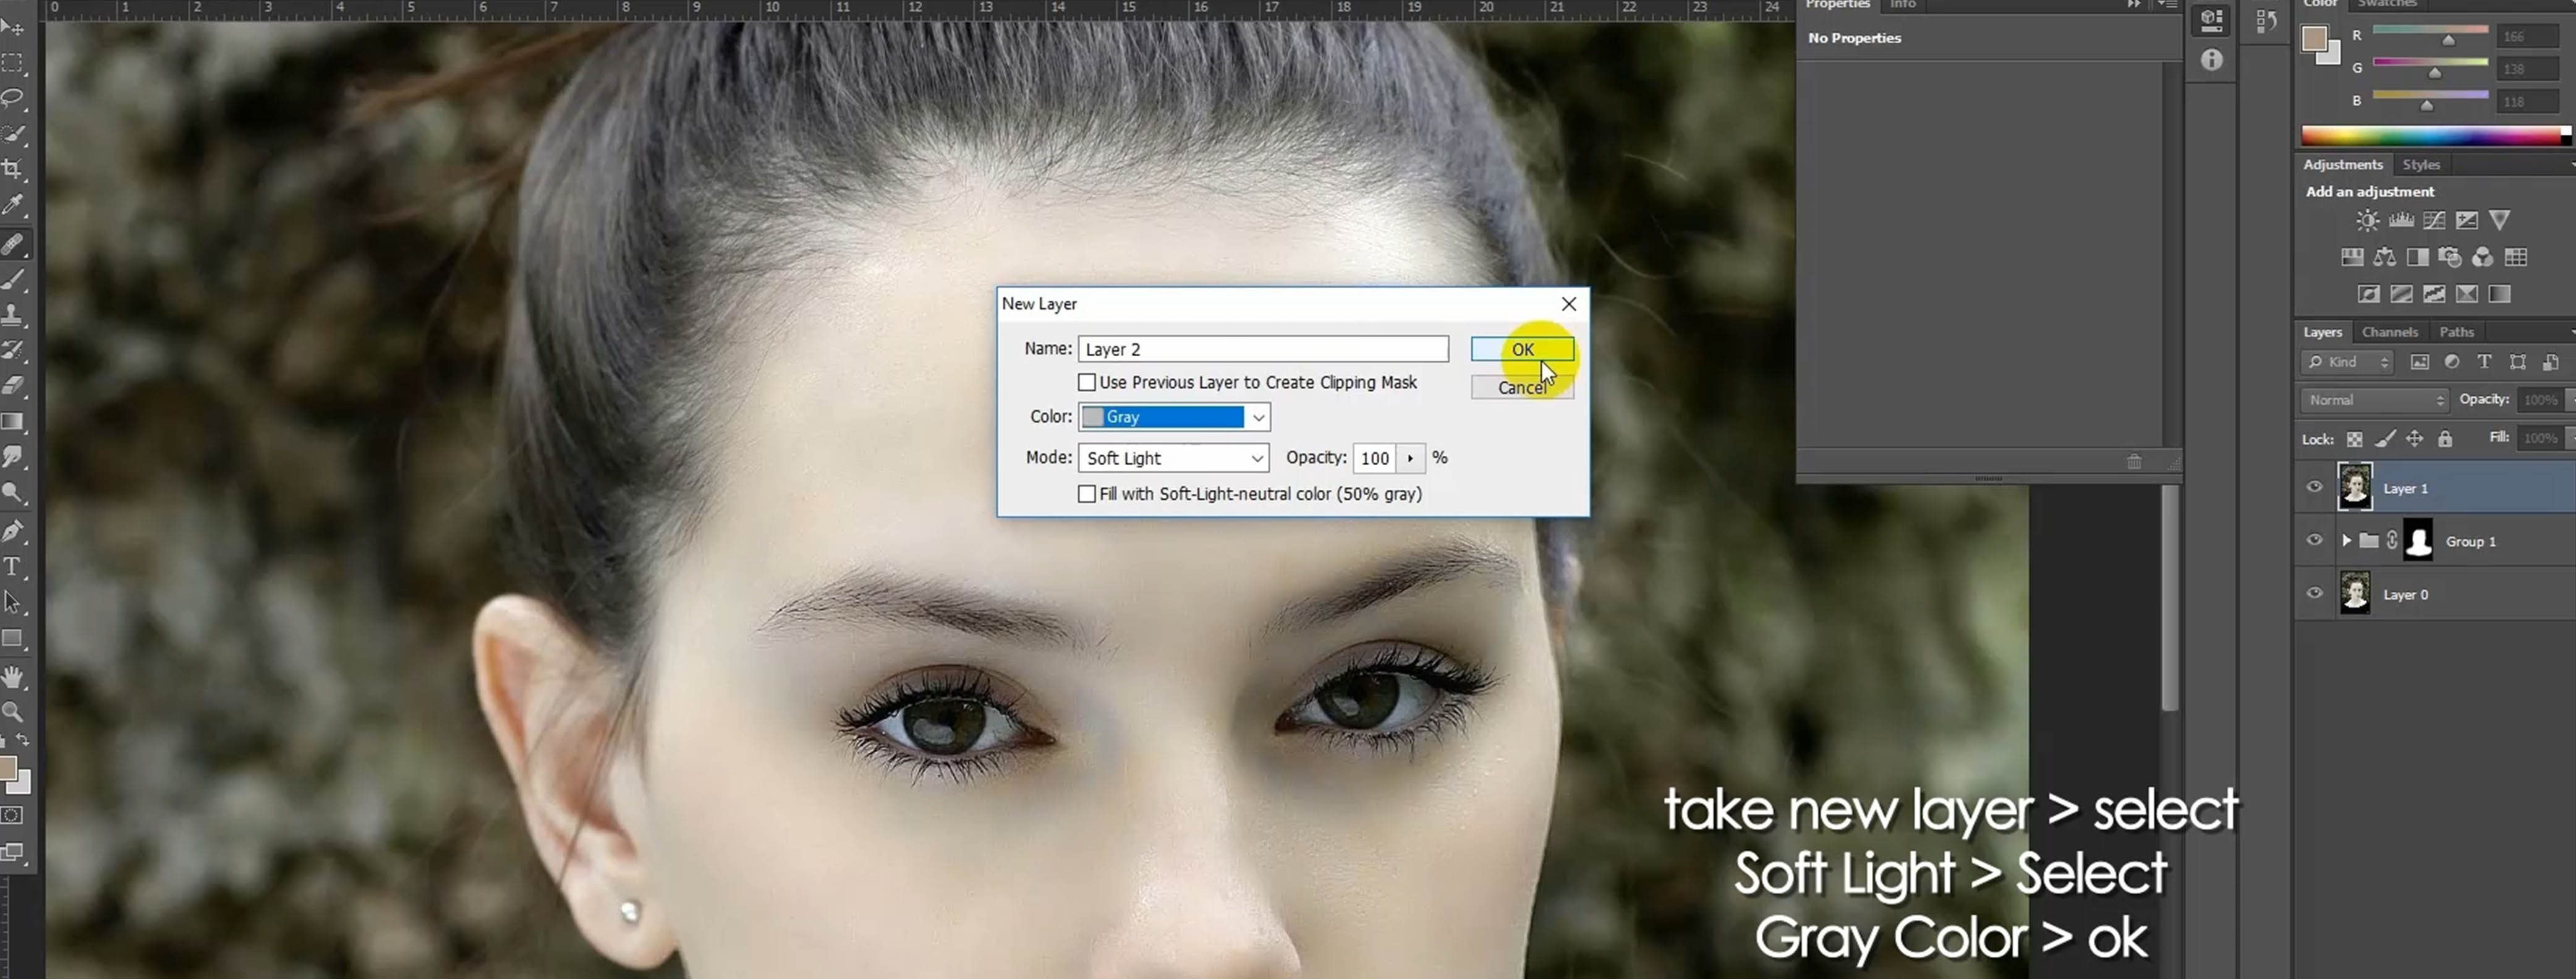
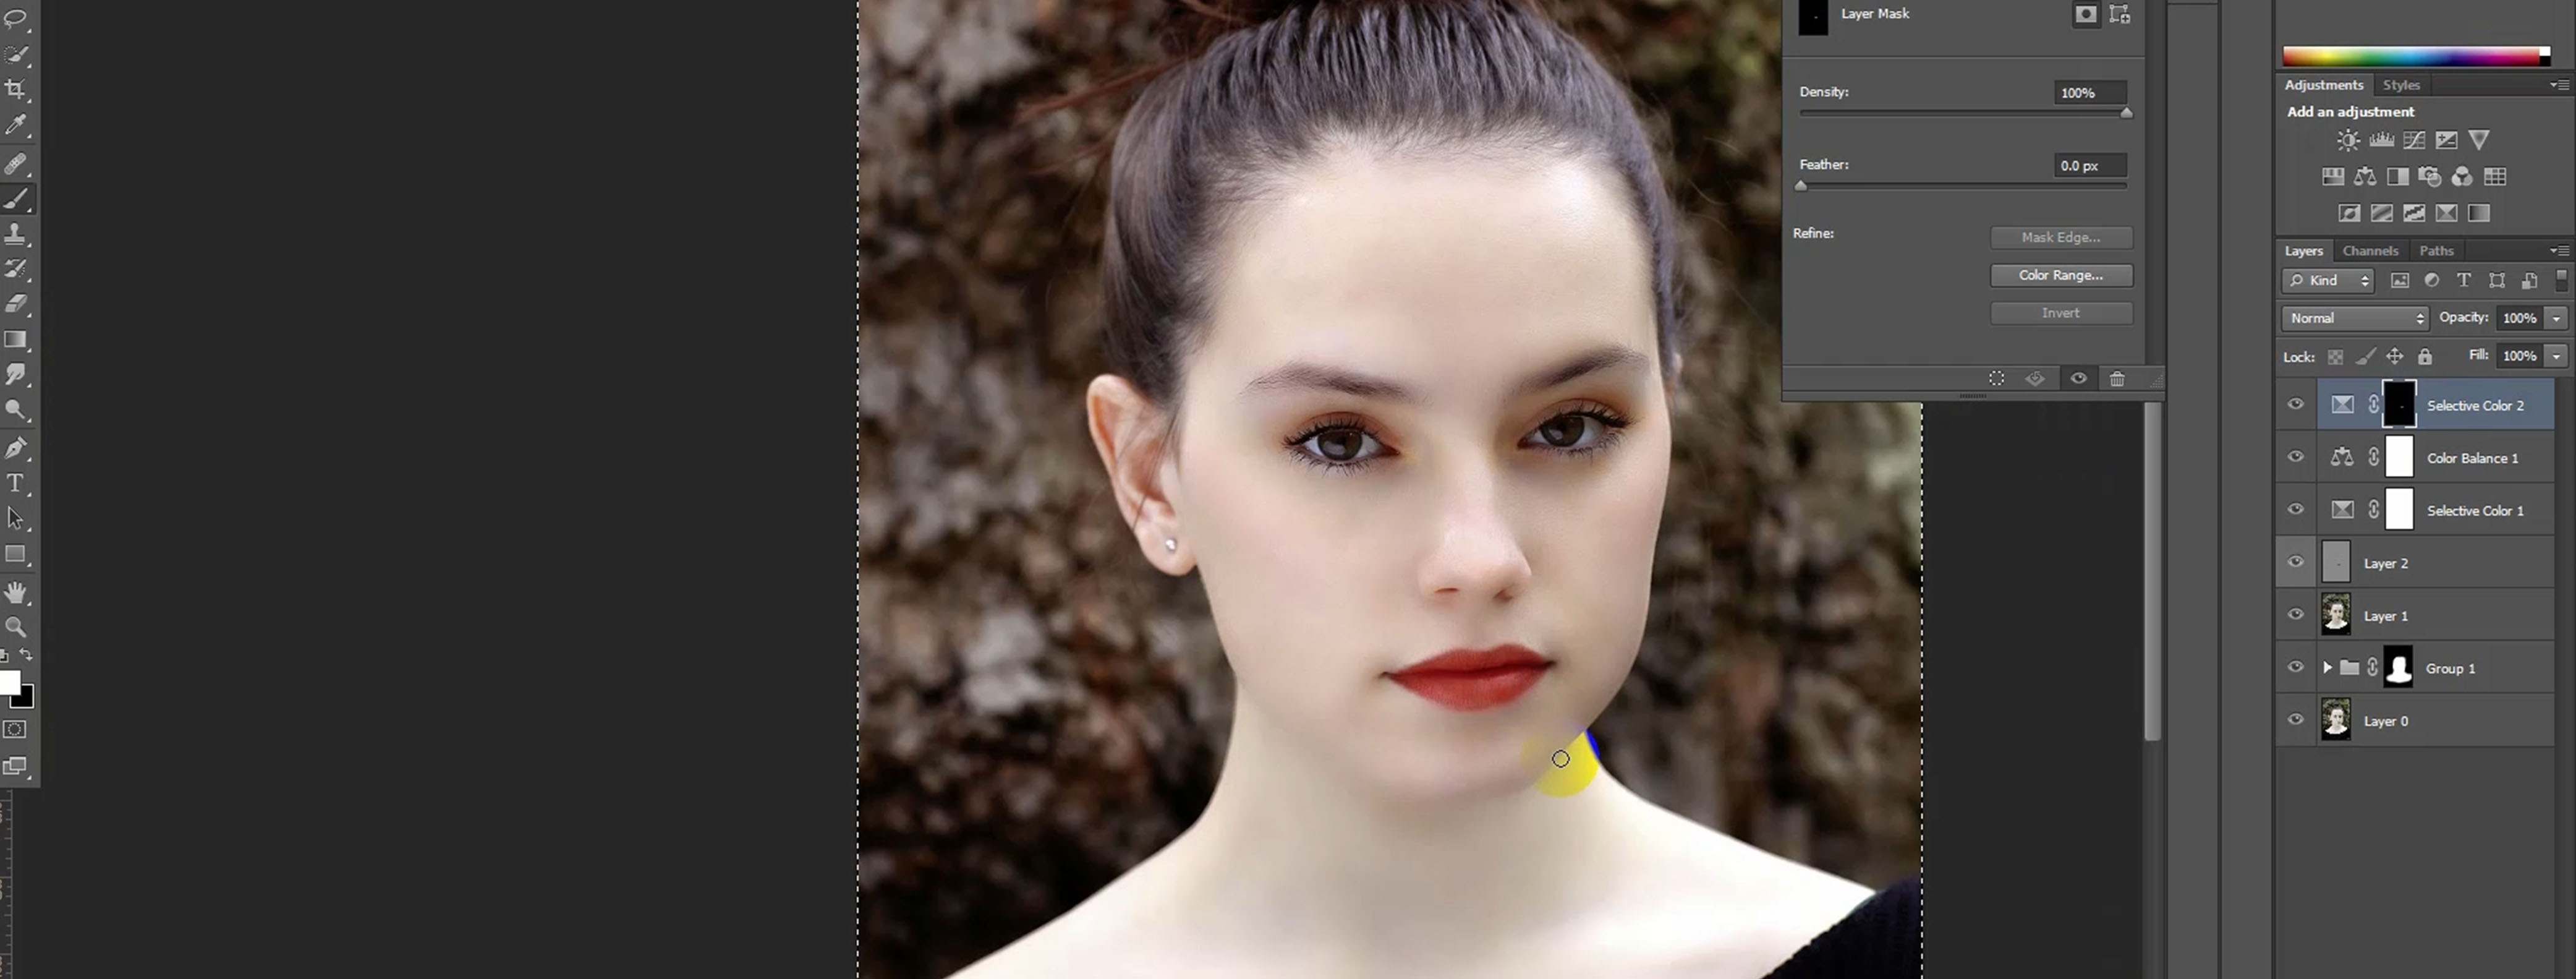
Then, take new layer > select Soft Light > Select Gray Color > ok
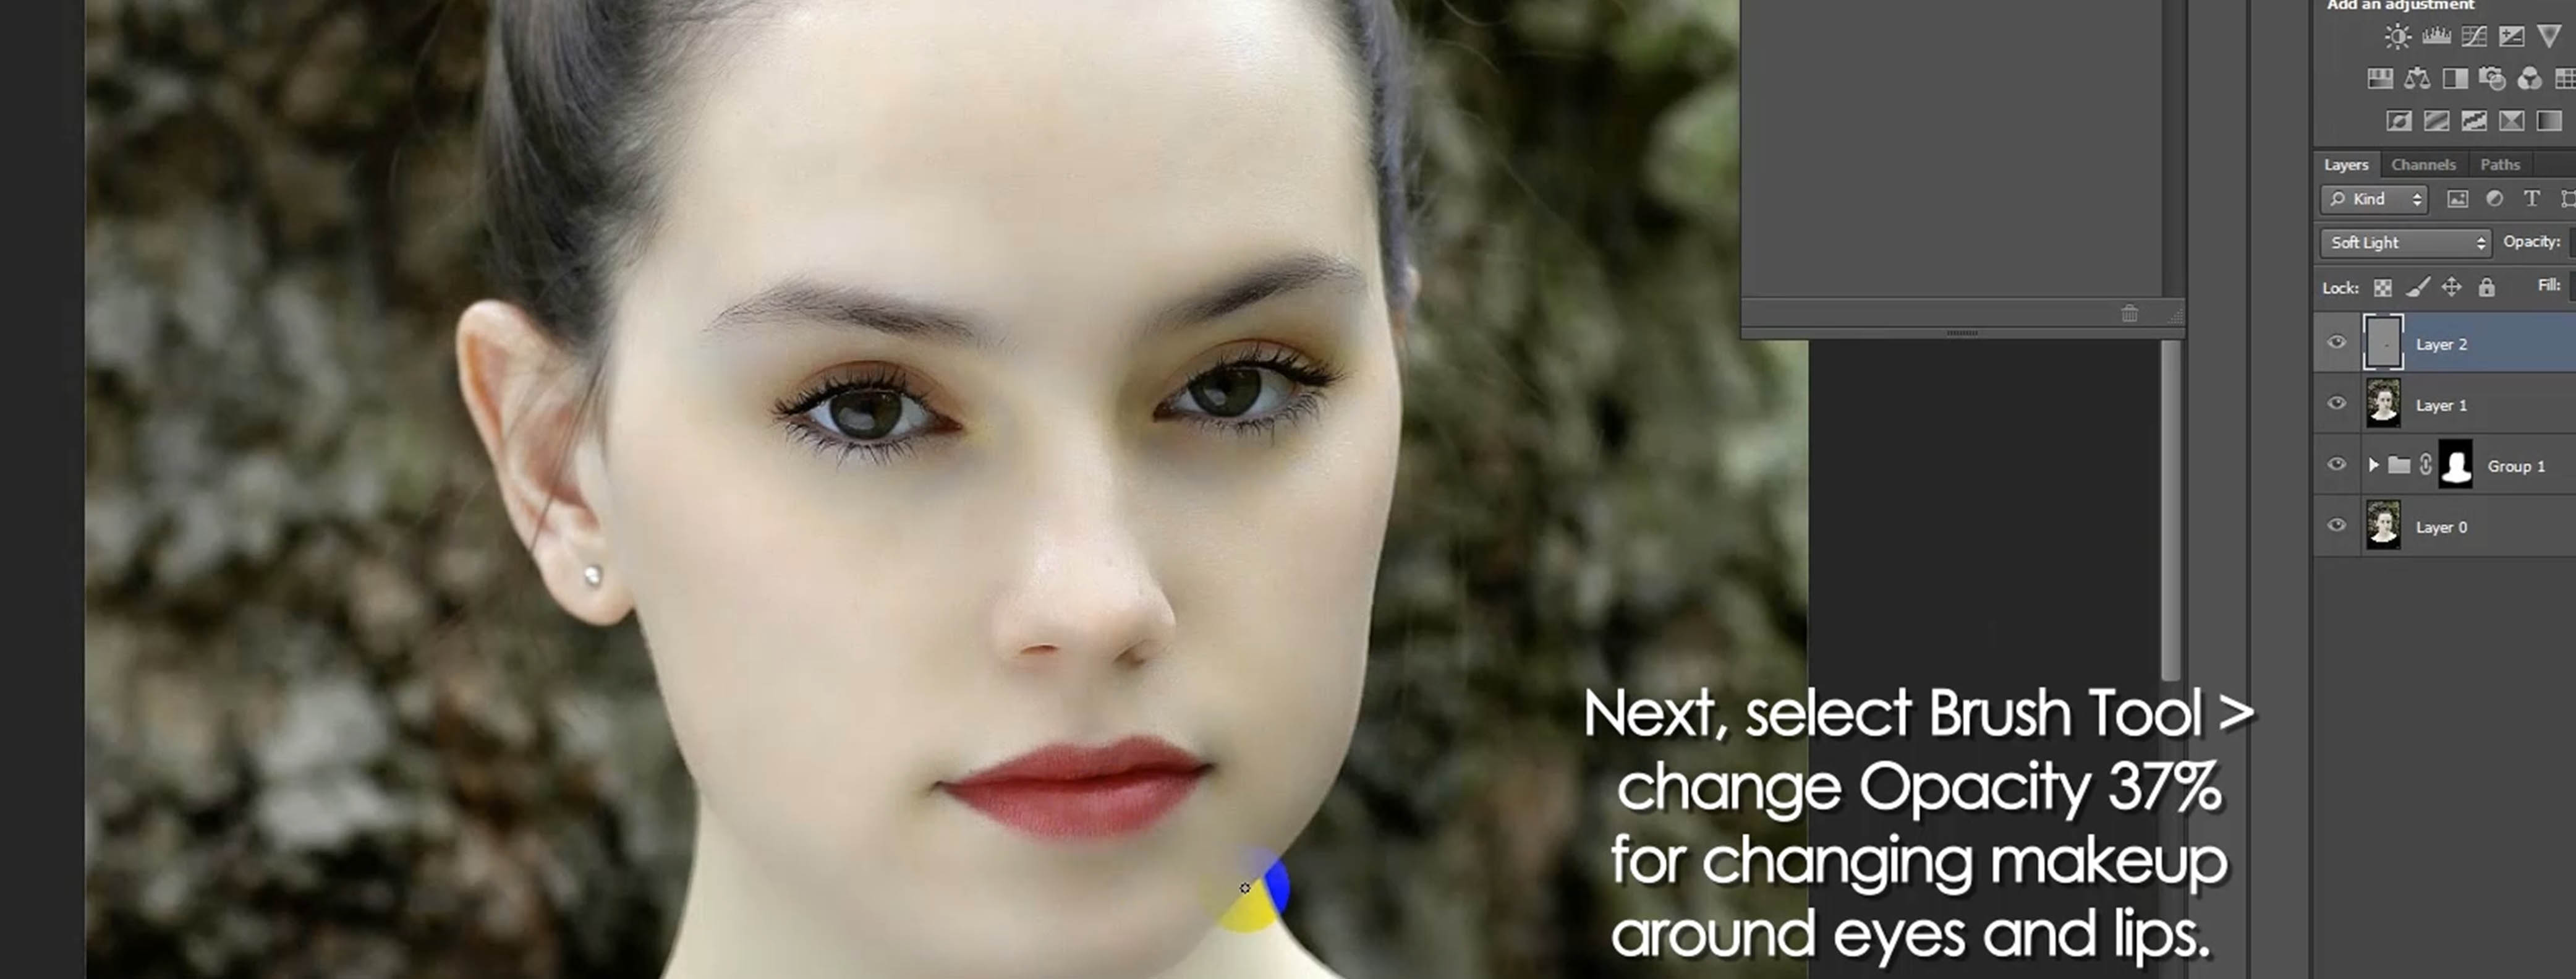
Next, select Brush Tool > change Opacity 37% for changing makeup around eyes and lips.
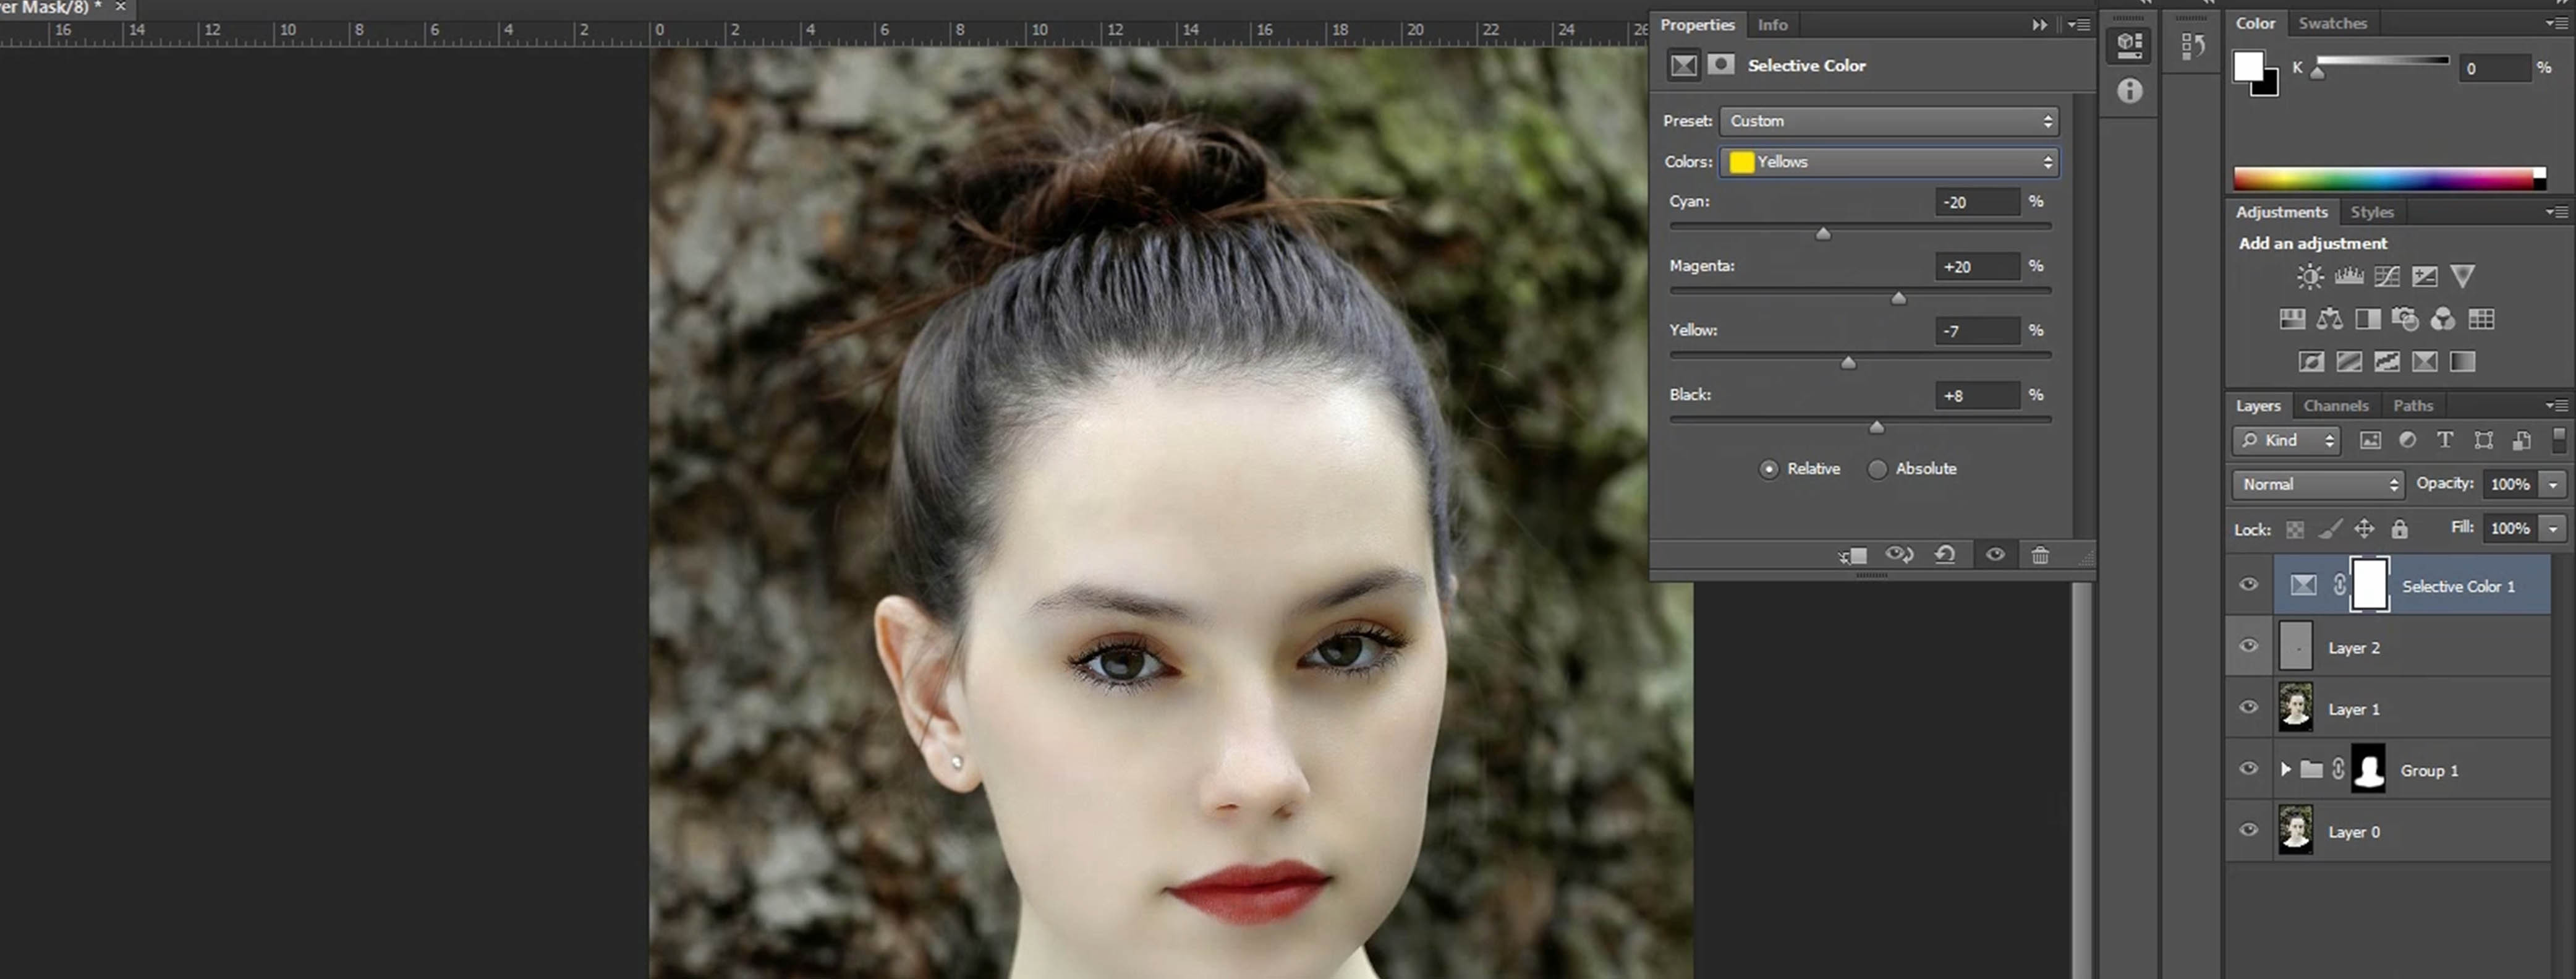
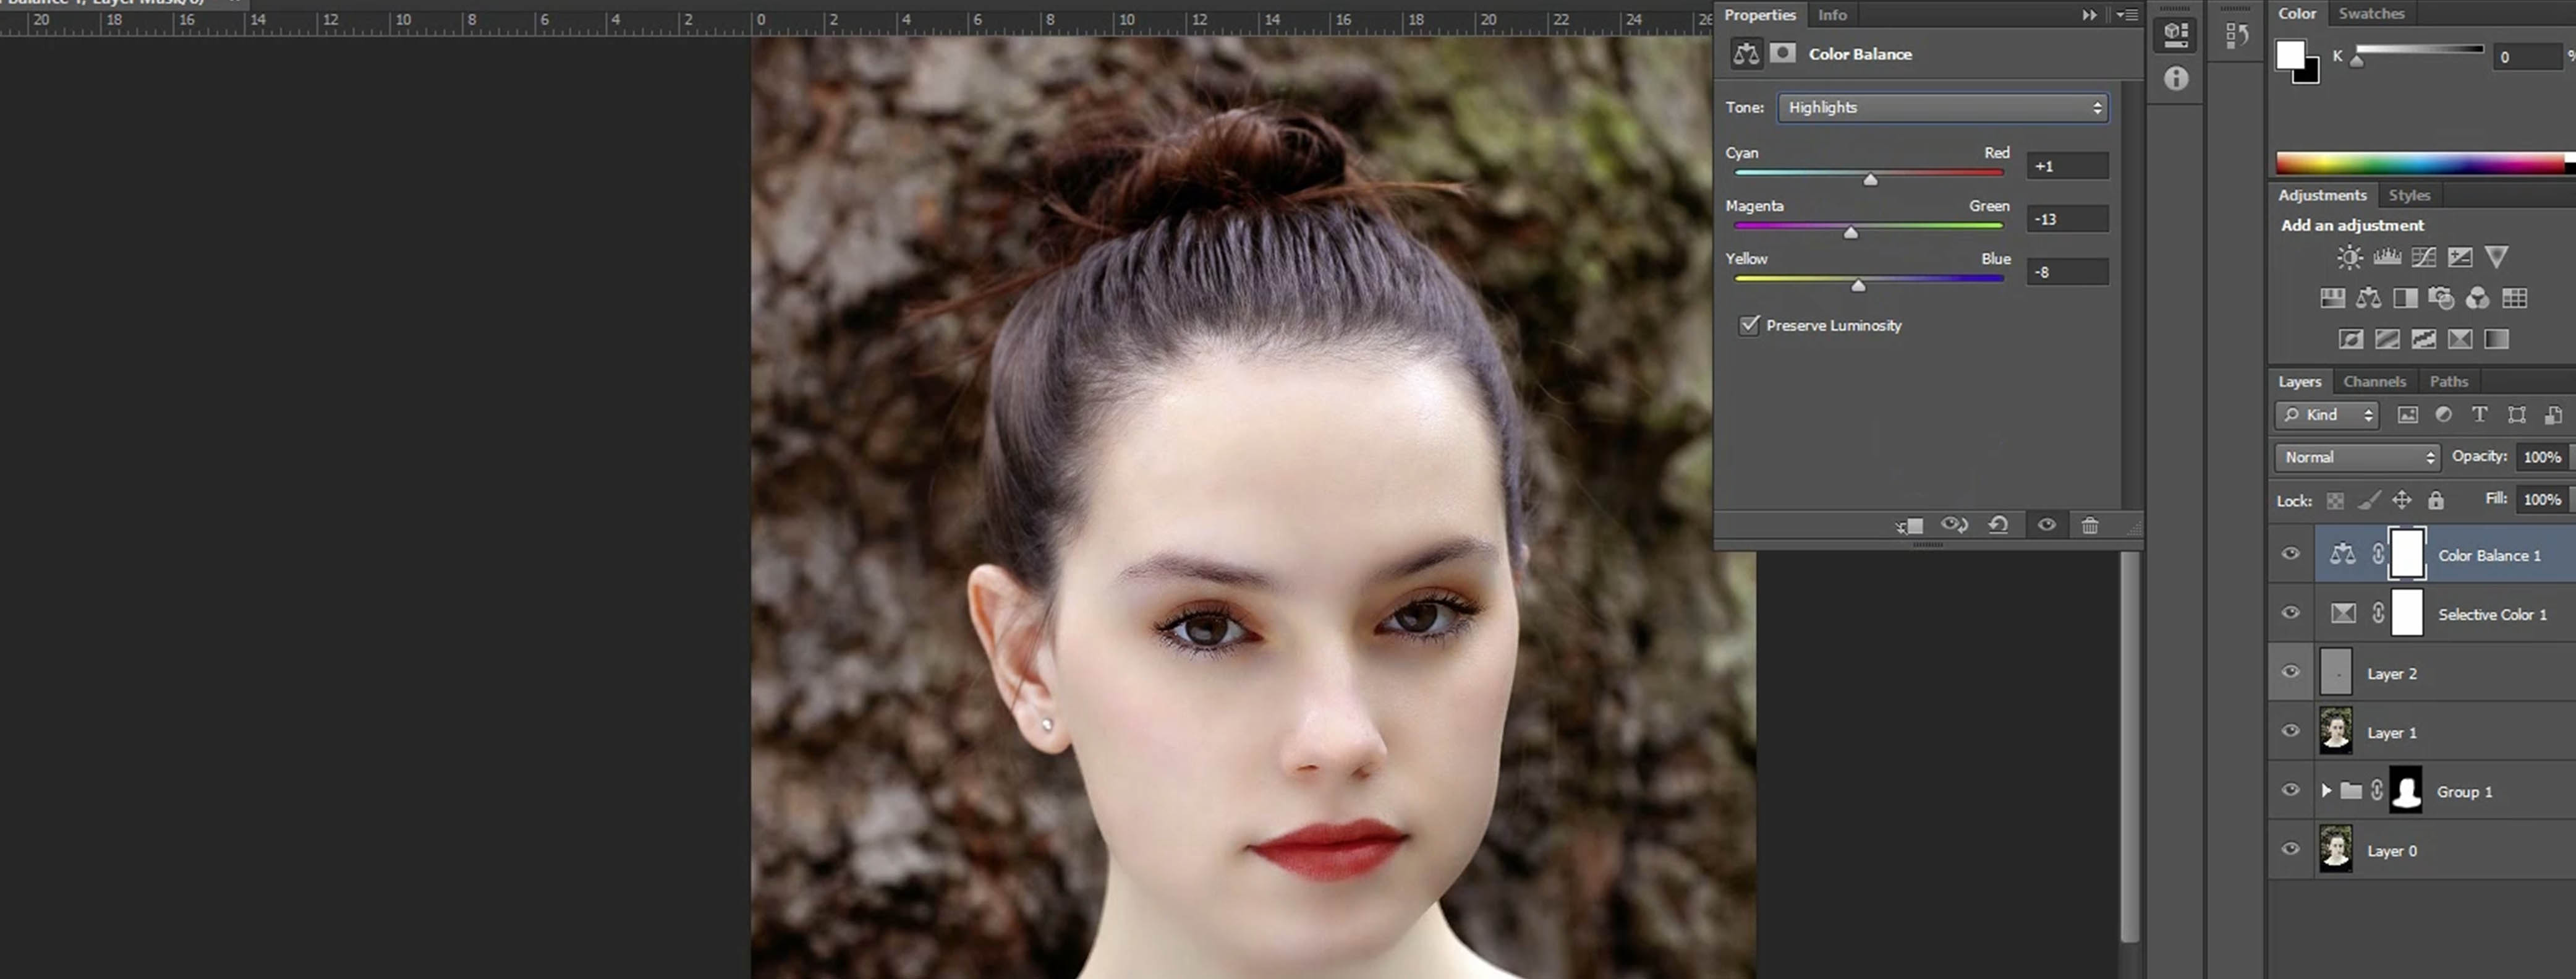

Work in this ways and you will get a nice image.
This is the image I wanted to do. However, by following these steps you can make any ordinary image better. This is an easy and faster portrait retouching technique. There are many advanced retouching methods. Latter, I will be with you again to present another image editing service.
Thank you for reading the article. Bye.