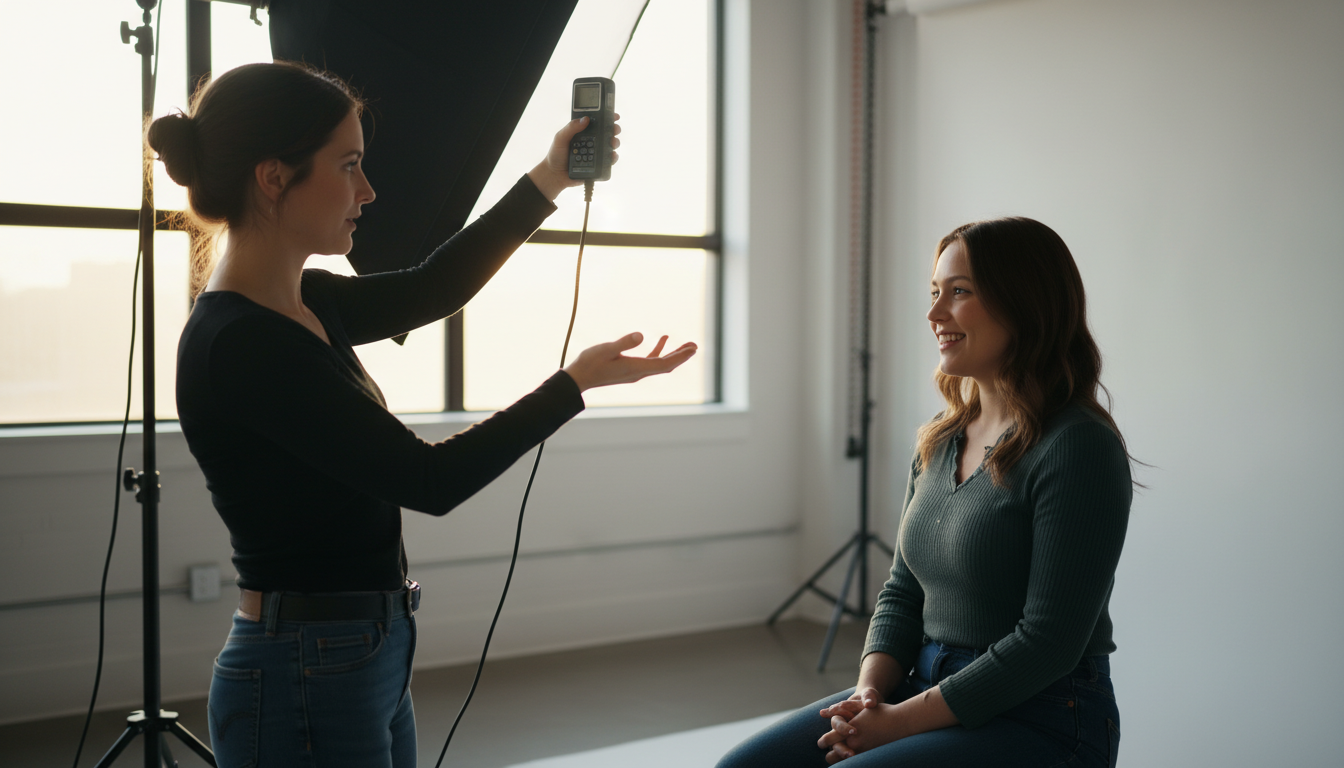
How to Set Up Broad Lighting in Photography (Step-by-Step)

Broad lighting in photography is a simple portrait-lighting setup. Here the side of the face closest to the camera (the “broad” side) is lit more, and the far side falls into softer shadow. It usually makes a face look wider, so it is great for thin/narrow faces, friendly lifestyle portraits, and some corporate looks.
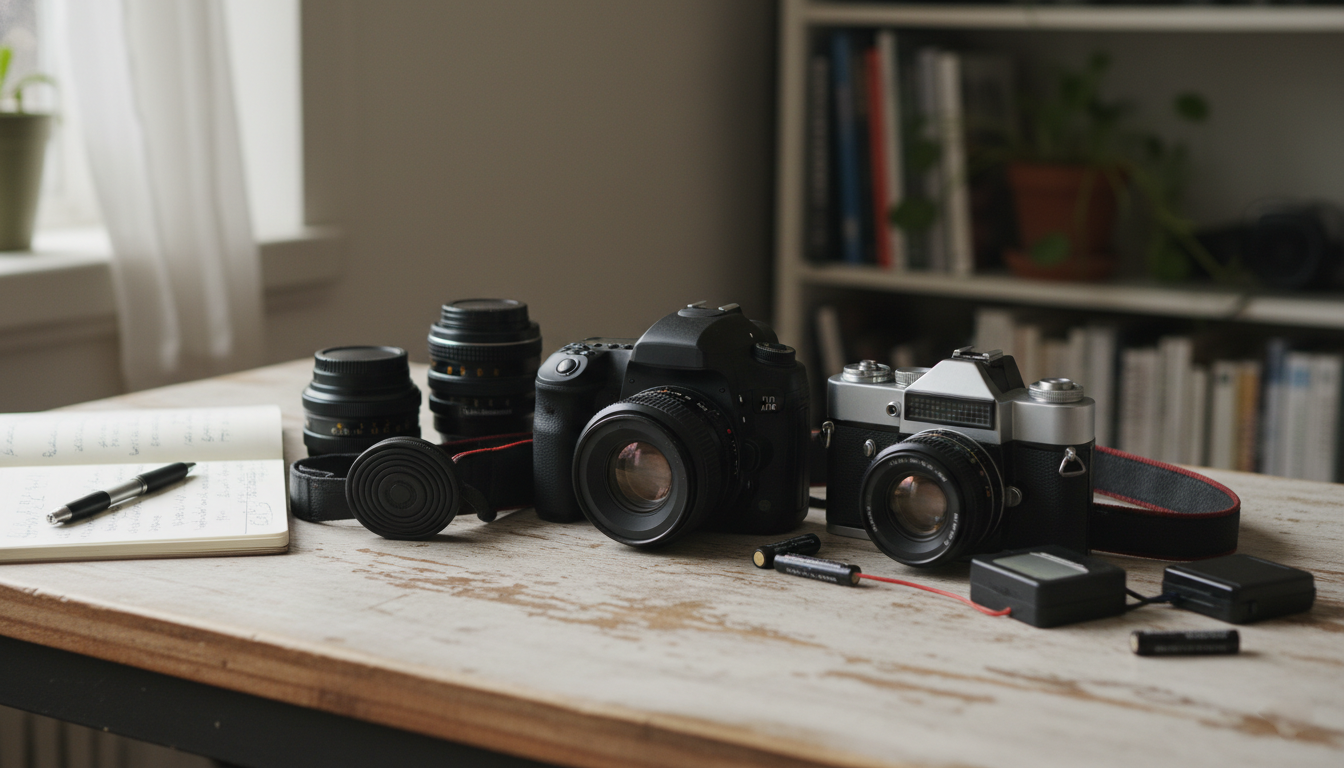
What you need
- 1 light source (window, softbox, umbrella, or a bare flash with diffusion)
- A reflector (white foam board works)
- A backdrop (optional)
- Your camera + subject
Step 1: Understand “broad” vs “short” lighting (quick)
- Turn the subject’s body slightly away from the camera (about 30–45°).
- Now have them turn their face back toward the camera slightly.
- If the cheek facing the camera is brighter, that’s broad lighting.
Rule: Light hits the camera-side cheek more than the far cheek.
Step 2: Place your subject first
- Put your subject 4–8 feet away from the background (reduces harsh shadows and keeps the background cleaner).
- Seat them if possible. It makes micro-adjustments easier.
Step 3: Set the face angle for broad lighting
- Ask them (Your model) to turn their face slightly toward the light (not away).
- Keep the nose pointed just a little past the camera (small movements matter).
Tiny test: If you see more shadow on the camera-side cheek, you accidentally made short lighting. Rotate the face back toward the light.
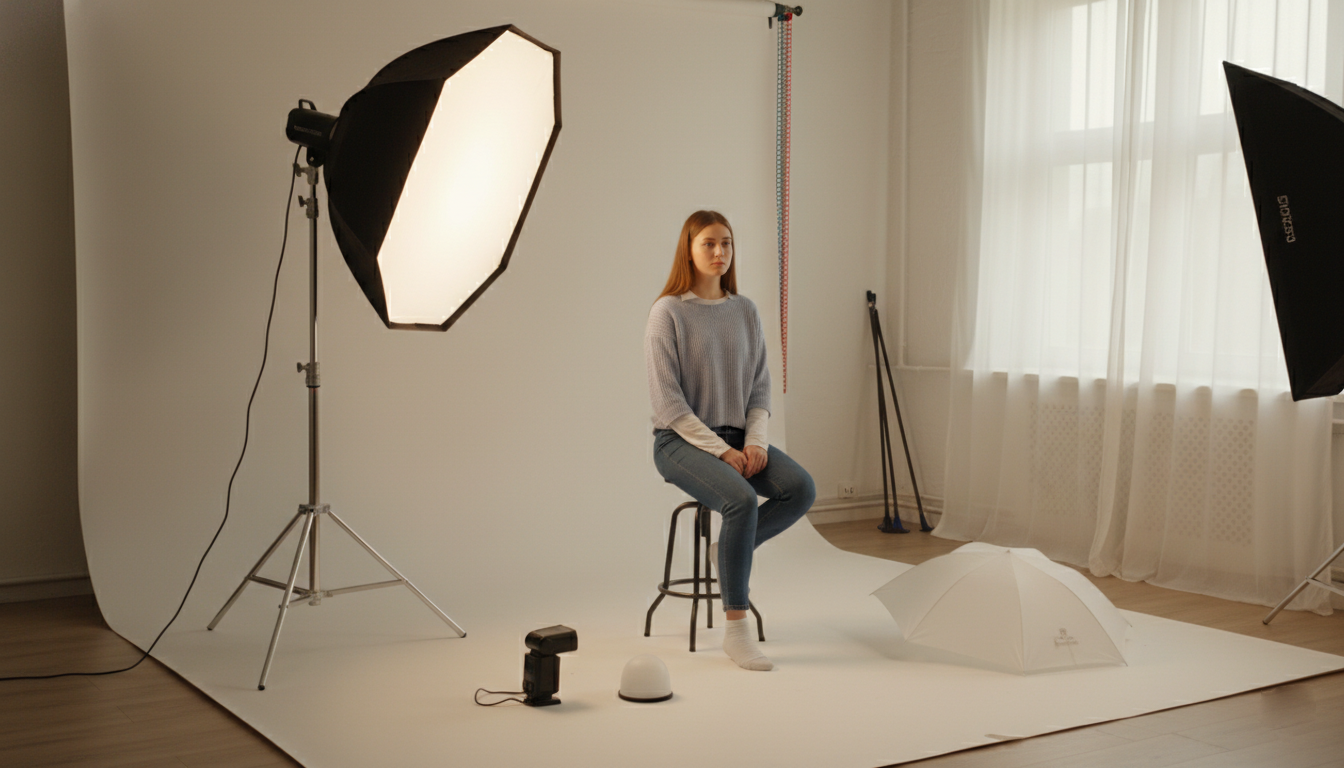
Step 4: Place the key light (the main light)
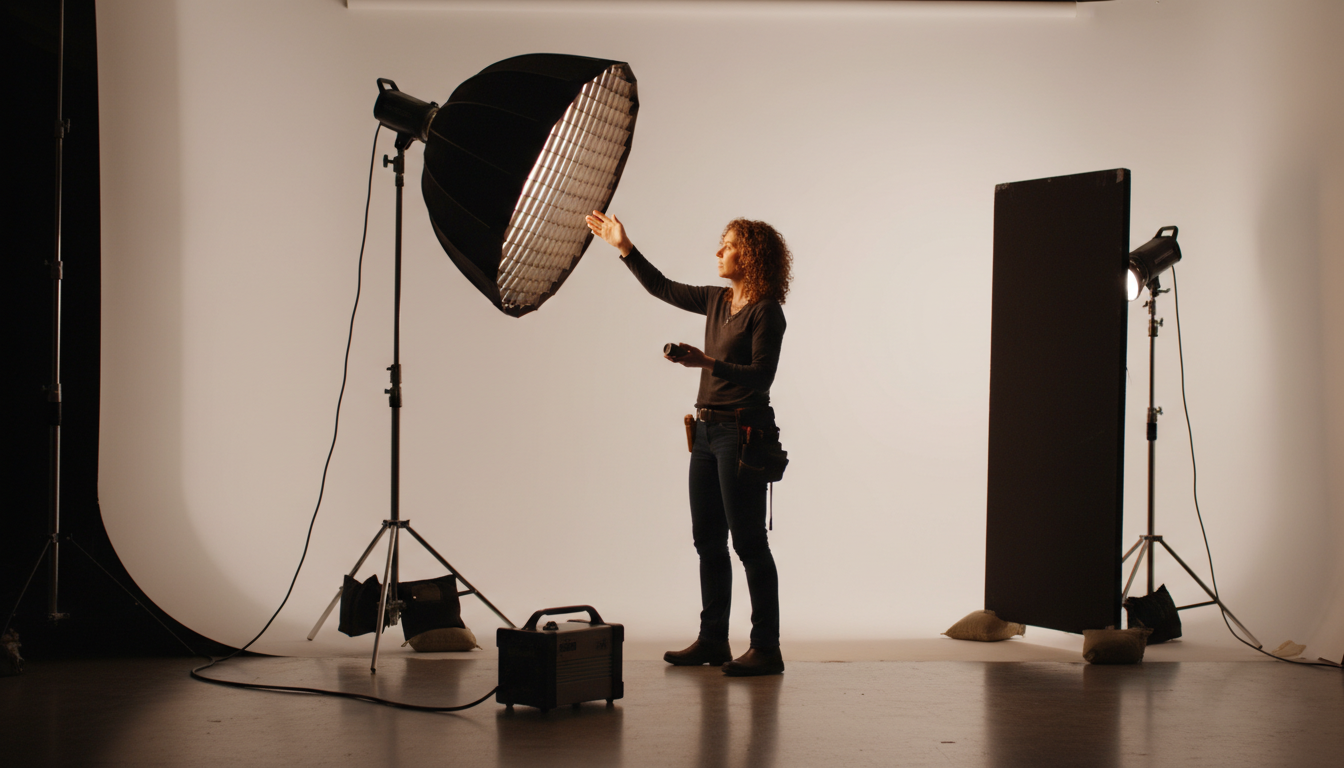
If using a softbox/umbrella
- Put the light at about 30–45° to the subject’s front, on the side of the camera-side cheek.
- Raise it slightly above eye level and angle it down.
Starting position:
- Height: a bit above forehead
- Angle: down toward the nose
- Distance: 2–4 feet for soft, flattering falloff
If using a window
- Place the subject at a 45° angle to the window
- Window side should be the camera-side cheek (that creates broad lighting)
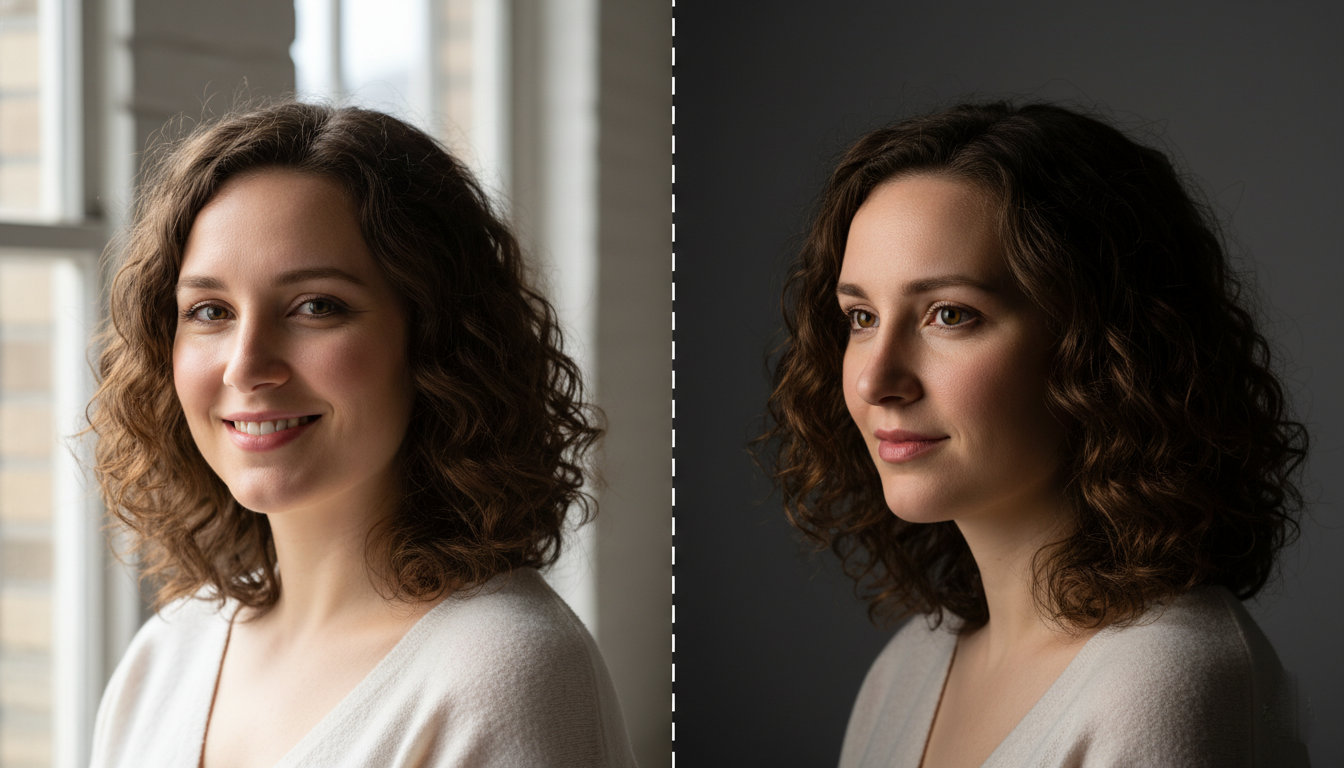
Step 5: Choose the shadow style you want (Rembrandt vs Loop)
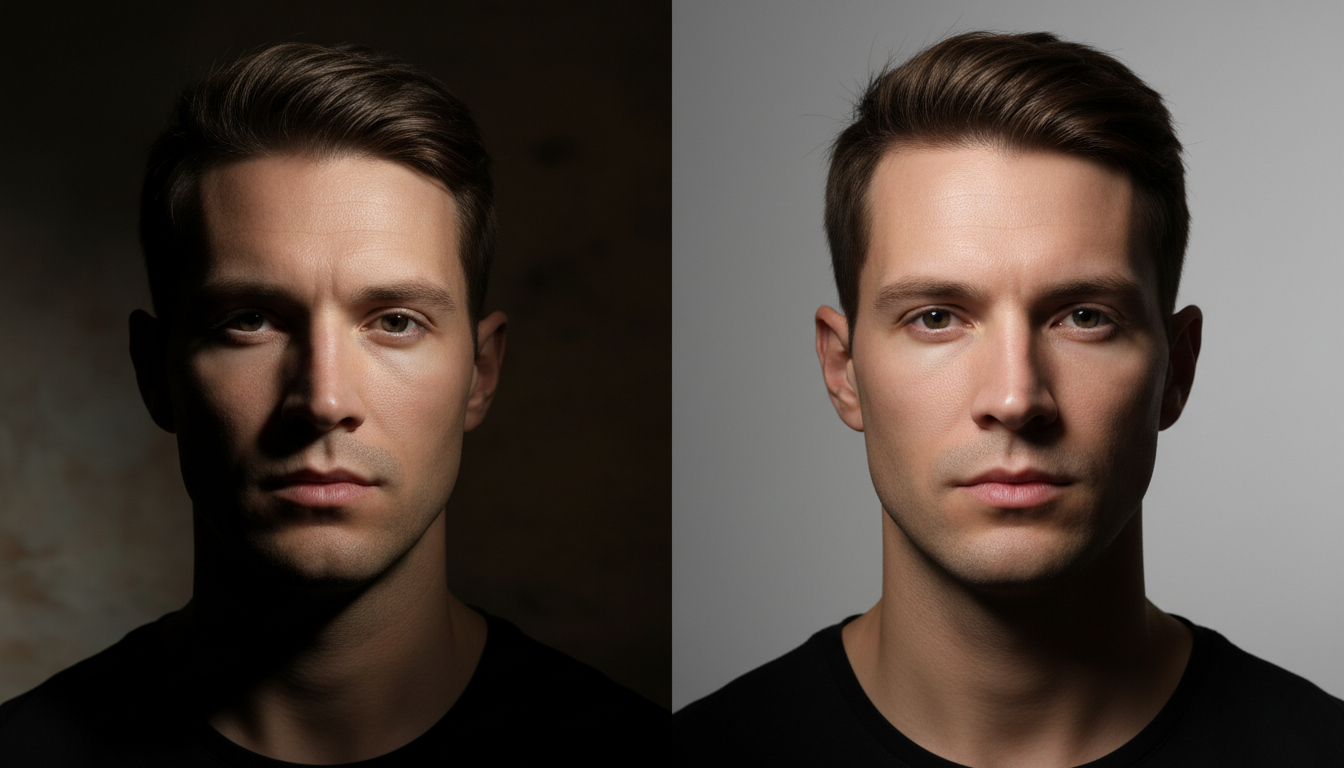
Move the key light until the nose shadow looks right:
- Loop lighting (easy + common):
Nose shadow creates a small “loop” but doesn’t touch the cheek shadow. - Rembrandt (dramatic):
Nose shadow connects with cheek shadow, creating a small triangle of light on the far cheek.
For most portraits, start with Loop.
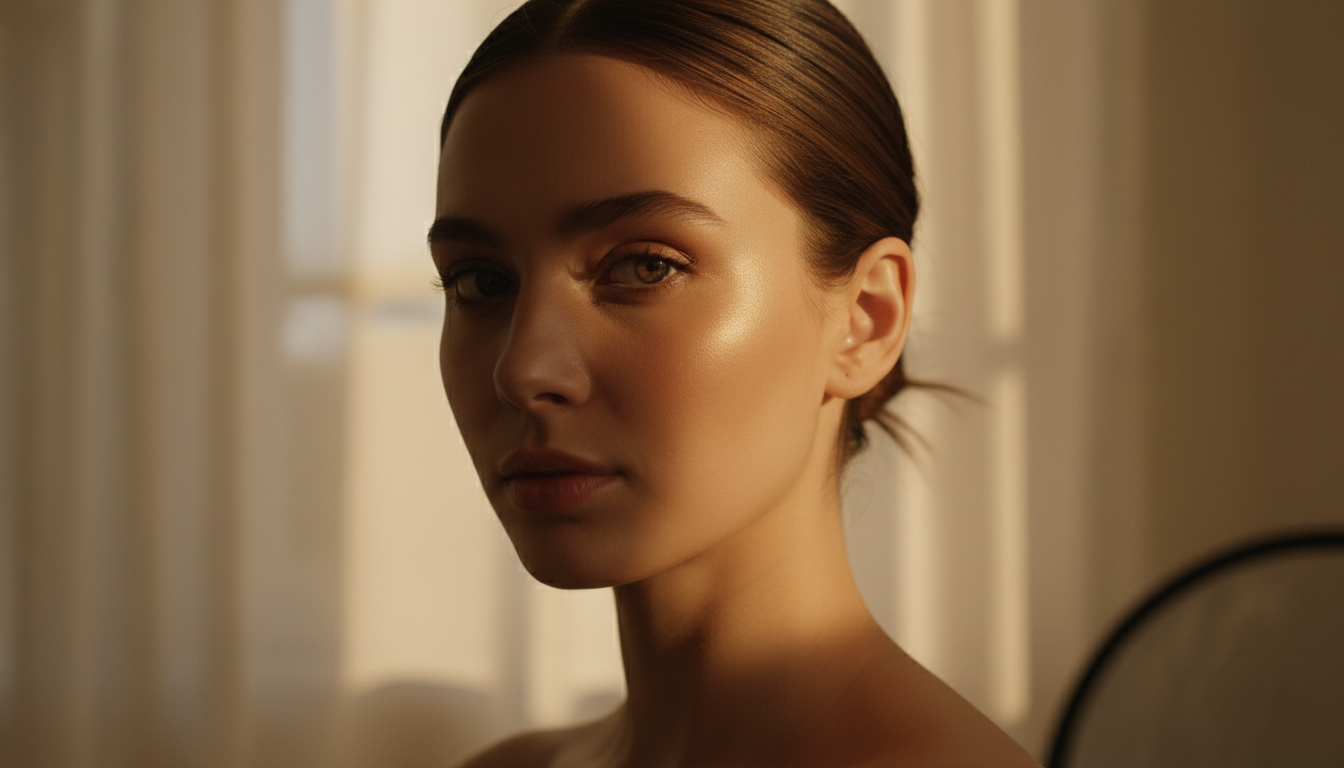
Step 6: Add fill (so shadows don’t get ugly)
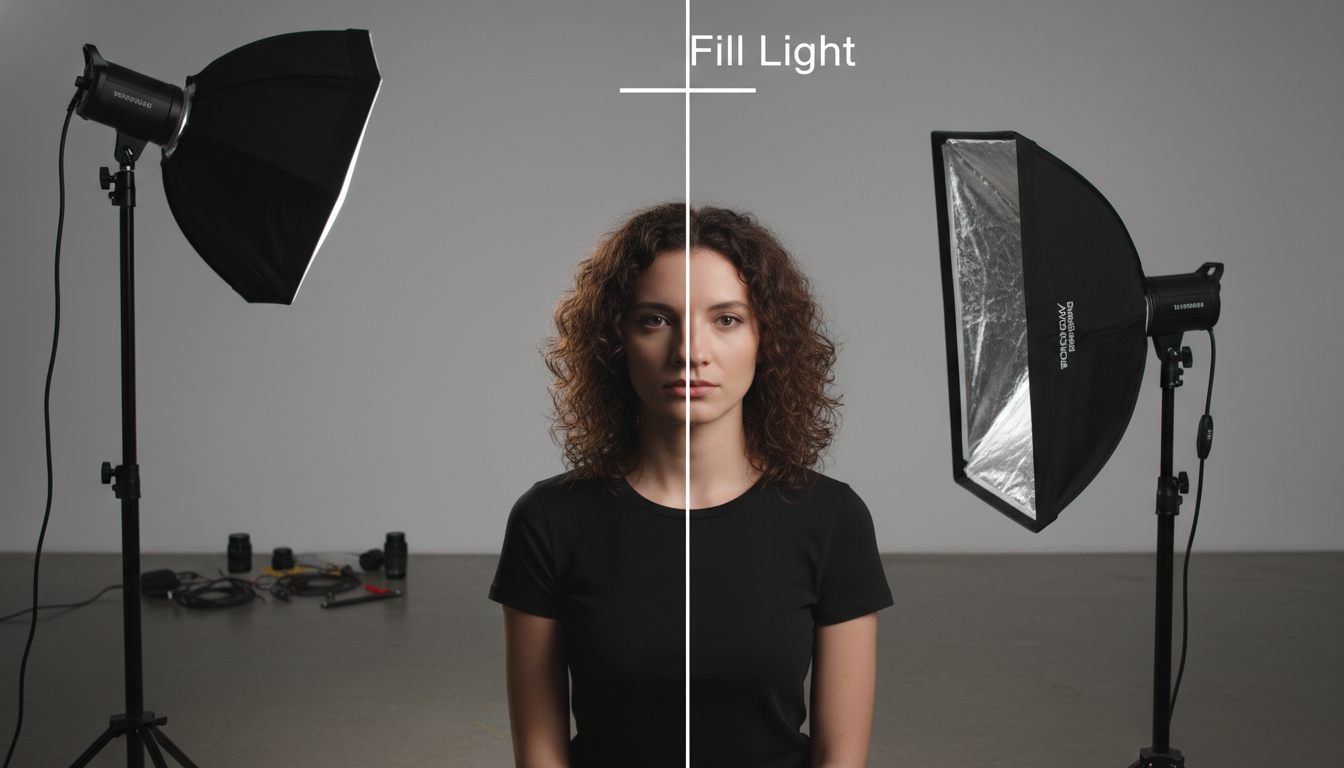
Broad lighting can still create deep shadows on the far side if your key is too strong.
- Put a reflector on the shadow side (opposite the key).
- Move it closer until shadows open up but still look natural.
No reflector? Use a white wall or even a white t-shirt on a chair.
Step 7: Control the background (optional but powerful)
- If the background looks too bright: move subject forward, or lower ambient light.
- If you want separation: add a small hair light behind (optional) or move key light slightly so it doesn’t spill everywhere.
Step 8: Camera settings (safe starting points)
Natural light (window)
- Mode: Manual or Aperture Priority
- Aperture: f/2.0–f/4 (portraits)
- ISO: 100–800
- Shutter: 1/125 or faster (avoid blur)
Flash/strobe
- ISO: 100
- Shutter: 1/160–1/200 (below sync speed)
- Aperture: f/5.6–f/8 (clean, sharp portraits)
- Adjust flash power until exposure looks right.
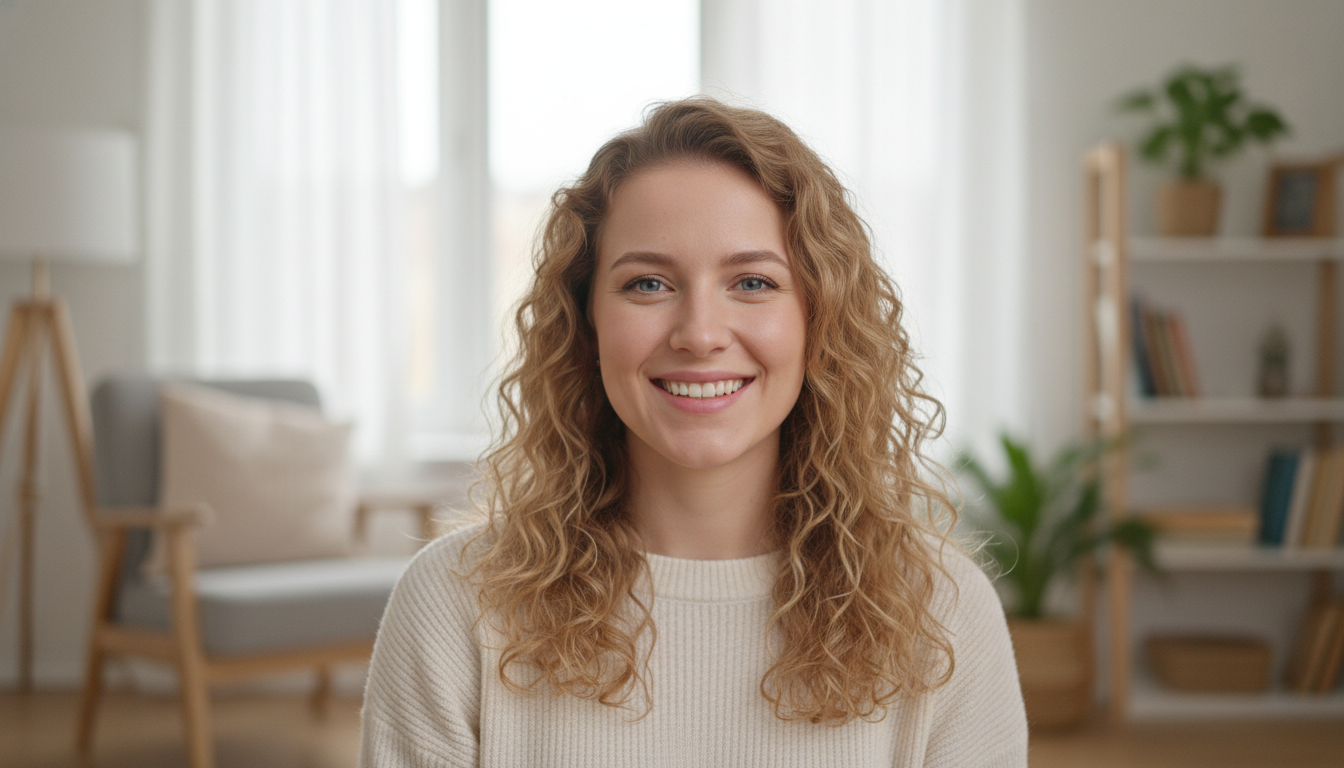
Step 9: Do the 30-second “broad lighting check”
Look for these signs:
- Camera-side cheek is the brightest area of the face
- Far cheek has softer shadow
- Catch light visible in the eyes (usually upper-left or upper-right)
- Nose shadow is clean (Loop or Rembrandt, your choice)
Step 10: Fine-tune for flattering results
Use these quick fixes:
Face looks too wide?
- Switch to short lighting instead (turn face slightly away from light).
- Or move the key light closer to camera axis (less side-light).
Shadows too harsh?
- Make the light source bigger (closer softbox / add diffusion)
- Bring reflector closer
- Move subject closer to the light
Glasses glare?
- Raise the light a bit higher
- Tilt glasses down slightly
- Move light more to the side (small changes work)
A simple broad lighting setup you can copy (one light)
- Subject turned 30–45° away
- Face turned back slightly toward camera
- Softbox at 45° on camera-side, slightly above eye level
- Reflector opposite side
- Take a test shot, adjust face angle by inches
When broad lighting works best
- Narrow or thin faces (adds fullness)
- Friendly corporate headshots
- Lifestyle portraits with softer mood
- When you want a brighter, more open look
When to avoid it
- Very round faces (can make them look wider)
- If you want a slimmer, more dramatic look (short lighting is better)
Final Thought
Broad lighting is pretty simple. It is effective if you can use it deliberately. When you realize that everything depends on the side of the face that is lightened, you can manipulate the atmosphere, contour, and equilibrium just by a few tiny changes.
Changing the angle of the head slightly, adjusting the light a bit, or moving a reflector few inches can have an effect that is totally different from the previous one. Train yourself to use this setting with just one light until it is like an automatic action, and soon you will start seeing faces in a different way through your camera lens. If you know how to use broad lighting, then you are not making an educated guess anymore you are directing the light intentionally.