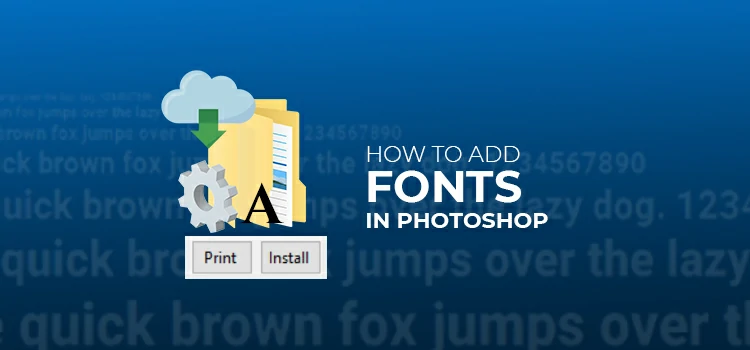
How to Add Fonts in Photoshop
Photoshop comes with tons of fonts to choose from. You can leverage those fonts and make your text stylish, gripping, and evident as well. But still, you may not find your desired font many times to apply in your design text, logo text, or even solo text.
But that doesn’t mean that you have to switch to a different tool to find your desired font. Rather, there are ways through which you can add your preferred fonts to your Photoshop version. And it’s not rocket science to do that!
All you have to do is download and install the font you wish to add to your designs and edits. Scores of font websites exist that you can utilize to locate cool and stylish fonts. Google Fonts, Adobe Fonts, etc. are some of the iconic ones.
How to Add Fonts in Photoshop: Simple Steps
Now, we will walk you through how to add fonts in Photoshop in an easy and simple way. Without further ado, let’s cut to the chase right away-
Create a New Document in Photoshop
Right at the get-go, open Photoshop and create a new document. You can create custom documents of any dimension. Just set the parameters from the dialog box showing up while creating a new document.
Once you are done creating the document, type any random text on it. For that, you have to use the “Type tool”. Simply go to the toolbar and navigate to the Type tool or click T to activate the “Type” tool.
Step-1: Download a Font on your Computer:

Now, you have to browse a font website and download your desired font on your PC. A number of font sites exist online but the best one would be “Google Fonts”.
Next, locate the font you want to add on Photoshop and go for download straightaway. We have selected the “Happy Banana” font in this tutorial.
However, a good thing is that we have a curated list of 100 free cursive fonts that you may explore and use in your next creative project.
Step-2: Locate the Type Font File:

At this time, your font file should already be downloaded in the zip format. Open the zip file and locate the Type Font file to proceed to install the font.
Step-3: Install the Font:

Then, open the Type Font file which will show texts with “Happy Banana” font. Go ahead to install the font by hitting the “Install” button.
Step-4: Locate the Installed Font in Photoshop:

Now, it’s time to go back to the Photoshop window and look for the installed font in the Font tab. But before that, select the text on your document to apply the newly installed font to the text.
Next, navigate to the font based on the first letter to locate the font quickly and easily.
Step-5: Final Output (Font Added and Applied):

Click the newly installed font to apply the font style to your document text. You can easily notice from the screenshot below the effect of a newly installed font.
Step-6: Font Added

This is how so easily you can add a new font to your Photoshop version. It’s just a matter of finding your preferred font and then it’s a snap to add the font.
Apart from Google Fonts, you can go through ‘Adobe Fonts’ and look for your desired font. Once you get an appropriate font, the rest is a piece of cake! Hopefully, you liked the tutorial. If you have any Photoshop tutorial of your choice, do recommend us and we will make one on that.
Common FAQs on- How to Add Fonts in Photoshop
How do I install any fonts on my computer?
You can install fonts by downloading the font file and then installing it using your operating system’s font installer.
On Windows, you can right-click the font file and select “Install”, while on Mac, you can double-click the font file to open it in Font Book and then click “Install Font”.
What file formats do Photoshop support for fonts?
Photoshop supports TrueType (.ttf), OpenType (.otf), and PostScript Type 1 (.pfb + .pfm) font formats.
Can I use Google Fonts in Photoshop?
Yes, you can use Google Fonts in Photoshop. You need to download the font files from the Google Fonts website and then install them on your computer.
Do I need to restart Photoshop after installing a new font?
No, you don’t require to restart Photoshop after installing a new font. Once the font is installed on your computer, it will be available in Photoshop.
How can I see a list of all the fonts installed on my computer in Photoshop?
In Photoshop, you can see a list of all the fonts installed on your computer by opening the “Character” panel and selecting the font dropdown menu. This will display all the fonts accessible for use in Photoshop.
Can I use custom fonts in Photoshop on different computers?
To use custom fonts in Photoshop on separate computers, you need to install the font on each computer separately. Alternatively, you can create a package of the font files and install it on the other computers.