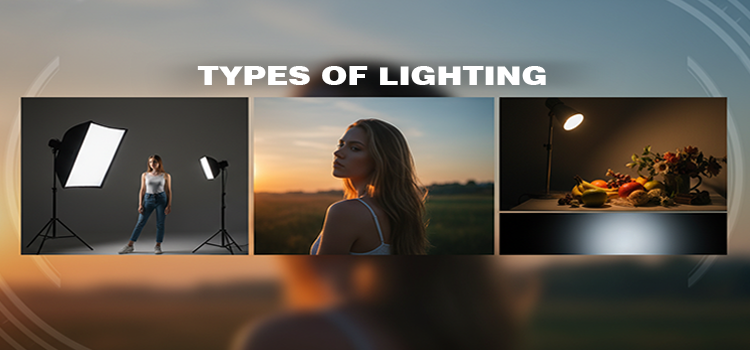
Ambient Lighting Explained: Create Professional Photos

Ambient light is the light that already exists in a scene before you add any other lighting kit. In photography, that usually means daylight (sun, skylight) and whatever practical lights are already there (lamps, streetlights, candles). In other words: it is “available light”, not gear you brought.
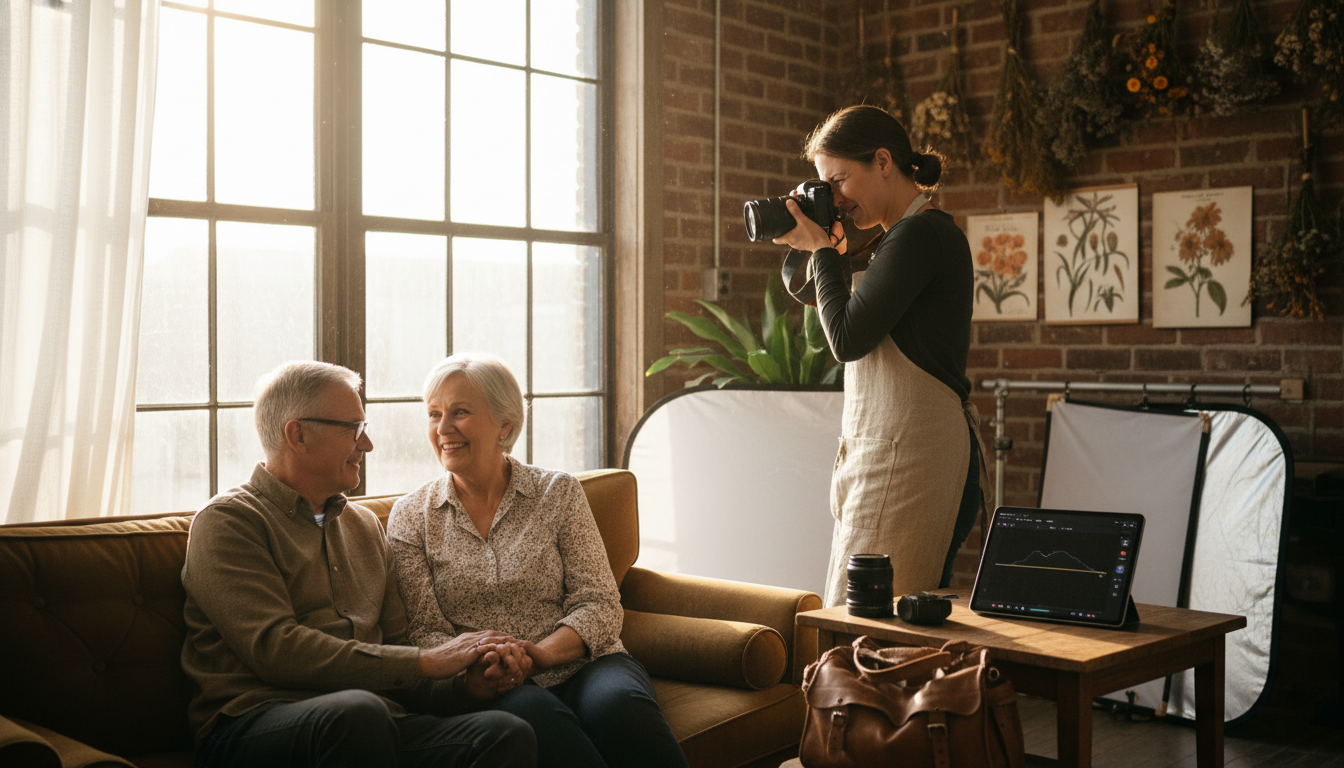
And right now, ambient and natural-light shooting is not just a beginner phase. It is a mainstream look. Even, if some professional images lack it, photography post production services are utilised. One clear signal: searches for “natural light photography” hit a 10-year high according to Google Trends reporting covered by Digital Camera World in 2025.
Why the obsession? Because natural light does three things really well when you use it with intention:
- Mood: It sets emotion instantly (soft and hopeful, dramatic and tense, cozy and intimate).
- Depth: It creates shape through shadow and direction.
- “Pro” polish: It looks believable, cinematic, and consistent when you control it instead of chasing it.
Let’s break down how to do that.
Why ambient light matters
We are living in the highest-volume photography era in history. Estimates put 2025 at around 2.1 trillion photos captured worldwide, up from about 1.94 trillion in 2024 and 1.81 trillion in 2023.
A big driver is mobile capture. Multiple sources cite roughly 1.8 trillion photos per year on mobile, translating to about 5 billion photos per day (order-of-magnitude scale: billions daily).
When people shoot that much, the winning style is the one that is repeatable and fast. Natural light checks those boxes:
- No setup time.
- No batteries.
- No learning curve to get “good enough.”
- And when you do learn to shape it, you can get “portfolio good” without a studio.
That is also why the natural-light look is trending, especially for lifestyle portraits, weddings, food, product flat lays, and creator content.
What “ambient light” really includes
Ambient light isn’t one thing. It is a mix. The mix determines color, contrast, shadow quality, and mood.
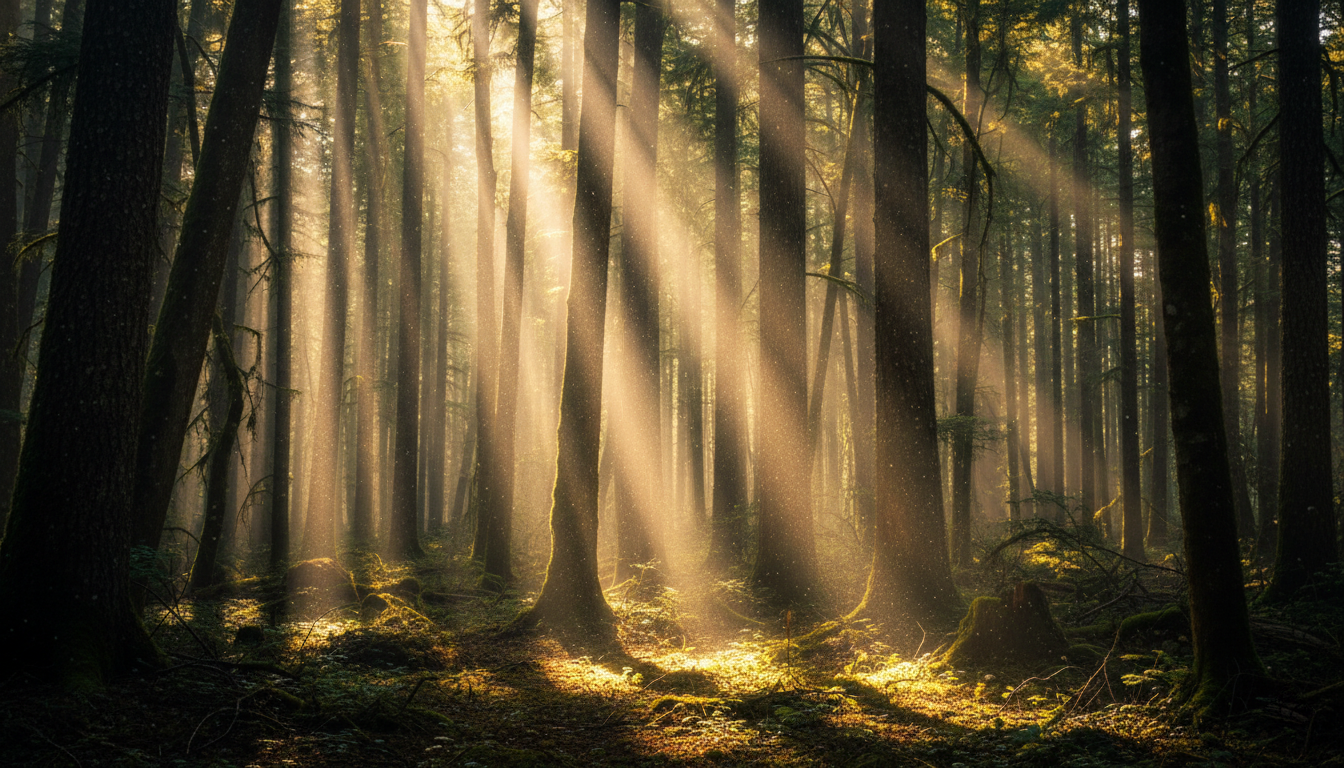
1) Direct sun
- Hard shadows, high contrast, specular highlights.
- Feels energetic, bold, sometimes harsh.
- Great for: graphic street, sports, dramatic editorial.
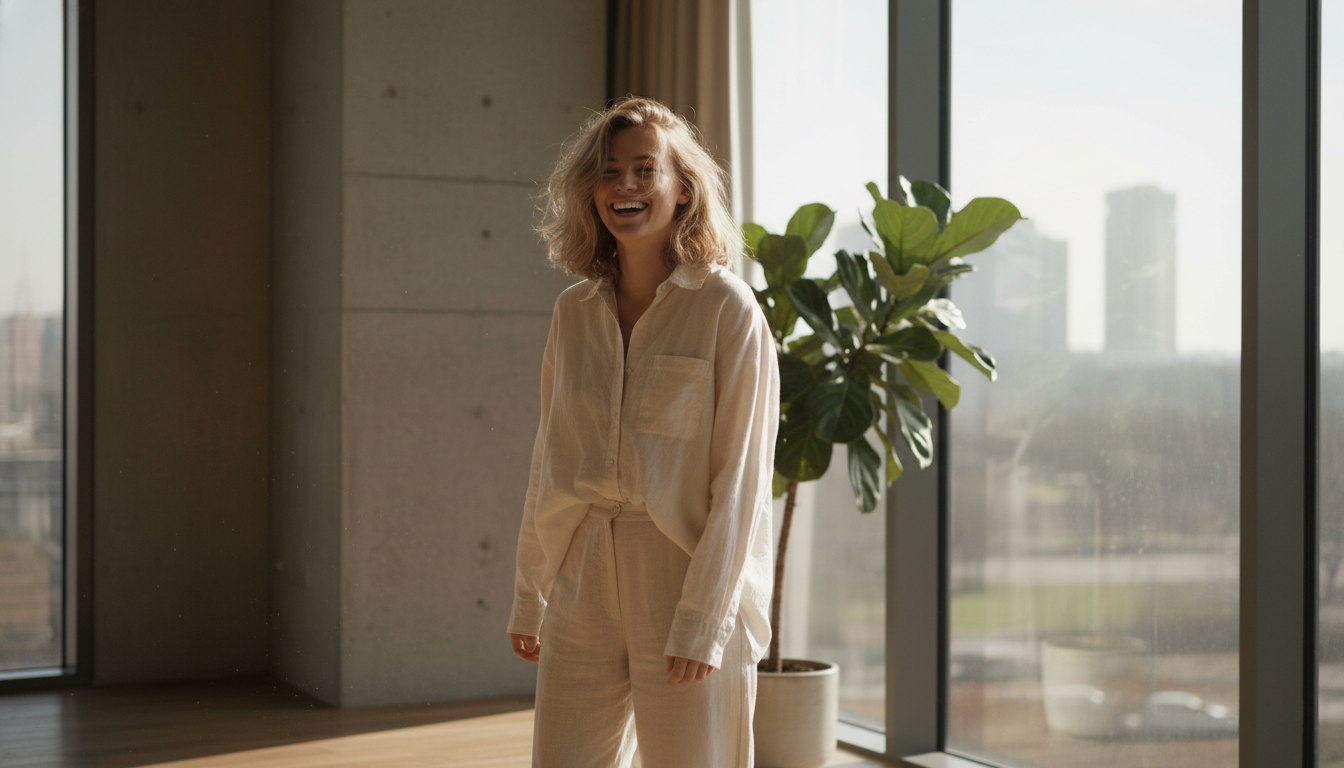
2) Open shade + skylight
- Soft shadows, gentle contrast.
- Feels calm, flattering, “expensive.”
- Great for: portraits, product, weddings.
3) Window light
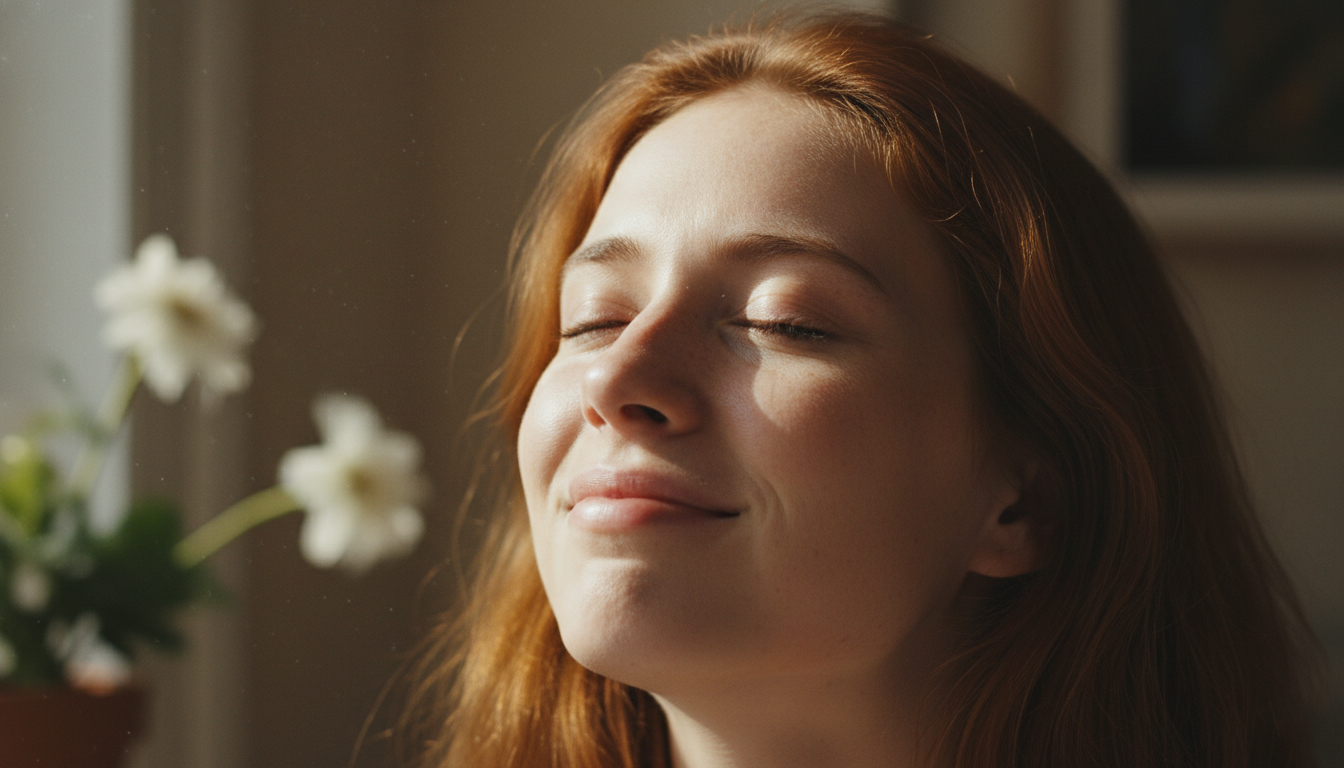
- Directional softness. This is the cheat code for depth.
- Great for: portraits, food, newborn, still life.
4) Golden hour
- Warm, low-angle, flattering light that wraps and glows.
- Often described as the “best time of day” for that warm, soft look.
5) Blue hour + overcast
- Cooler, moodier, cinematic.
- Great for: urban scenes, contemplative portraits, architecture.
Once you start seeing which ambient light you have, you stop guessing exposure and start designing images.
The 3 controls that shape ambient light
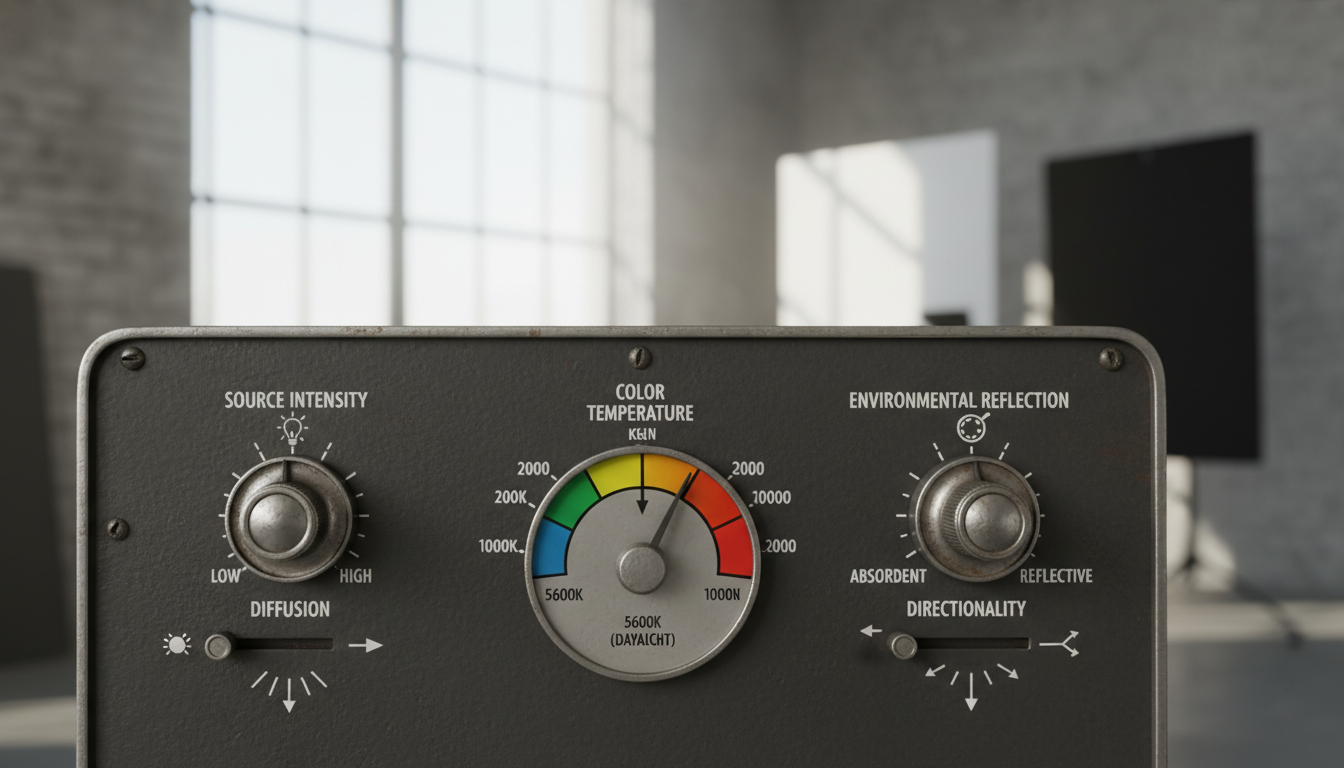
Natural light feels “uncontrollable” until you realize you have three very real controls:
Control #1: Direction (where the light comes from)
Direction is what creates depth. Flat light comes from the camera direction. Dimensional light comes from the side, from above, or from behind.
Quick rule:
- Front light = clean, safe, flatter.
- Side light = sculpted, textured, dramatic.
- Backlight = glow, separation, mood.
Control #2: Size (relative to your subject)
Light gets softer when the source is large relative to the subject.
- A huge cloudy sky is a giant softbox.
- A small patch of sun is a spotlight.
Control #3: Distance (light falloff)
Closer light gives faster falloff, which creates separation and mood.
With window light, moving your subject 1-2 feet can change the whole image: brighter face, darker background, more drama.
Mood: how to create emotion with natural light
Mood is basically the emotional result of three things:
- Contrast
- Color temperature
- Shadow density
Here is how to “dial” mood intentionally.
Bright + airy (clean, optimistic, modern)
- Shoot in open shade or near a large window.
- Keep shadows gentle: face turned slightly toward the light.
- Expose a bit brighter (protect highlights if skin is critical).
- Background should be bright or midtone, not dark.
Best for: family, lifestyle, e-commerce “friendly,” beauty.
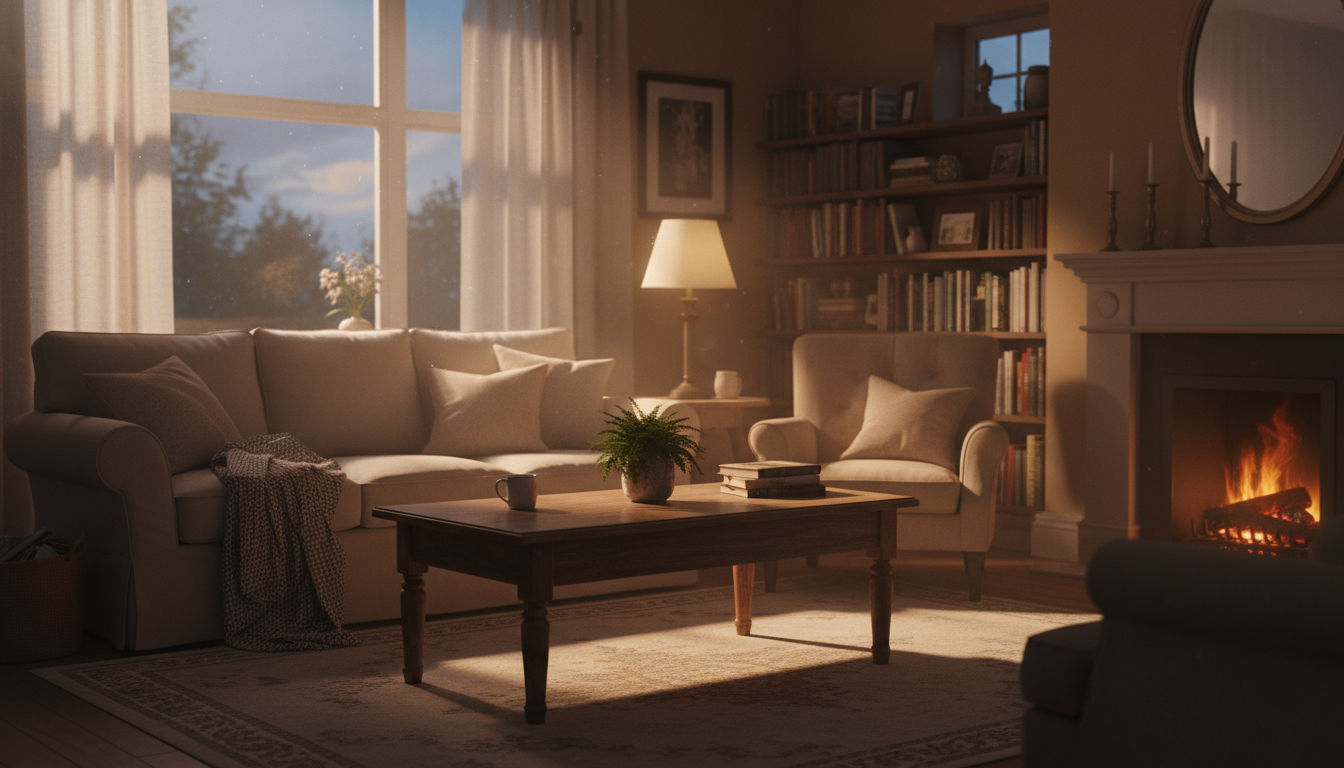
Dark + moody (cinematic, intimate, premium)
- Put the subject near window light but turn them away from it slightly.
- Let the far side of the face fall into shadow.
- Keep the background farther from the light so it drops darker.
- Underexpose a touch to deepen shadows (but don’t crush them).
Best for: dramatic portraits, whiskey/coffee/food mood, editorial.
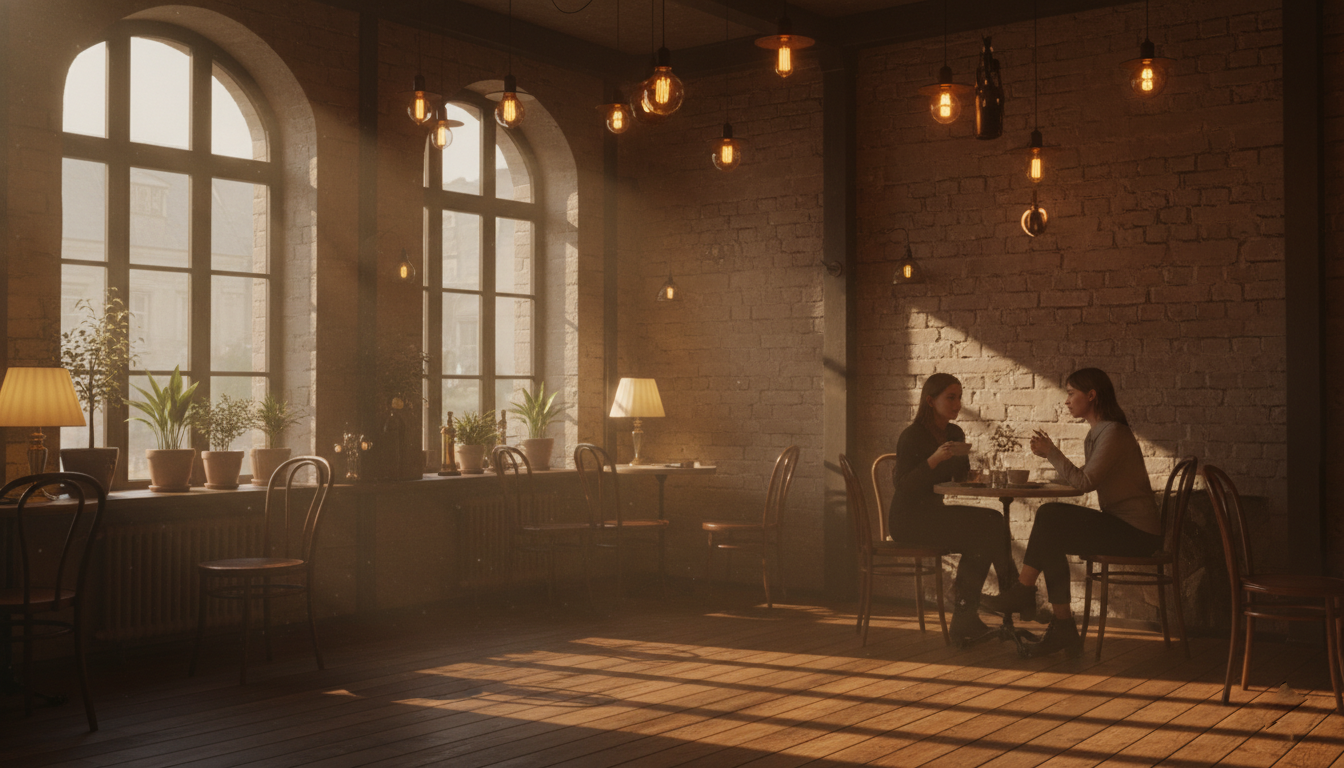
Nostalgic + warm (romantic, timeless)
- Golden hour or warm window light.
- Use backlight for glow and rim.
- Watch skin tones: warm is good, orange is not.
- If it’s too warm, step into open shade at sunset: you keep softness without the heavy orange.
Golden hour is popular for a reason: low-angle sun can flatter faces and add glow when handled carefully.
Depth: how to make natural light look “3D”
5 make natural light look “3D”.webp
Depth is not a lens trick. It is a lighting trick first.
Technique 1: Create a shadow gradient
A shadow gradient is that smooth roll-off from highlight to shadow on a face or object. It screams “professional.”
How:
- Use side window light.
- Turn the subject’s nose slightly toward the light until you see a clean highlight on the cheek and a gentle shadow on the far cheek.
Technique 2: Separate subject from background with exposure
If the background is too close to the same light as your subject, everything goes flat.
How:
- Move the subject away from the background.
- Or move the subject closer to the light.
- Or do both.
Technique 3: Use backlight + controlled fill
Backlight creates rim separation. Then you add fill by bouncing light from a bright wall, pavement, or a simple reflector.
You’re still using ambient light. You’re just redirecting it.
The “natural light” workflow pros actually use
This is the repeatable mental checklist that makes ambient light feel easy.
Step 1: Find the best light first, not the best background
Walk the location and look for:
- Open shade edges
- Window light
- Doorway light
- Overhangs
- Light-colored walls (free fill)
Then bring your subject to that light.
Step 2: Pick a light pattern
Choose one:
- Soft front-open shade (safe)
- 45-degree window side light (depth)
- Backlight with fill (glow)
Step 3: Lock exposure for skin (portraits) or highlights (products)
- For portraits: protect skin highlights.
- For products: protect specular highlights on glossy surfaces.
Step 4: Control the shadows
Shadows too deep?
- Turn subject toward light.
- Move closer to light source.
- Use a white wall/reflector as fill.
Shadows too flat?
- Turn subject away from light slightly.
- Move subject farther from fill surfaces.
- Increase side angle.
Natural light vs flash: the real comparison (and the honest trade-offs)
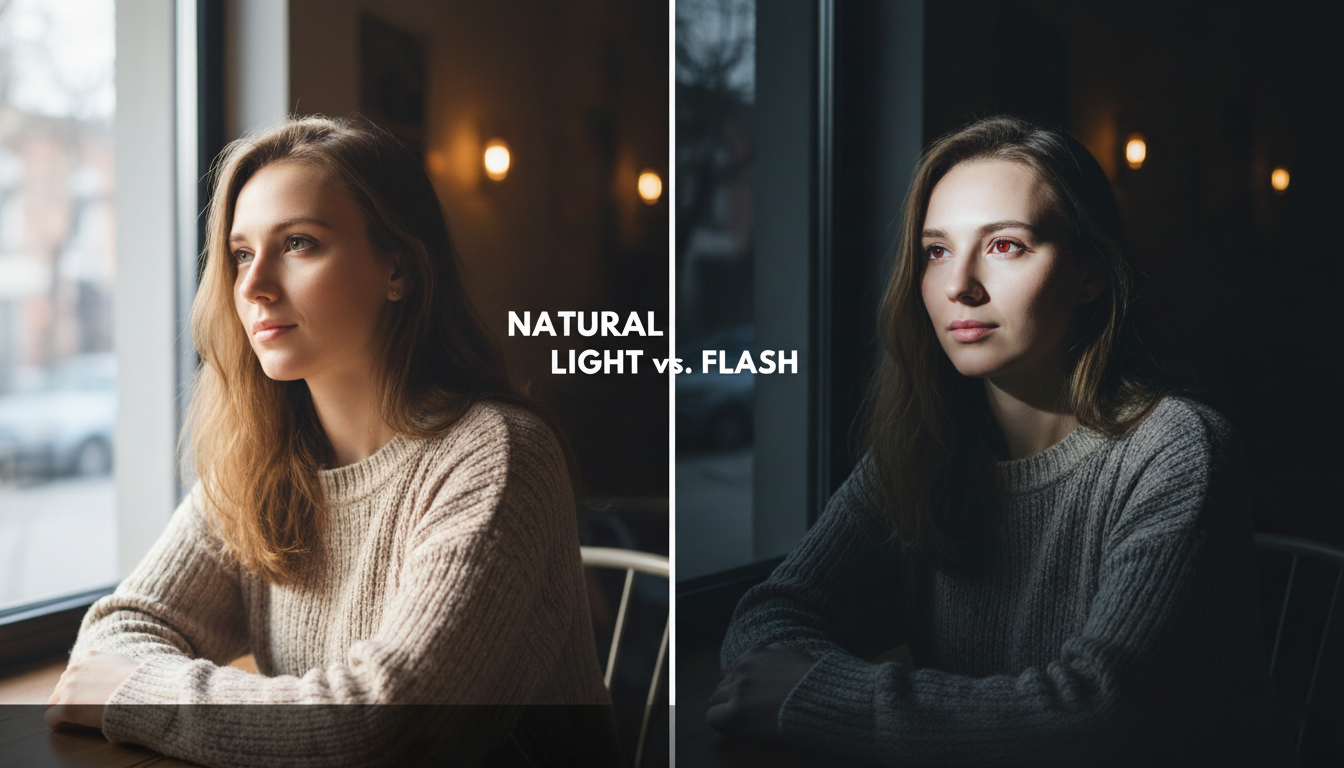
Natural light and flash are not “better vs worse.” They tell different stories. Natural light often reads as organic and romantic; flash can look more sculpted and editorial because you control it completely.
Natural light wins when:
- You want authenticity and softness fast.
- You’re in tight spaces (homes, hotel rooms).
- You want a consistent lifestyle vibe.
Flash wins when:
- You need repeatable results at any time of day.
- You’re battling ugly mixed of different types of lighting.
- You want punchy, high-contrast commercial control.
A pro move is combining them: expose for ambient mood, then add just a touch of flash to clean up faces. But even if you never touch flash, you can still get professional results by mastering direction, size, and distance.
Modern trend: why “natural light” is surging
Natural light’s resurgence is not just a vibe. It matches what audiences engage with:
- Less “overproduced” look.
- More documentary realism.
- More creator-style authenticity.
That aligns with the Google Trends signal showing “natural light photography” searches at a decade high in 2025.
It also matches the content volume era: with billions of photos shot daily (especially on phones), the style that looks good with minimal setup becomes the default creative language.
Real-world scenarios and exactly what to do

Scenario A: Harsh midday sun (the nightmare)
Goal: avoid raccoon eyes, blown highlights, and squinting.
Do this:
- Put subject in open shade (building shade, trees, and overhang).
- Turn them toward the brightest part of the sky (your soft “key light”).
- Use a bright wall or pavement as fill.
- If no shade exists: backlight the subject with the sun behind them and expose for the face (watch flare).
Scenario B: Window portraits (the easiest “pro” look)
Goal: soft, dimensional, flattering.
Do this:
- Subject 1-3 feet from the window.
- Background farther away from the window.
- Turn subject 30-60 degrees toward the window for a cheek highlight and gentle shadow.
- If the shadow side is too dark, bounce light with a white wall or reflector.
Scenario C: Natural light product photos (clean and consistent)
For flat lays, many guides recommend soft daylight and minimizing harsh shadows, often by using a window and diffusing/directing the light.
Do this:
- Place product near a window with indirect light.
- Use a sheer curtain if sun is direct.
- Use white foam board opposite the window for fill.
- Slightly angle the product to control reflections.
Scenario D: Golden hour portraits that don’t look cliché
Goal: glow without orange skin and blown skies.
Do this:
- Use backlight for rim + hair light.
- Put the face in open shade if the sun is too strong.
- Expose for skin, then bring back sky detail in post if needed.
- Keep an eye on color casts from grass/walls.
Common mistakes that scream “amateur” (and quick fixes)
- Chasing backgrounds instead of light
Fix: find light first, then compose. - Flat lighting for everything
Fix: move to side light. Even a small turn of the body adds depth. - Mixed color temperatures indoors
Fix: turn off ugly overhead lights if you can and commit to window light, or correct white balance deliberately. - Overexposing skin until it loses texture
Fix: protect highlights on foreheads, cheeks, and noses. - Using “golden hour” like a filter
Fix: treat it as a directional light source, not just a warm tone.
The pro mindset: “Ambient light is the subject”
Here is the final shift: stop thinking of natural light as something you tolerate. Treat it like a tool you are choosing on purpose.
When you can answer these three questions before you shoot, your photos level up fast:
- Where is the light coming from?
- How big is it relative to my subject?
- What do I want the shadows to say about the mood?
That is ambient lighting mastery. No studio required.