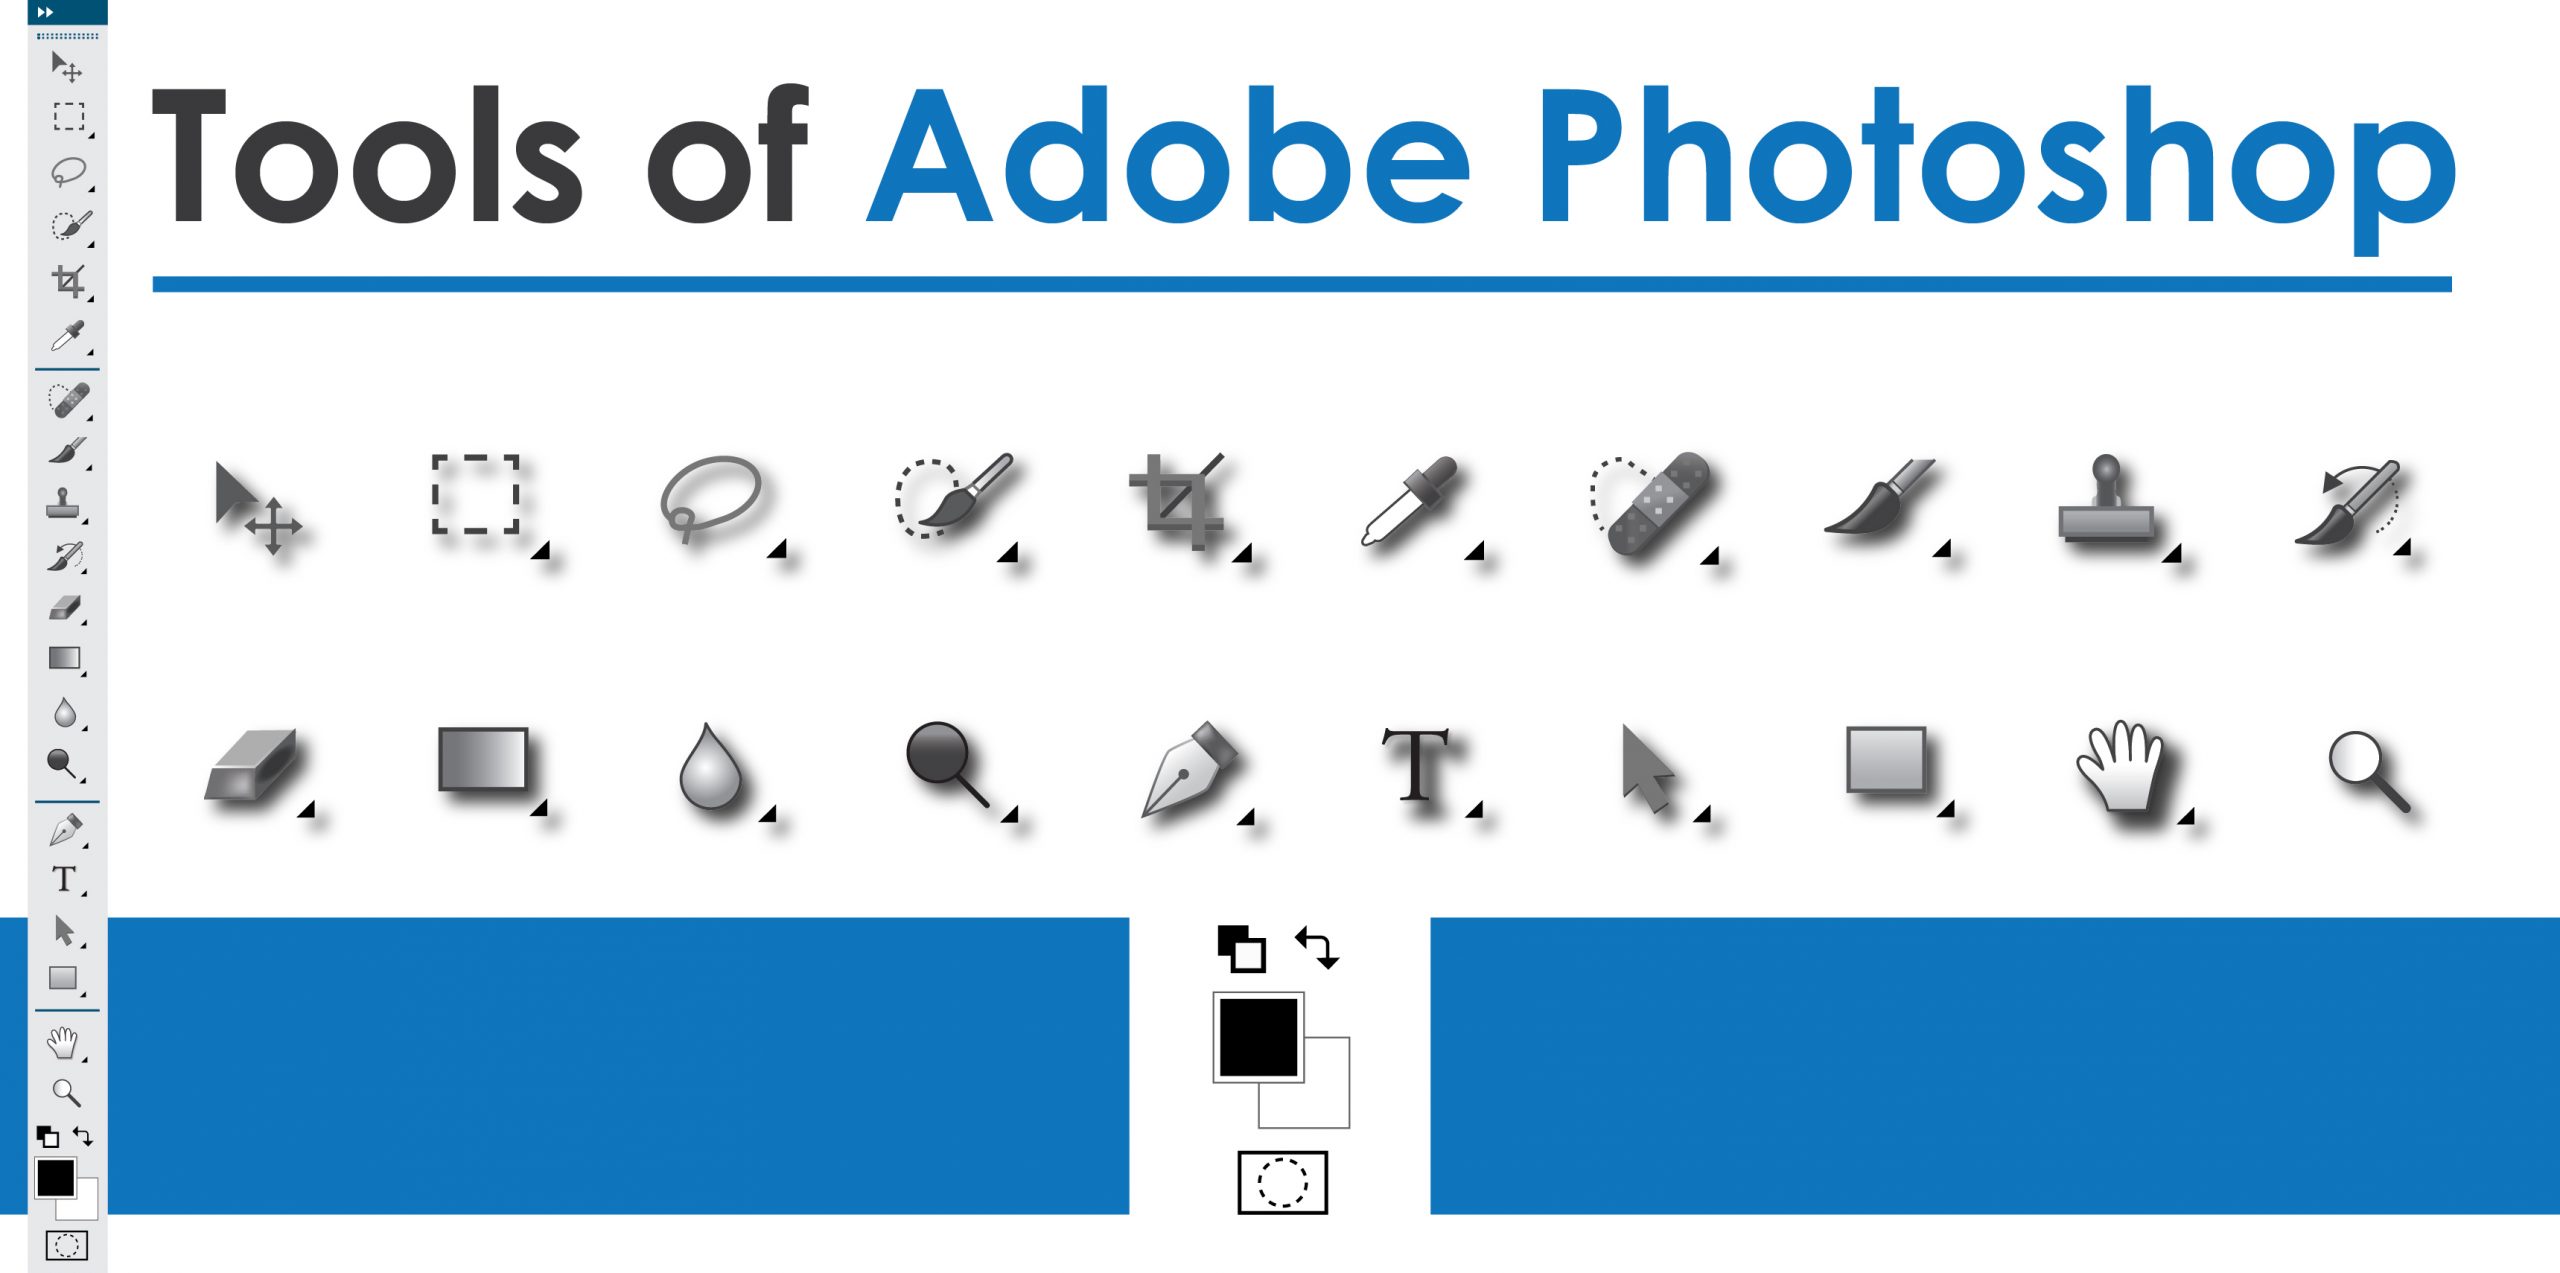
Tools of Adobe Photoshop (With Infographic)

Adobe Photoshop is one of the most widely used image editing software’s. Graphic designers use this software for providing various image manipulation services. It is a quick summary of Photoshop’s Tools palette with a description of each tool’s functions and shortcuts. We hope it will help those who are brand new to Photoshop.
We have decided to start from the beginning for those people who just “picked up” a copy of Photoshop and have no idea what to do with it. The keyboard shortcut is written in first bracket ( ).

Rectangular Marquee Tool (M)
You can use this tool to make selections on your image, in a rectangular shape. This changes the area of an image that is affected by other tools or actions. Hold the [Shift] key while dragging your selection. It restricts the shape to a perfect square. Hold the [Alt] key while dragging sets the center of the rectangle to where your cursor started.
Move Tool (V)
Use this tool to move things from the image. Usually it is used to move a Layer. You need to hold the [Shift] key to direct the movements to vertical/horizontal.

Polygonal Lasso Tool (L)
Lasso tool is common, but polygon lasso tool is more effective. A graphic designer can use this to draw selections in whatever shape. To unmarked the selected area, click on the beginning point or just double-click. By holding the [Ctrl] key, the cursor will be changed change and on the second click, it will close your selection.

Magic Wand Tool (W)
Image color can be changed by using magic wand tool. It will select the block of color, or transparency, based on wherever is clicked. In the Options Bar at the top, the Tolerance can be changed to make selections more/less precise.

Crop Tool (C)
The Crop Tool works similarly to the Rectangular Marquee tool. The difference is when [Enter/Return] key is pressed, it will crop image to the size of the box. Any information that was on the outside of the box will be deleted but it can be retained.

Slice Tool (C)
This is used mostly for building websites, or splitting up one image into smaller ones.

Healing Brush Tool (J)
This is a really useful tool. Mildly advanced. This tool can be used to repair scratches on images. You choose your cursor size, then holding the [Alt] key, you select a nice/clean area of your image. Let go of the [Alt] key and paint over the bad area.

Brush Tool (B)
It paints images. Color and size of brush can be selected.

Clone Stamp Tool (S)
To cut a certain part of a photo and replace it on another layer or photo, clone stamp tool is very much helpful.

History Brush Tool (Y)
This tool works just like the Brush Tool. If you go Window>History, you can see the History Palette. The History Brush tool paints with the information from whatever History state is selected.

Eraser Tool (E)
It works like an eraser and erases. If you’re on a Layer, it will erase the information transparent. If you are on the background layer, it erases with whatever secondary color is selected.

Gradient Tool (G)
You can use this to make a gradiation of colors. Gradiation doesn’t appear to be a word, but it makes sense anyway. It creates a blending of foreground color and background color.

Blur Tool
The Blur tool is cool. It makes things blurry. Click and drag to make things blurry. The more you click and drag, the blurrier things get.

Dodge Tool (O)
It is actually used to lighten the area you which is subjected to use.

Path Selection Tool (A)
You use this tool when working with paths. Since this is all about the basics, I won’t go into details. It’s related to the Pen Tool (see below) though.

Horizontal Type Tool (T)
It makes typing. Or text. You can click a single point, and start typing right away. Or you can click and drag to make a bounding box of where your text/type goes. There’s a lot of options for the Type Tool. Just play around, it’s fairly straight-forward.

Pen Tool (P)
I mentioned this tool above. It’s for creating paths, in which you would use the Path Selection Tool to select the path. Paths can be used in a few different ways, mostly to create clipping paths, or to create selections. You use the tool by clicking to add a point. If you click and drag, it will change the shape of your path, allowing you to bend and shape the path for accurate selections and such.

Rectangle Tool (U)
By default it draws a Shape Layer in the form of a rectangle. It fills the rectangle with whatever foreground color you have selected. It’s pretty complicated.

Note Tool (I)
You can use this tool to add small little note boxes to your image. These are useful if you’re very forgetful or if you’re sharing your Photoshop file with someone else. I’m pretty sure it only works with .PSD files.

Eyedropper Tool (I)
This tool works by changing your foreground color to whatever color you click on. Holding the [Alt] key will change your background color.

Hand Tool (T)
You can use the Hand Tool to navigate around the image. Just click and drag and get to this tool at any time when using any other tool by pressing and holding the [Spacebar].

Zoom Tool (Z)
It allows you to zoom into your image. Hold the [Alt] key to zoom out. Double-click on the Zoom Tool in the palette to go back to 100% view.
Our expert graphic designers have made an infographic which will help you to understand about the tools of Adobe Photoshop.


